This Microsoft Publlisher tutorial will teach the user who is having trouble getting their pictures and text to line up correctly in a Microsoft Publisher Publication. Try the helpful methods I lay out in this article and you will learn how to align objects perfectly.
With desktop publishing software, the process of getting text boxes and images to line up perfectly is a crucial detail when preparing any type of publication. There are several ways to accomplish this in Microsoft Publisher , each one having its own merits. We’ll take a look at three of the most common methods.
Drag Option
The easiest way to move any type of object in Microsoft Publisher is to click on that object and drag it to a new position. However, this is also the least precise way, and it depends on you being able to both visually place the object perfectly and the sensitivity of your mouse. While you may get lucky and be able to move the object exactly where you want, it can also quickly get frustrating when you keep “missing” the placement by a hair.
Nudge Option
One way to get better control over object placement is to use the arrow keys to nudge the item one pixel at a time. To move an object in this manner, select it and then use the key combination Alt + Arrow, either the left, right, up, or down arrow depending on which way you want to move the item.
This technique works nicely in conjunction with the dragging option. First, drag the object as close as you can to the position you want it to occupy, and then use the Alt + Arrow combination to nudge it the rest of the way into place.
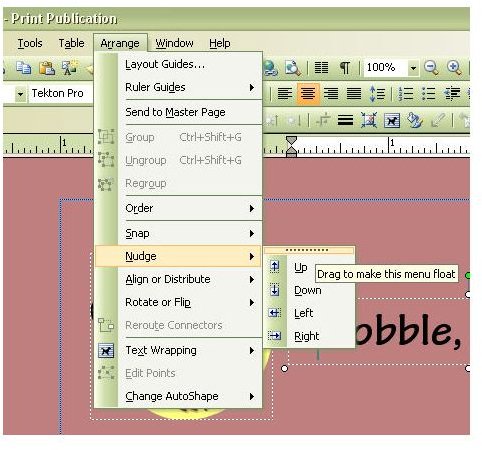
Alternatively, if you want to use the nudge option without relying on the key pad, you can add a floating Nudge toolbar to your screen. From the Arrange menu on Publisher’s main toolbar, select Nudge and then click on the series of dots at the top of the sub menu. (Click on the image below for a larger view.)
Drag this element to any place on your screen, and the Nudge toolbar will appear.
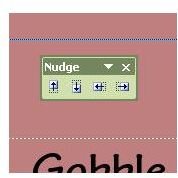
You can then nudge your objects by clicking on any of the arrows in this toolbar.
Absolute Positioning
By far, the most precise way of positioning objects in Microsoft Publisher is to use the Absolute Positioning feature. Even with the nudge feature, you are still relying on your visual interpretation to correctly align the object. While it may look perfect on screen, the printed version could be a whole different story.
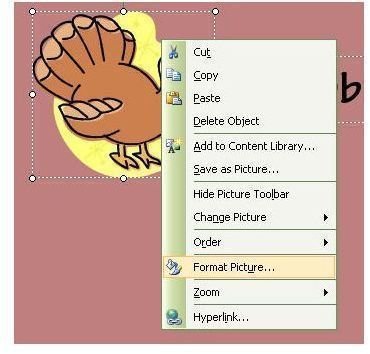
To place an object at a precise point in the publication, first select the object and then right-click with the mouse to bring up the object menu. Choose the Format option – note that this option will be listed as Format Picture for an image, Format Text Box for a text box, and so on.
Once you select this option, a Format Object box will appear on your screen. Click on the Layout tab and draw your attention to the portion on this tab labeled Position on page.
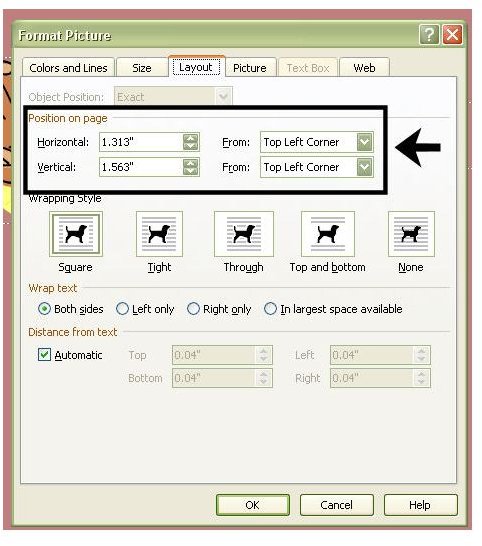
Here, you can enter exact numbers that will position an object a precise distance from either one of the top corners or the center of the document. This method of placement might take a bit longer than the others, but it’s definitely worth it if you want the objects in your publication to line up perfectly.


