This Corel Draw tutorial takes you through the process of designing borders. You’ll never run out of ideas for making borders with the variety of pattern fills and the custom pattern maker that gives you unlimited choices when learning how to make borders in Corel Draw.
Pattern Fills in Corel Draw
Making borders with Corel Draw 9’s preset fill patterns is an easy way to create an unlimited number of borders. Choose from two-color, full color or one color bitmap pattern fills for a variety of options. This selection becomes unlimited with the bitmap pattern maker, which allows you to make your own custom pattern, or import any one-bit bitmap art into the fill feature to make your own unique fills.
Would you like a Boy Scout invitation or flyer? Import a Boy Scout logo into the pattern maker and the logo will repeat the logo all around the edge of your border. Do you love your team mascot? Make stationery, party invitations and flyers using your team’s mascot or logo. There are all sorts of ways to vary your patterns in Corel Draw and give you hours of fun.
So how does this feature help in making borders? Corel’s ability to stack objects on top of each other allows users to place an opaque white filled rectangle on top of the pattern-filled rectangle, thus making a border and an area for your type.
Here is how it works:
Step One
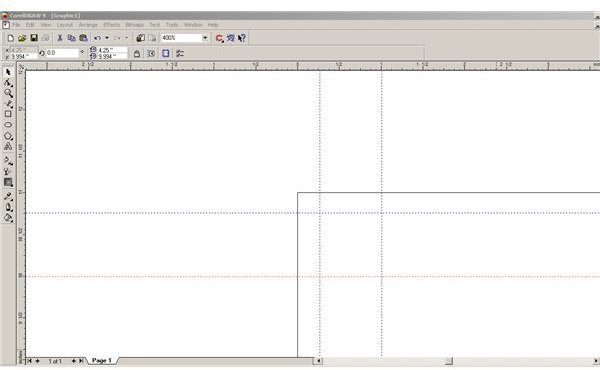
Open a new page in Corel Draw. Under the Layout menu, pick page set up and choose letter size, 8.5 “x 11” portrait. Under View make sure you have rulers and guidelines checked.
Set up this page using .25” margins for the outside frame of the border on all sides by first clicking on the ruler and pulling guidelines down (for horizontal lines), or over for vertical lines and placing them on the .25” mark on the ruler as shown. Next, place guidelines on the 1” mark on the ruler on all four sides.
Step Two
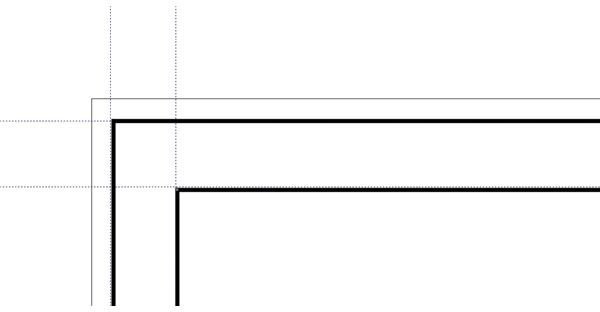
Using the rectangle tool (the 5th symbol on the toolbar on the left in the shape of a square), draw a rectangle, placing the lines on the previously positioned guidelines making a box that is 8” by 10.5”. As you draw the rectangle, the toolbar at the top of the page shows the box’s width and height. If these are not exactly 8” x 10.5”, type the correct values into the box and the rectangle will change to the correct dimensions. Reposition the rectangle on the guidelines if necessary.
Now draw a rectangle 6.5” wide x 9” and position this rectangle on the 1” guidelines.
Step Three
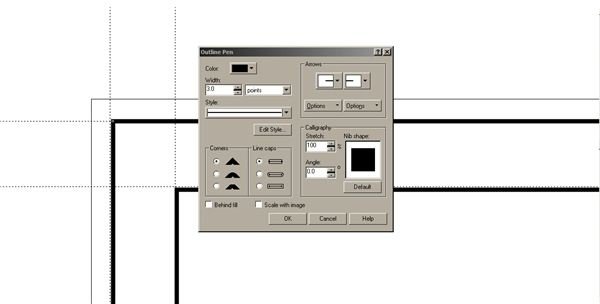
Click on the next to the last symbol on the toolbar on the left and select the pen. A fly out menu showing options for changing the color and width of the outline of your box will appear. Select the pen again from the fly out menu and a pop up menu will appear giving you all sorts of options. For now, concentrate on the second option, which will let us change the weight of the line. I have the weight set at three pts for this tutorial so that it will photograph and export out well. Depending on your use, you may want to make your lines a little lighter, but be careful not to make them too light or else they will not print out well.
Step Four
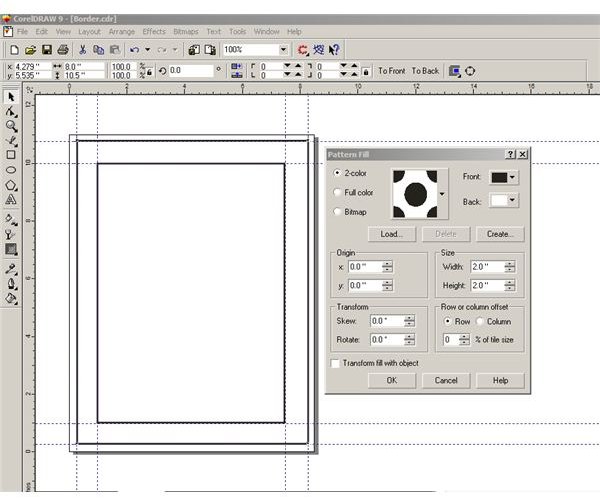
Now we are ready to fill our first rectangle. First, choose the pointer tool (the top arrow on the toolbox to the left), and click on the largest rectangle you drew on your page to select it. When selected, little resizing squares appear all of the way around your drawing.
On the toolbar on the left, pick the last symbol – the paint bucket – and pick the third choice (two-color checkerboard pattern) in the fly out menu, the pattern fill menu. Choose the two-color option as shown. To the right of the square box with the black and white dotted pattern is a drop down arrow that will show many different fill patterns. Scroll down until you find the star pattern and click on it.
Step Five
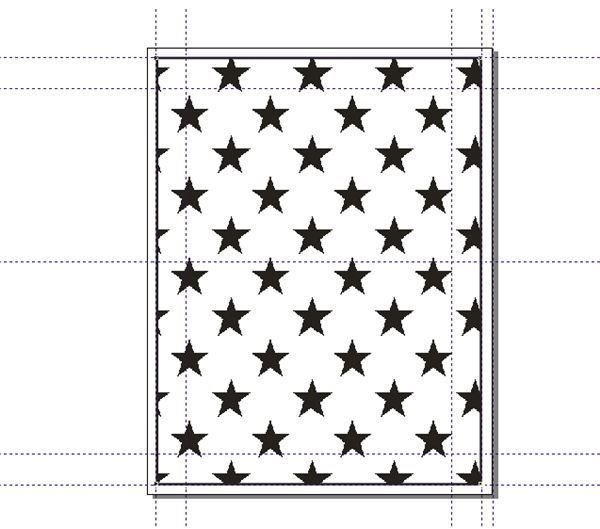
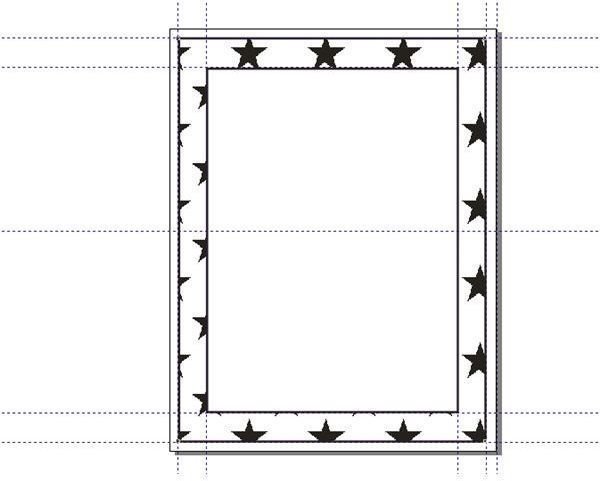
Selecting the large rectangle will bring that rectangle to the front of our drawing and choosing the star pattern will fill the rectangle with stars! However, now there is no white space to place text. This is where the second rectangle drawn in Step Two comes in. Select the large rectangle again and go to the Arrange menu at top of the program. Go down to Order and in the fly out menu that appears select “to back”. This will allow your second rectangle to appear in front of the large rectangle.
Step Six

Now we must fill the smaller rectangle with white to cover up the stars and give us a place to put our text. Select the smaller rectangle with the pointer tool and then select the paint bucket again at the bottom of the toolbar on the left. This time we will select the first option, the fill color selector in the fly out menu, and select white as our fill color. You can select the color white in several different ways: by clicking on the top corner in the white area of the color model, changing the components of CMYK, which starts out with 100% K for black to “0” to get white, or by using the drop down color name list and picking white. Either way, with the smaller rectangle in front, after choosing the color white you will have an opaque white fill area that has turned your star patterned rectangle into a border.
Step Seven
Now that your border is finished, the next step is to group all of your components together to either use as is, or export out as a template to use in your desktop publishing programs. To group your drawing together, go to the edit menu and choose Select All Objects. Next, choose the Arrange menu and select Group.
Now your border is ready to be exported or used in place for making your own flyers , invitations and desktop publishing projects.
If there is anything in this Corel Draw tutorial that is unclear, or you have a question about how to make a border in Corel Draw I can answer, please drop me a note in your comments and I will get back to you.
In the meantime, have fun!
References
Illustrations by Patti Hale using Jing software
Reference Corel Draw


