Clipart is great. You can use it to make publications more interesting and eye-catching. Sometimes, though, the same old graphics just don’t cut it. Learn how easy it is to spruce up and customize those images.
Getting Clipart
Finding clipart to use in Publisher is a breeze. In Publisher 2003 or 2007, go to the Insert menu, point to Picture and select Clip Art. In Publisher 2010, go to the Insert tab and click on Clip Art in the Illustrations group. These steps open the Clip Art task pane.
Enter a keyword or phrase and press Enter or click Go to find images. Double-click an image to add it to your publication.
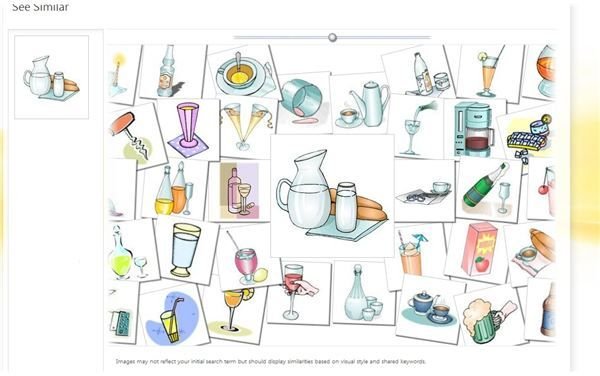
Another way to find clipart for Publisher is by going to the Microsoft Office Images site. Not only can you search for images using keywords, but you can also use the See Similar Images search, which provides a compilation of graphics that are similar in appearance to the image you selected although they might not be tagged with the same keywords.
Specially-Made Silhouettes
Once you have inserted a clipart image into your publication, there are many ways to manipulate it. One unique method is to create a silhouette from an image. This is easier to do than you might think, and can create the ideal graphic for your publication. You can use any media type, such as an illustration or a photo.
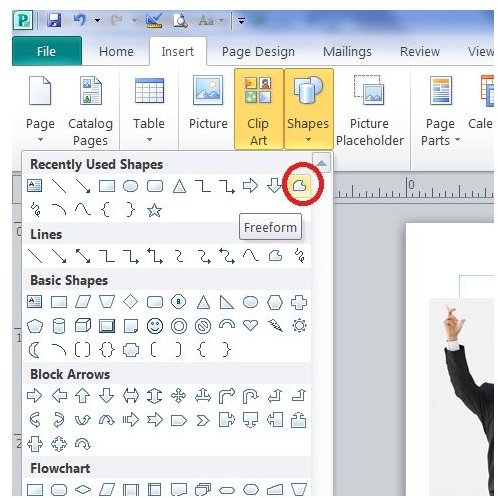
Insert the image you want to use as your silhouette template. In Publisher 2007 or 2003, go to the Objects toolbar and click on AutoShapes. Point to Lines and select Freeform. In Publisher 2010, go to the Insert tab. Click on Shapes and then click Freeform.
Using your mouse, draw the shape around the border of the part of the clipart image you want to use for your silhouette. Move the mouse and click to make points around the shape. Depending on how curved and intricate the image is, you may have to make several points around it. Continue completely around the image until you click on the very first point where you began.

In Publisher 2003 or 2007, right-click the shape and select Format. On the Colors and Lines tab, select a fill color and a line color. In Publisher 2010, go to the Format tab under Drawing tools and select a Shape Fill and Shape Outline.
You can embellish your silhouette by tracing other elements of the clipart, such as a shirt collar or decoration and adding it.
Custom Colors
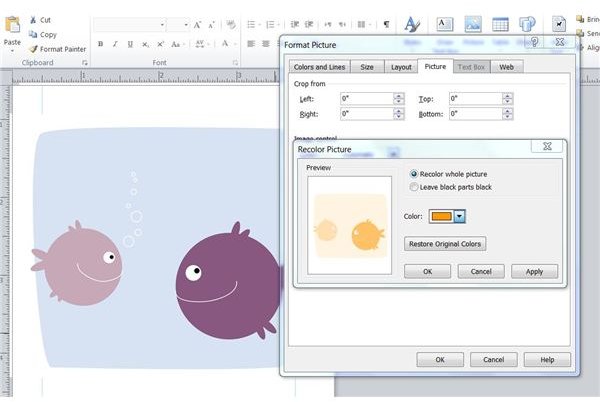
Perhaps you have found the ideal clip, but the color is all wrong for your publication. You can change the colors of an image, to an extent. Right-click the image and select Format Picture. Go to the Picture tab and click the Recolor button. Choose a color in the Color drop down and click Apply. The image will be changed to varying shades of the color you selected.
Add Text
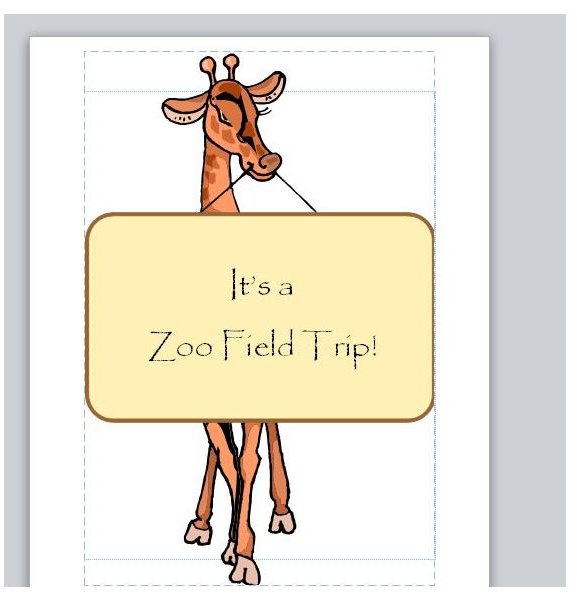
Another way to tweak clipart is by adding text to it. Some images include spaces that are ideal for displaying text, such as a character holding a blank sign. Although you cannot add text directly to the clipart, what you can do is add a text box or shape over the section where you want text displayed.
In Publisher 2003 or 2007, click Text Box on the Objects toolbar. In Publisher 2010, click Draw Text Box in the Objects group of the Home tab. Draw the text box on the image. Right-click the box and select Format Text Box. On the Colors and Lines tab, select No Color for both the fill and the line. Type your text onto the text box and format it as you please.
Flip It, Stretch It or Otherwise Alter It
There is much more that you can do with clipart in Publisher. Click on the image to select it and then check out the options available on the Formatting toolbar in Publisher 2007 or 2003 or the Format tab under Picture Tools in Publisher 2010. You can crop an image, rotate or flip it and change the size. You can add a shadow or 3-D effect, insert a caption or change its shape.
Play around with the settings and options available to come up with even more ideas on making clipart unique for all of your publications.
References and Resources
Microsoft Publisher Help and How-to
Images and screenshots provided by the writer


