Whether you are an old hand at desktop publishing or you have never made as much as a postcard on your own, Publisher can help you produce professional-looking designs. Learn tips and tricks that will put you on the road to DTP pro in no time.
Getting Started
Although Publisher has some of the familiar tools and features of other MS Office applications, it is also unique in many ways. Don’t let that intimidate you, though. Trial and error is one of the best ways to learn to use any new program, especially one in which creativity is a key aspect. Before you start playing with toolbars or ribbon tabs, though, browse this list to pick up ideas that can put you on the path to desktop design proficiency.
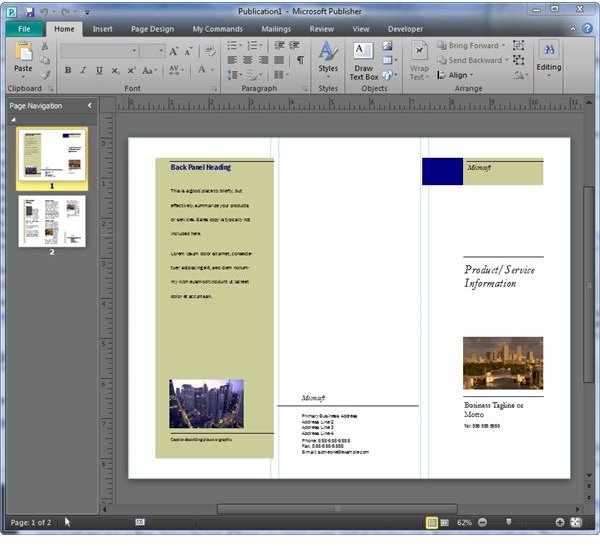
1. Templates
No matter what you want to creating, chances are good there is a Publisher template available for it. To find them from within the application, go to the File menu or tab and click on New. Choose the type of design you want to create, such as greeting cards, flyers or award certificates . This opens a gallery of available options. Click on the one you want to use and start creating. The key is to remember that the template is a guideline. While you can certainly print them as they are, you also have free rein to customize them as much or as little as you choose.
2. Views
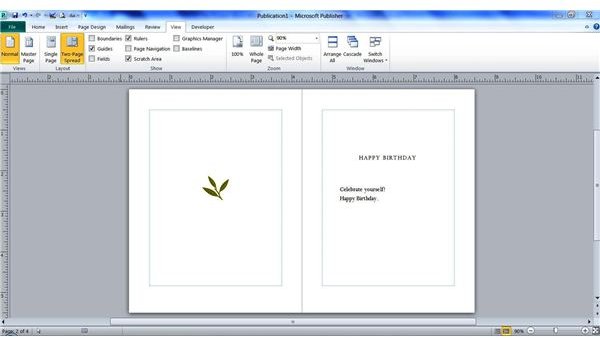
Go to the View menu or tab to find different options for the way you look at your publication. One of the helpful options here is Two-Page Spread, with which you can view leading and trailing pages together. Alternatively, using the Single Page layout lets you focus on one page at a time.
3. Backgrounds
While the text and graphics you use in the body of your publication take center stage, backgrounds add appeal and dimension. Go to the Format menu in Publisher 2003 or 2007 and select Background or go to the Page Design tab in Publisher 2010 and click on Background to select a color, texture, pattern or picture to use.
4. Borders
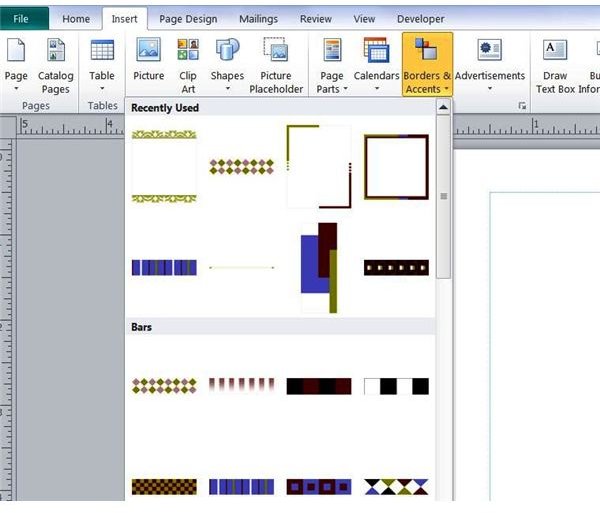
You can add a border to a page using the Objects toolbar in Publisher 2003 or 2007. Click on the Rectangle and drag the shape around the outer area of the page. Right-click the border and select Format Shape to change the color, line width and other features.
In Publisher 2010, you can use a rectangle from the Illustrations group on the Insert tab, but you also have some other options. Click on Borders & Accents in the Building Blocks group of the Insert tab for a gallery of colorful and complex borders and accents from which to choose.
5. Graphics and Objects
Adding clipart, pictures and other objects is straightforward. Go to the Insert tab or menu, choose the type of object you want to add and then select a specific object. There is much more that you can do with these items, though.
Align objects by going to the Arrange menu in Publisher 2003 or 2007, pointing to Align or Distribute and selecting the alignment you wish to use. In Publisher 2010, click on Align in the Arrange group of the Home tab. Group items so that you can move and resize them as one. Drag your mouse around the entire group or press and hold the Ctrl key and click on each object. In Publisher 2003 or 2007, click Draw on the Drawing toolbar and select Group. In Publisher 2010, click Group in the Arrange group of the Home tab.
6. Connecting Text Boxes
If you have used Word or other MS programs, you know how to add and format text boxes. One of the handier features of Publisher, though is that you can link text boxes so that overflowing text spills into the next box. In Publisher 2003 or 2007, click on the first text box. Click the Create Text Box Link on the Connect Text Boxes toolbar and then click the second box. In Publisher 2010, click on the first text box and then click Create Link on the Format tab under Text Box Tools. Click on the second box and they are connected.
7. Font and Color Schemes
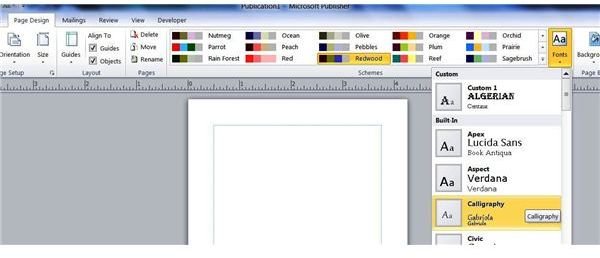
Font and Color Schemes are simply sets of fonts and colors you can assign to a publication. If the task pane is not open in Publisher 2003 or 2007, press Ctrl + F1 to open it and select a new font or color scheme. In Publisher 2010, you will find these options on the Page Design tab in the Schemes group. You can create custom schemes as well.
8. Mail Merges
If you make a brochure or catalog you’d like to share with customers or others, use Publisher’s Mail Merge feature. A step-by-step wizard can walk you through the process. In Publisher 2003 or 2007, go to the Tools menu, point to Mail and Catalog Merge and click on Mail and Catalog Merge Wizard. In Publisher 2010, go to the Mailings tab, click on Mail Merge and select Mail Merge Wizard.
9. Master Pages
You can use Master Pages when you want to use an object such as a logo, a layout option or other design elements on multiple pages of your publication, rather than repeating the setup for each page. Go to the View menu or tab and click on Master Page to view and edit the Master Page. To create a new one, click on the New Master Page or Add Master Page button while in Master Page view.
10. Printing
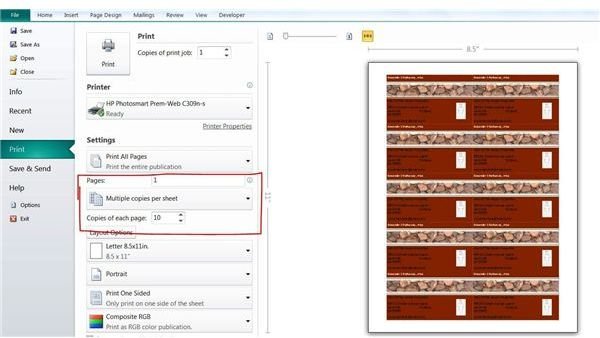
Although you may wish to email publications from time to time, for the most part you will likely wish to print completed designs. Press Ctrl+P to access the printing options, or go to the File tab or menu and select Print. Publisher offers a variety of printing options that can help you make the most of your publications. For instance, if you create a business card, you can change the number of copies and print multiple copies per sheet.
On Your Own
Take time to check out menus, tabs and toolbars. See what happens when you select different options. You may find a cool feature or trick that makes using Publisher even easier. If not, remember that Ctrl+Z will undo your last action!
References and Resources
Microsoft Publisher Help and How To
Screenshots provided by the writer.


