Did you know you can take an image, cut a section out of it, and create a tiled background of that image? You can and in this tutorial, I am going to show you how to do that using Adobe Fireworks. If you don’t have Fireworks, you can use Photoshop, Illustrator or other image editing programs.
Finding the Graphic You Want to Use
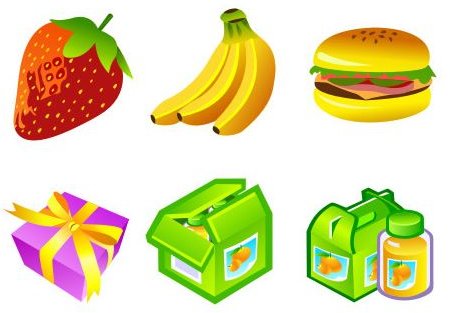
To get started with this tutorial, you will need to find yourself a graphic that you want to use. To save you time, I have found a free graphic you can use. Please see the download link below to open and download the file. Once you are finished with this tutorial, you can find your own graphic that you want to use and create your own tiled backgrounds. For this example, we are going to cut the present out and use it. The graphic will open in a new window, so you will not have to worry about losing this page.
Download Link: Graphic for this Tutorial
Opening the Graphic and Cutting It in Fireworks
Once you have downloaded the graphic, you will need to load your Fireworks program and open the graphic. Open the graphic like you

would open any other image in Fireworks.
After opening the image, you will need to select your crop tool from the toolbar on the left. Next, draw a box over the present and crop it out of the graphic. When you have cropped it, you can continue below.
Creating the Tiled Background

You are now ready to start creating your new tiled background. Your first step is to create a new document to work on. Go to the top of Fireworks and click the New icon. When the new document box opens, change the size of the document to the size of the background you want to create. The size of the background will depend on what you are creating the background for. Once you have the correct size, click OK to create the new document. The new document will then open in Fireworks.

Go back to the tab with the graphic you cropped. Right click on the graphic and hover over Edit and click Copy. Go back to the new document you created and right click on the document. Click Edit > Paste and the graphic will paste on the document. You will need to continue pasting the image throughout the document to create the tiled background.
When you are finished with the background you are creating, you can export the background and save it as a jpeg or gif format. You can then use the background for scrapbooking, greeting cards, invitations, and other DTP projects.
Tips for Creating Tiled Backgrounds
Here are a few tips to help you with the task of turning a graphic into a tiled background.
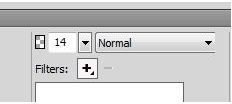
Creating Lighter Backgrounds - If you are working with a bright graphic and want to create a lighter image, you can do so by dropping the opacity. If you are planning to create a lighter background, drop the opacity of the first graphic before you start the copying and pasting. To lower the opacity, click the graphic and click the transparent option in the properties panel at the bottom. Take a look at the screenshot to the right. Click it to get a larger view.
Rotating Graphics - If you want to rotate graphics on a background, use the Scale tool. Click the graphic, select the Scale tool, and place the mouse below or above one of the corners and move the mouse to rotate it.
Using Different Graphics - You can use different graphics to create one background. You will just have to open a few different windows in Fireworks to crop the graphics and then paste them to the background document.
Using Other Programs to Turn Graphic Into Tiled Backgrounds
There are other programs you can use to create the tiled backgrounds also. For example, you can use Photoshop, Illustrator, Paint Shop Pro, GIMP or almost any other image editor. The process is pretty much the same as using Fireworks. You will have to open the graphic, crop it , create a new document, and paste the graphic to the new document.
Resources
Present Graphic - https://www.freeiconsdownload.com/Free _Downloads.asp?id=241
Screenshots taken by author.


