If you want a cool, easy and fun way to add some style to your images for any graphic design projects, such as logos or card design, why not check out this article? Here you’ll learn how to create a very cool screen tone effect for images, reminiscent of old comic books and pop art.
If you’re looking for a cool way to stylize your images, check out this screen tone tutorial. It’s a great way to create visual interest in projects. This tutorial assumes that you know a bit about Photoshop menus, as well as a bit about filters, but should still be perfectly geared toward the beginner and intermediate user of Adobe Photoshop (and versions from 7.0 and up).
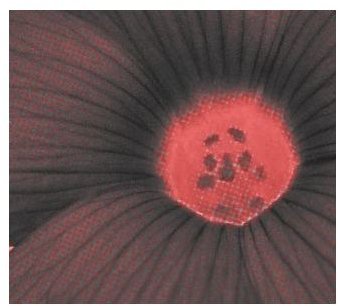
Open your image in Photoshop . When choosing an image, you really want the subject to stand out from the rest of the photo, so keep that in mind.
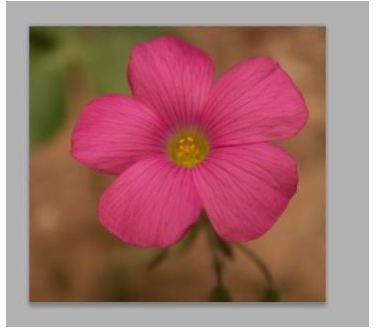
Now, go to Select > Color Range and click on the background color. This will select your background color and leave your subject intact. Now, press delete on your keyboard. Notice how the background is gone? Notice how it also removed the center of the flower in my image? I happen to think this will make a cool effect when finished, so I’m going to leave it. The choice, ultimately, is fully up to you.
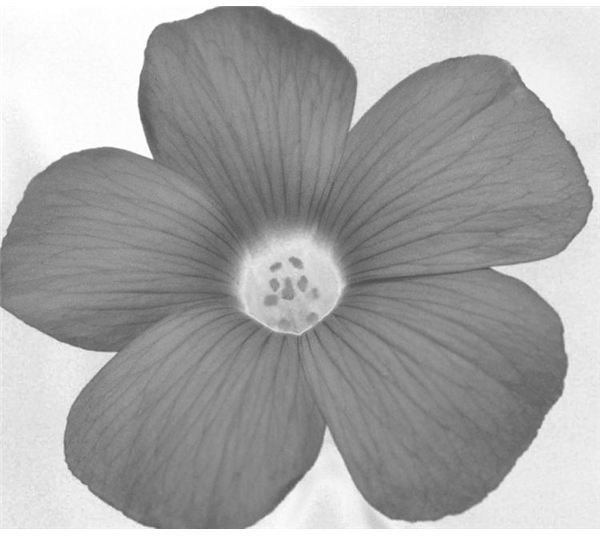
Now press SHIFT+CTRL+U (Mac users, just press SHIFT+CMD+U) to remove all of the color from your image nice and quick.
Now we’ve got to make the darks darker and the lights lighter. Thankfully this is very easy to do, especially with the help of the Brightness and Contrast editor. Simply go up to Image > Adjustments > Brightness/Contrast, which will open a window that looks like this.
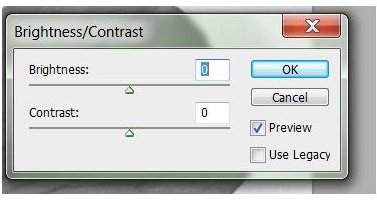
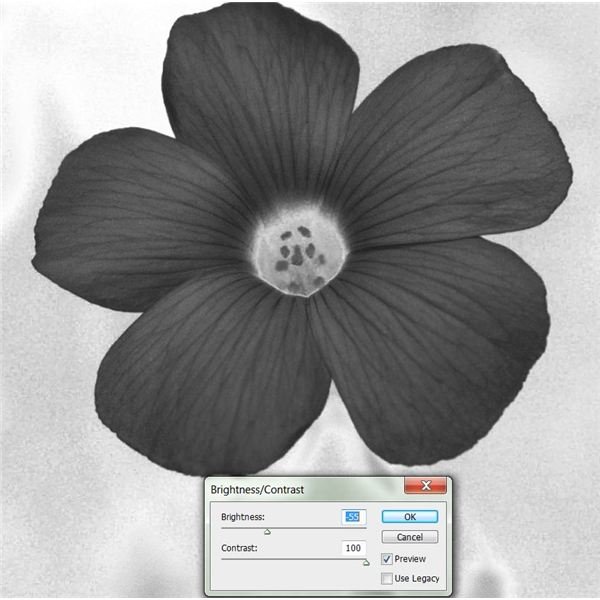
Now, you’re going to want to slide the adjustments about a bit until you get something like this. For example, I used the settings
Brightness: -55
Contrast: 100
Which yields a result like this:
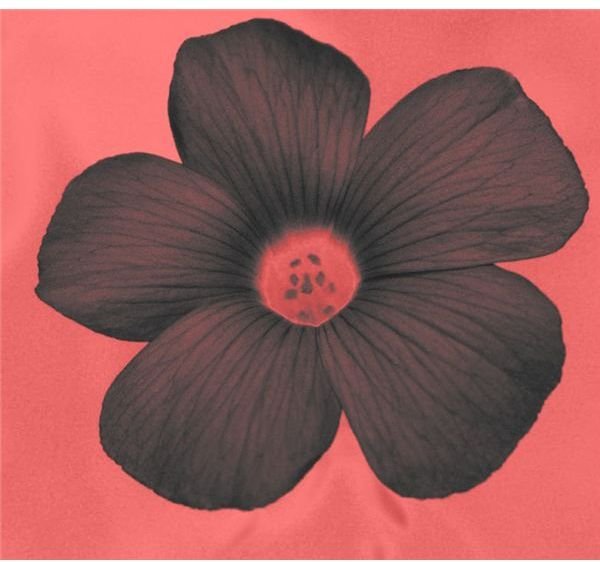
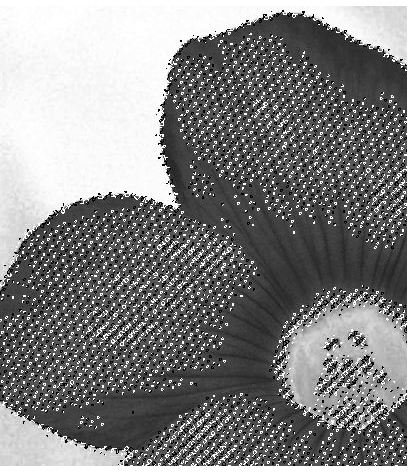
Now go to Select > Color range, and pick the darkest shade of your image (usually it will end up being black or very close to it) and set the fuzziness setting to the highest you can without selecting your entire image. Then hit OK.
Now press CTRL+SHIFT+I to invert the selection, and press this button on your toolbar to enter quickmask mode.

It’ll turn your screen red, but don’t worry! If you’re familiar with masking, you know what this means. If you’re not familiar with masking, check out the beginners masking tutorial here on Bright Hub.
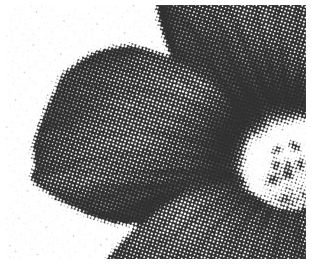
Now you need to head over to Filter > Pixelize > Color Halftone. Leave everything at the defaults except for (possibly) your max radius, which adjusts the size of your dots.
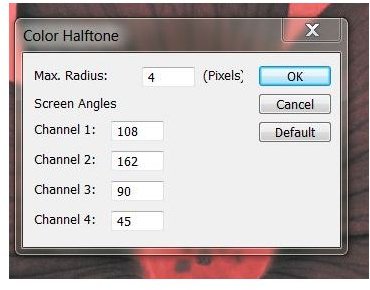
Depending on the size of your image, you’ll have to adjust the size of your dots. I’m using size 4 here, which yields a result like this:
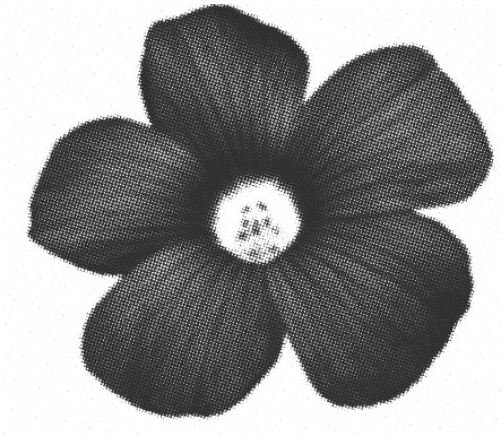
Now click off your quickmask by pressing the quickmask button again to see that you’ve got a ton of new things selected.
Press Shift+CTRL+I (Mac users: SHIFT+CMD+I) again to invert your selection before you go any further. Now create a new layer on top of your current one and use your paint bucket tool to fill in the new selection. Delete your old layer and now you can see your screentone style image.
Images and resources
All screenshots within this tutorial were taken by Amber Neely, who also provided all information with which to create the tutorial.
Pink Flower, Oxalis Weed Macro provided by Cobalt123: https://www.flickr.com/photos/cobalt/292888228/


