With Microsoft Word 2010, you can now quickly create your own gift certificates. The new template section allows you to select the template, customize it, and print it. Read on to see how easy this process is.
Microsoft Word 2010 Gift Certificates
If you are looking for gift certificates to pass out to friends and family, Microsoft Word 2010 has some you can select and customize. In this guide, I will show you how to get started, customize certificates , and print them. These certificates make great gifts for holidays, birthdays, and other occasions. To create gift certificates, continue below with the easy to follow guide.
Loading and Selecting a Template
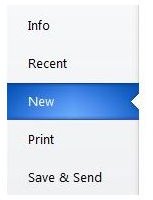
Your first step is to open a Microsoft Word document. Then click the File tab at the top of the document. The document will change and you will see the list of buttons on the left side of the document. Locate and click the New button and you will see the different templates load in the middle panel.
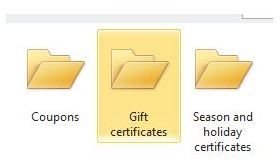
After selecting the New button, you will see the different categories of templates you have to choose from. Browse through the templates and locate the Certificates template category. Click it and you will see a list of folders. Find the Gift Certificate folder and click it to select it.
Now you are going to see all of the gift certificate templates you have to choose
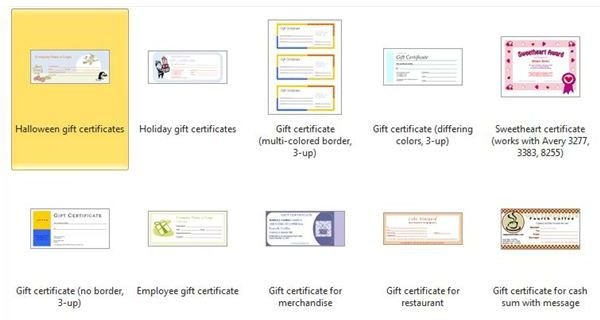
from. Browse through the templates and find the one you want to use. Click the template to select it and click the Download button in the far right panel. The template will download and open in a new Word document.
Customizing Your Gift Certificate in Word 2010
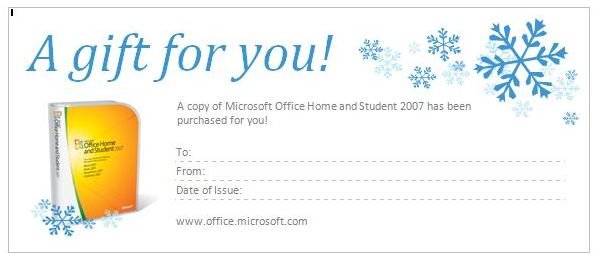
Your gift certificate template should be opened now. This is where you can customize the certificate to meet your needs. You may want to change the font , text color, and text size. You may also want to change the text itself. If you have a graphic you want to use other

than the graphic in the template, you can delete the default image and insert your own.
To edit the text, you will need to highlight it and use the text options at the top of Word. If you want to use your own graphic, you will need to click the graphic in the template to select it.Then press the delete key on your keyboard. Go to the top of Word and use the Insert tab to insert another graphic.
You can print the certificates out and hand-write what you want on the lines, or you can type the text in Word. If you want to type the text in Word, you will need to delete the lines and then type your new message. You may want to use a different color text if you are typing the information on the computer to make the gift being given clearer.
When you are finished customizing the template, you can save it to your computer by clicking the Save icon. Once you have saved it, you can print it.
Printing Your Gift Certificate
If you are printing multiple sheets of gift certificates, start with one sheet to make sure you do not need to adjust anything before printing all of your copies. To print the gift certificates, click the Home tab and click the Print button in the left panel. Select 1 copy to begin with. If everything turns out and you want to print more, click the Print button again and enter the number of copies you need.
Image Credits & References
Microsoft Word 2010
All screenshots were taken by the author for educational purposes only.


