Ever hear of the dust and scratches Photoshop filter? How do you use it, and what would you use it for? Simple! This handy tool can clean up poor scans of photos, as well as alter your images to remove unwanted bits and pieces. This tutorial will walk you through how to use the filter in no time.
The dust and scratches filter is a surprisingly handy tool when it comes to altering your photos and images. You can use this as a quick fix to get rid of blemishes, unsightly shadows, to fix creases in things when you scan things, and a ton of other things. This tutorial will walk you through a basic method of using the dust and scratches Photoshop filter, how to use it, and why you would want to use it for such reasons.
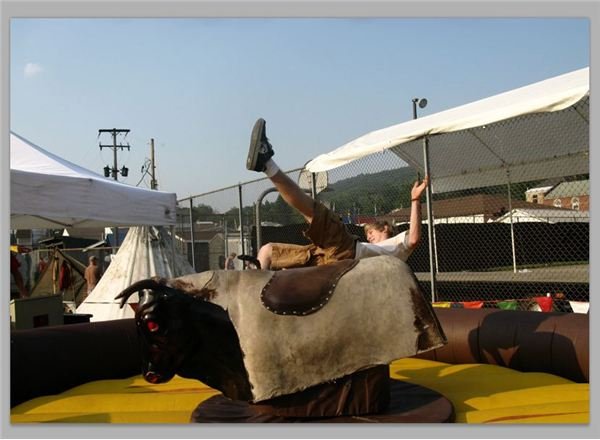
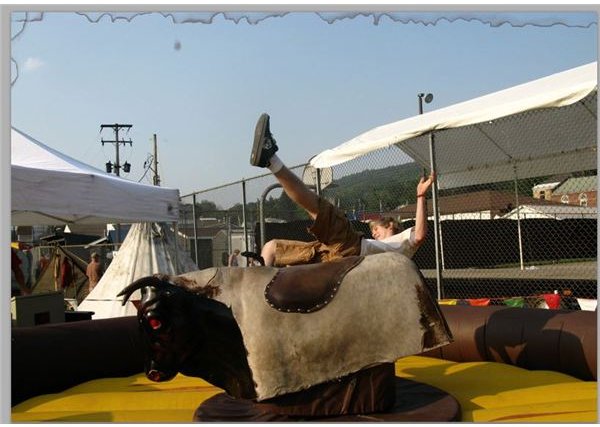
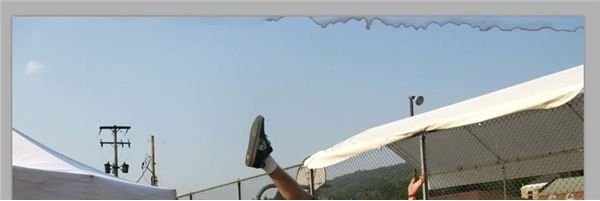
First and foremost, what is the dust and scratches filter ? Well, its a filter that can smooth your image to remove dust and scratches from your photos, caused by (usually) a dirty or abused scanner or a damaged photograph or drawing. Lets look at an example. See, here you can see some simulated water damage added directly to the image, as sometimes the damage is on the image itself, meaning that no matter how much you clean your scanner, you’re just going to have to work around it. (Photo Credit: Amber Neely)
Using the dust and scratches filter, however, will help blur dust, dirt, scratches, and damage away. However, it can blur the image far too much, resulting in a result that was much worse than your starting scenario. For example, you can take your image from that to this:
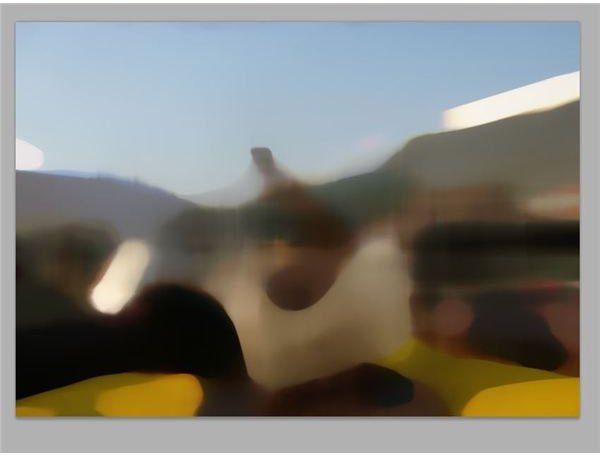
And at that point, you were probably better off leaving the dust or scratch on your photograph. So how do you work around this?
Open Photoshop and open the image you’d like to clean up. I’ll be using the image I had above! Duplicate your image onto a new layer by dragging the thumbnail onto the “New Layer” button in your layer panel. Make sure the new layer is selected.

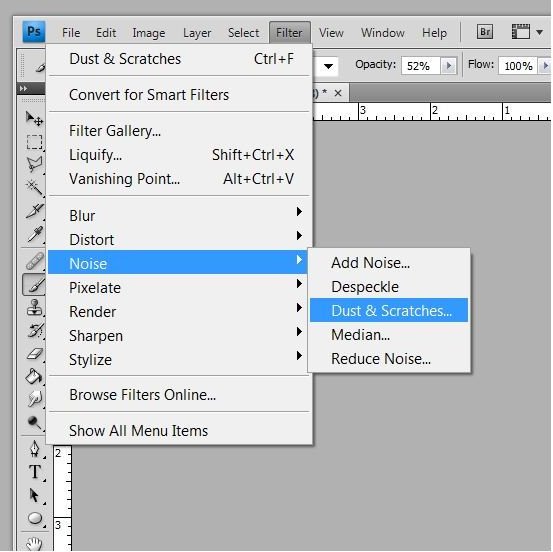
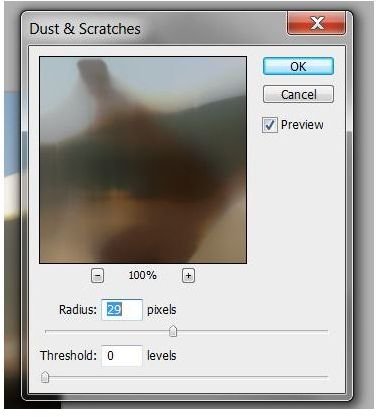
Go to Filter > Noise > Dust & Scratches
Blur your image a significant amount, which will depend entirely on your starting image size. This is where preview comes in handy! You don’t want to see any dust or scratches, so keep that in mind. Hit OK when you’ve reached the perfect amount of blurriness.
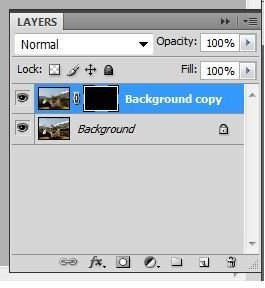
Now, click the masking button here at the bottom of the layer panel:

Grab your paint bucket tool and select the color black and fill your canvas with it. As you can see, it’s hidden the effect of our blurry layer:
Now simply grab a paintbrush of an appropriate size to cover the scratch. This is largely dependent on the size of the canvas you are working on. I prefer to use a low opacity (20-30%) hard-edged brush. Make sure that you choose white as your foreground color. (Looking for a quick Photoshop shortcut? Just hit “D” and then “X”!) and begin to brush away the scratches!
This is a highly effective way to also remove telephone wires in an image , stray hairs in profile pictures, scratches, dust, scanner smudges, camera timestamps, and many other things that might ruin an otherwise nice image.