If you want to make an object look as though it is moving fast in Photoshop, speed motion trails are a great way to do it. This tutorial shows you a fast, simple method of adding motion trails to an object without having to draw the effect by hand, enabling a clean, consistent effect.
If you’re trying to create something that looks like it is moving quickly when it is not, there are a various number of ways to do it, especially in Photoshop. Speed motion trails are lines that come from an object that often depict motion of some sort, and they may sound a bit hard to do at first, but thankfully, they’re not nearly as difficult as they seem. If you’re looking for a way to make something look speedy for a logo design or something else, this tutorial should easily help you through the process.
Pick Your Object
First and foremost, you need something that is going to be speedy. It can be a photograph, it can be a bit of a logo you have designed, or it can be a free or fair-use picture you find on the Internet, from websites like deviantART, Flickr, or anywhere else. Just make sure that it is a decent size and that you save a backup copy before we get started.
Setting It Up
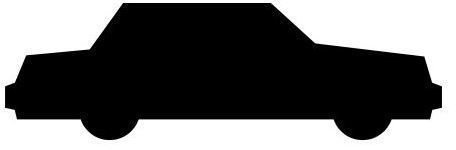
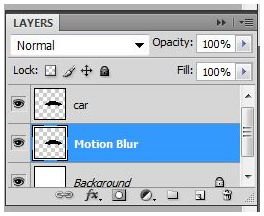
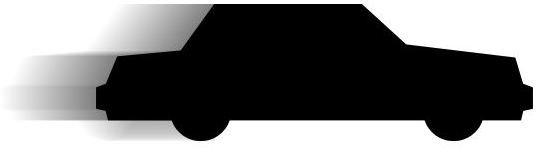
Now, what are you going to be adding speed lines to? Here I’m going to make this car shape (available from Photoshop’s custom shape menu) look as though it is speeding away! This is a great option for logos. To make this easier for myself, I have created this car shape on its own separate layer with a transparent background. Is this necessary? No, but it will make things quite a bit easier, and is a great idea if you’re a beginner to using things like Photoshop filters.
Start off by duplicating your layer by dragging the layer thumbnail down to the “new layer” icon in Photoshop.
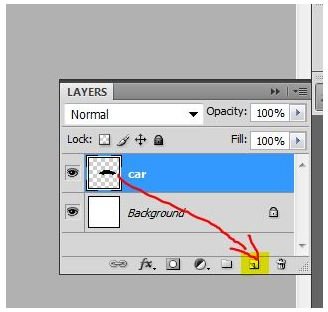
Make sure you drag the layer BELOW the original, and you might want to rename it to something that is easy to remember. I’ve renamed mine to “motion blur.”
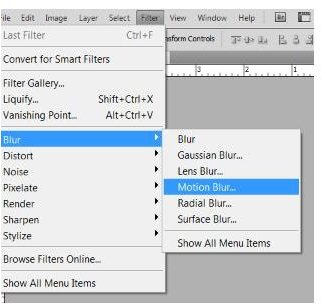
Now that you have a new layer, go up to “Filters ” in the top menu, followed by “blur” and then “motion blur.”
The motion Blur window looks like this:
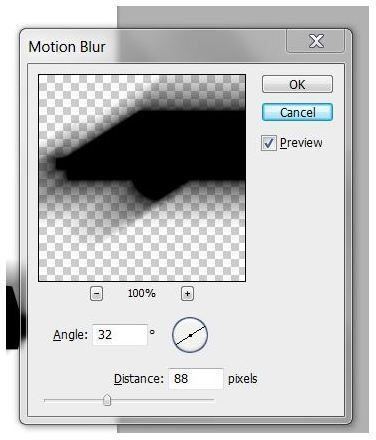
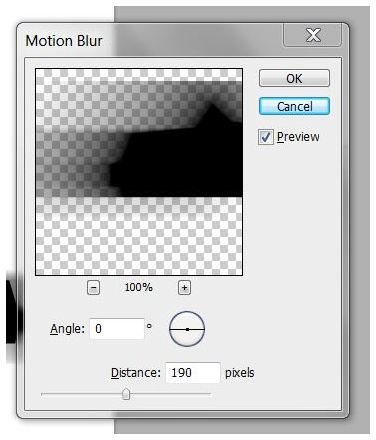
Now, set your angle to 0 degrees and stretch the blur distance until you find something you like. Don’t worry that it sticks out from both ends right now, as we’ll fix that in a moment. Just concentrate on finding the right amount of motion trails. For example, I find that I really like a distance of about 190 pixels. Click OK when you are finished.
Now, we’re going to have to clean this up a bit to make it look directional, aren’t we? That’s easy enough to do! Simply grab your eraser and pick a size and settings that fits well with your image. I’m using a 29px hard-edged brush. You may want to lower the opacity of your eraser as well, which could possibly help you clean up the edges of the blur if you choose to do so!

Just brush around the front of your object (unless your object is moving backwards) and carefully remove the lines you don’t want! This is where your artist eye comes in, and you can feel free to make it as clean or messy as you would like.
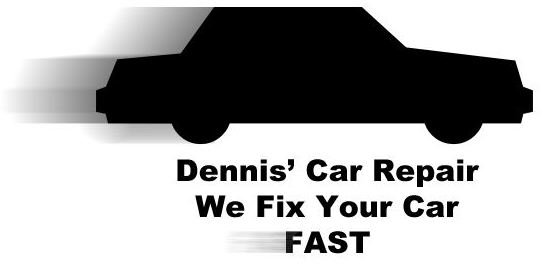
Here’s an example of what you can do with your new Photoshop speed motion trails.