One of the great things about scrapbooking is that it allows us to caption what is going on in the moment. A clever way of doing this is using word bubbles, which are a fun and silly way to liven up a picture! Read this article and let me show you how to make word bubbles for scrapbooking!
So you’ve got a scrapbooking project that you want to add some captions to. Sure, you could write them under the photo, but why not create a word bubble and bring the pictures to life? They’re very simple to do, and in addition to creating standard word bubbles, you can create different kinds for yelling, thoughts, and several other things. This simple method uses Adobe Photoshop CS4 and is perfectly suited to both traditional and digital scrapbooking .
Photoshop Custom Shapes
I’ve talked fondly of the Photoshop Custom Shape tool in the past, and with good reason. These vector-based shapes can be click-and-dragged to whatever size you need, and take all the stress out of hand drawing something. This is great for people who aren’t confident in their artistic ability, people strapped for time, or people new to creating thing in Photoshop. For this tutorial, we’ll learn how to use the custom shape tool to show how you can easily create a variety of different thought bubbles, and how you can customize them for scrapbooking use.
Creating Custom Shape Word Bubbles
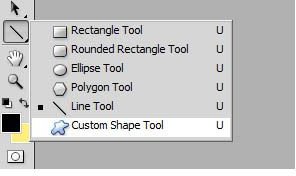
Go to your Custom Shape Tool which is located in the same panel as your line tool and various shapes such as rectangle and ellipse.
Click the drop down arrow, and then the smaller arrow in the dropdown menu, it will bring up another menu of shapes that you an open.
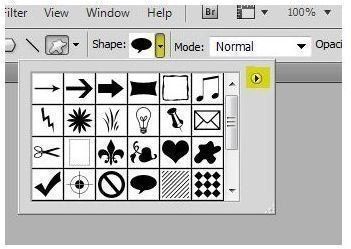
Select “talk bubbles” from this menu.
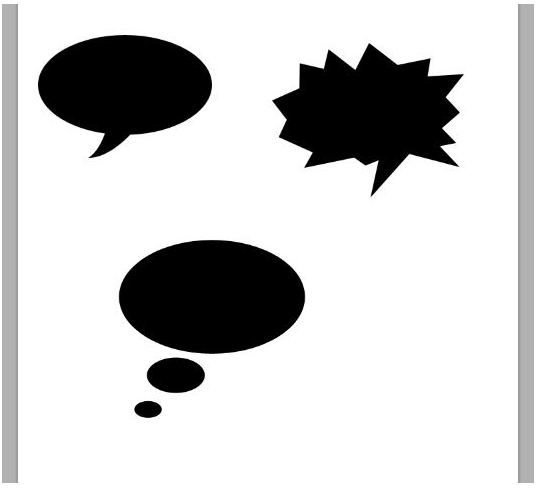
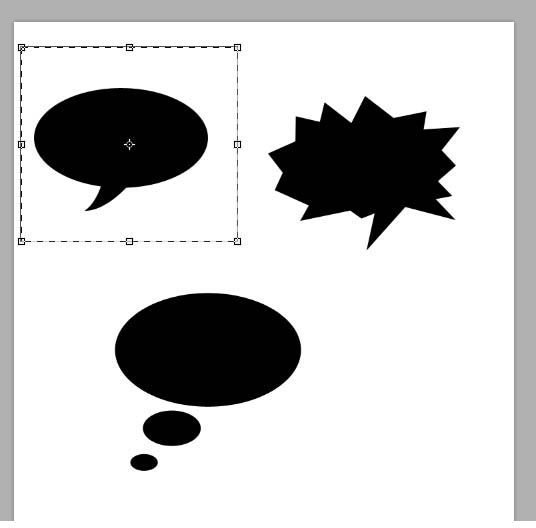
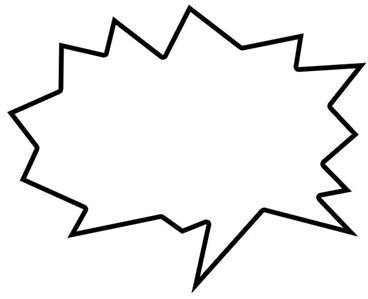
Now you’ve opened a veritable cornucopia of options! All of these talk bubbles are easily scalable to fit a variety of different needs! Here’s a few examples of what they look like:
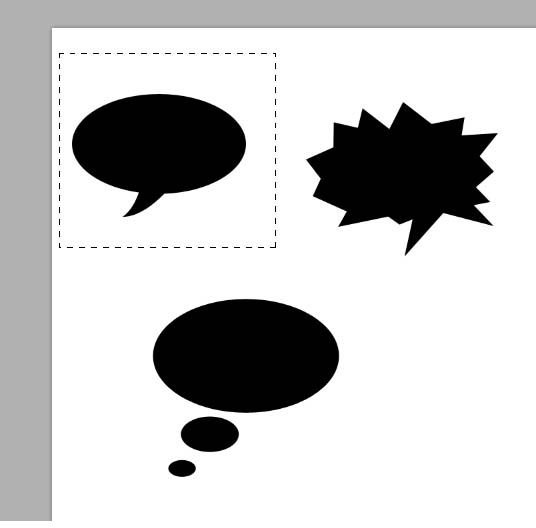
All you have to do is click-and-drag them out on a new layer in whatever color you would like. If you want to have one that is oriented in the opposite direction, simply select them with the rectangular marquee tool like so:
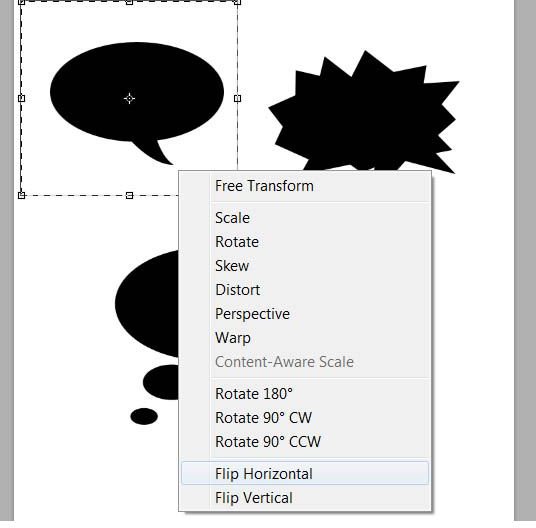
Press CTRL+T to bring up the free transform bounding box.
And then left click within the bounding box and select “Flip Horizontal” You can also flip it vertical or rotate it if you would like the bubble to be lower or higher.
Outlining Word Bubbles
Create a word bubble on a new layer, making sure that it is black.
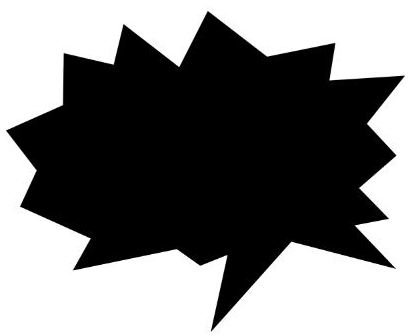
Press CTRL+I to invert it to white. Don’t be worried about the fact that you can’t see it at first.

Double click the layer that the word bubble is on, this will bring up a layer style panel. Click “Stroke” at the bottom. Feel free to play around with the settings within this option. You can choose whatever color you would like, as well as line thickness and whether you want the line to start on the inside edge, the outside edge, or the center of he edge.
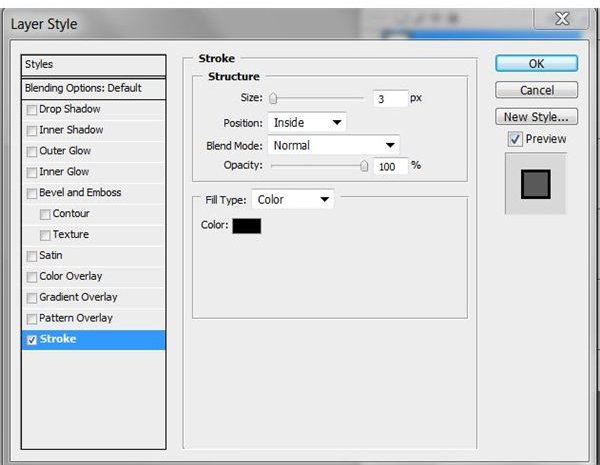
I find that I prefer a medium-thick line that starts on the inside edge, like so!
If you are saving these for digital scrapbooking, I highly suggest that you save them on a transparent background and as a .PNG file.


