This article explains the icons of Adobe Photoshop Elements 6.0 It explains what the icons do and where they are. Screenshots are included to help you along in understanding Photoshop Elements.
Selection Brushes and Typing Tools
Selection Brush Tool: The selection brush allows you to “paint” the pixels that you wish to select.
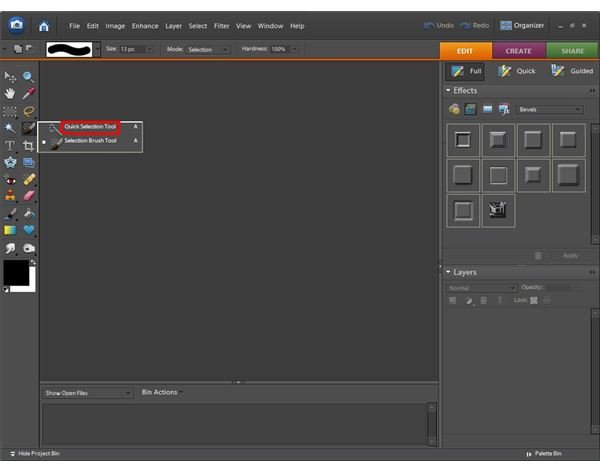
Quick Selection Tool: The quick selection brush is found by right clicking on the Selection Brush tool icon. This tool is used to choose a lot of pixels in one area, rather than trying to select them individually.
Horizontal Type Tool: The horizontal type tool is used to put text on the photo horizontally (left to right.)
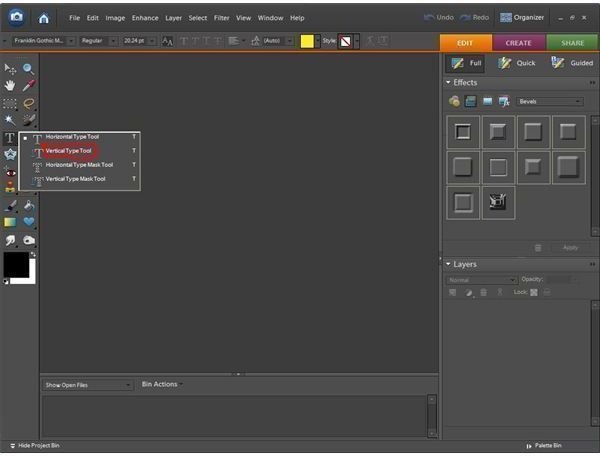
Vertical Type Tool: The vertical type tool can be found by right-clicking on the horizontal type tool icon. It allows you to add text to the photograph vertically (top to bottom.)
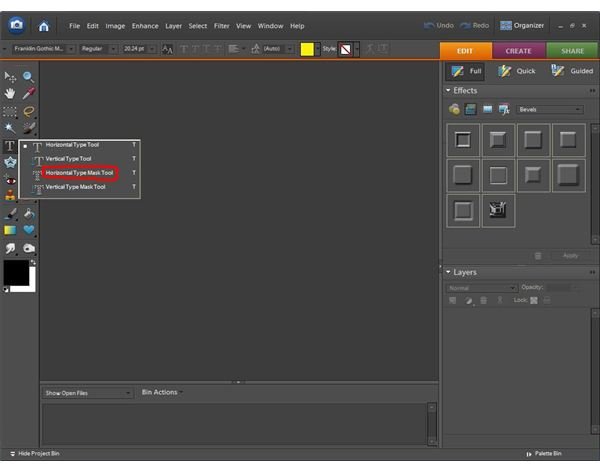
Horizontal Type Mask Tool: The horizontal type mask tool is also found by right-clicking on the horizontal type tool icon. This tool allows you to make text using your photo as the image inside the words.
Vertical Type Mask Tool: Found along with the other text tools, this is the same as the horizontal type mask tool except it is vertical text.
Selection Brushes and Typing Tools Icons


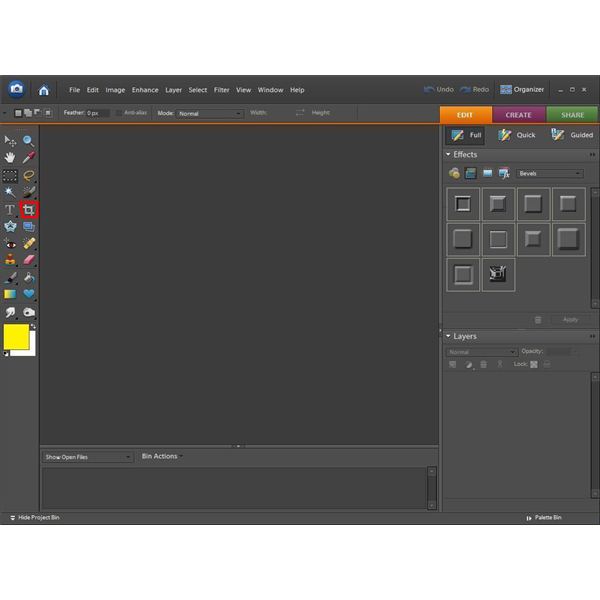
Cropping, Cookie Cutters, and Straightening
Crop Tool: The crop tool works as a virtual paper cutter. It’s used to cut out any part of the photo’s edges you don’t want in the final outcome.
Cookie Cutter Tool: The cookie cutter tool allows you to pick a shape (such as a heart, star, or arrow) and place it on the photograph. Once you’ve okayed the image, the rest of the photo will automatically delete, leaving you with only that shape.
Straighten Tool: The straighten tool is mostly used for photos of sunrises, sunsets, and other photos that show the horizon. You can straighten the photo if it looks as though your buildings are leaning to the left or right.
Crop, Cookie Cutter, and Straighten Tool Icons


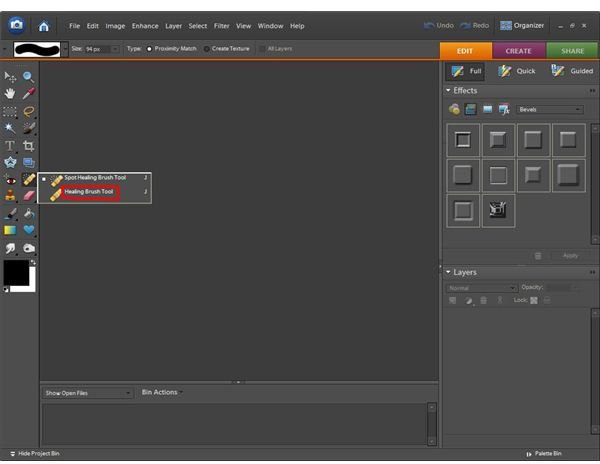
Red Eye Removal and Healing Tools
Red Eye Removal Tool: This tool is used with photos of people. Sometimes when the flash goes off you get that evil-looking red eye effect. This tool helps to correct that.
Spot Healing Brush Tool: The spot healing brush is a great way to get rid of small imperfections on people’s skin. It will blur the imperfection into the skin surrounding it, so that zit that JUST happened to show up on picture day? Gone!
Healing Brush: The healing brush is found by right-clicking the spot healing brush icon. It works almost the same way as spot healing except you alt+click to select an area of the person’s skin, and then color over the area you want to match that skin. An easy way to get rid of redness when spot healing just won’t cut it.
Red Eye Removal and Healing Tool Icons


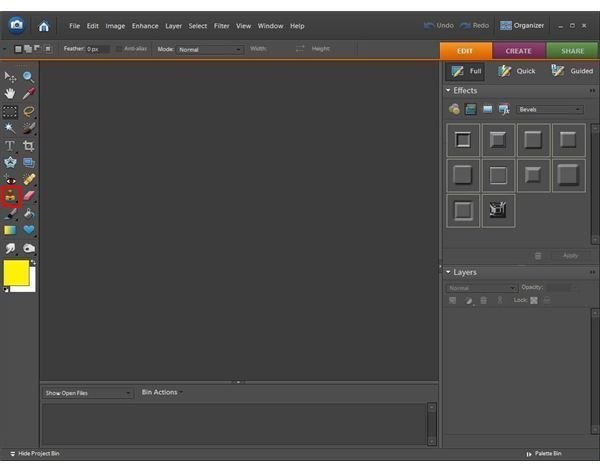
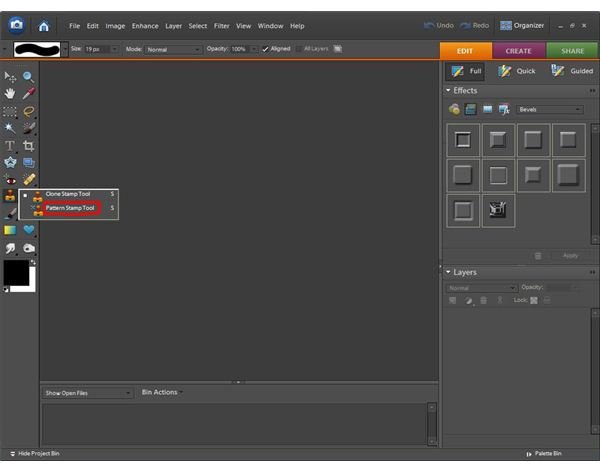
Stamp Tools
Clone Stamp Tool: The clone stamp tool is a great way to cover imperfections in a photo. I’ll give you an example: You take a beautiful photo of a landscape, but upon further inspection there’s an ugly dead tree ruining the shot. You have two options, You can either delete the photo, chalk it up as a loss and move on, or you can use the clone stamp to find some grass, or something else close to the item, and use the clone stamp to literally make it disappear and be replaced by something else in the photo.
Pattern Stamp Tool: The pattern stamp tool is found by right-clicking the clone stamp icon. It’s used to add a pattern to your photo. You have options such as animal prints, checkered patterns, or granite.
Stamp Tool Icons
This post is part of the series: Tools in Adobe Photoshop Elements 6.0
If you’re just getting started with editing photographs using Adobe Photoshop Elements, you may be overwhelmed with all of the different buttons and options you have. This article series will explain the different menus, buttons, and other options that will help you to use Photoshop Elements.
- Tools and Icons in Adobe Photoshop Elements - Including Zoom, Marquee, Lasso and Magic Wand
- Tools and Icons in Adobe Photoshop Elements - Including Selection, Mask, Red Eye Removal, Healing and Stamp
- Tools and Icons in Adobe Photoshop Elements - Including Erasers, Brushes, Gradient and Shapes
- Tools and Icons in Adobe Photoshop Elements - Including Smudge, Blur, Sharpen, Dodge and Burn


