There are numerous methods as to how to make a flash diffuser. It seems everyone has their own ideas and personal favorites. There are a few methods, however, that are more popular, more inexpensive, and more convenient than others. Good luck and happy photographing!
Using a flash is oftentimes necessary, but, unfortunately, can leave your photograph overexposed, drained of color, or even blurry. How then can you get the most out of your flash without sacrificing the quality of your photograph? The answer is simple! Use a flash diffuser to diffuse some of the unwanted glare while still benefiting from the added light created by your flash. Although you can purchase flash diffusers at camera stores or online, it’s not necessary since you can easily and inexpensively make your own flash diffuser right at home. Below is an easy to follow tutorial on how to make a flash diffuser for your camera, including several popular methods for cameras with both external and internal flash, be they digital or film cameras.
Using a flash diffuser can produce immediate results.
The film canister method.
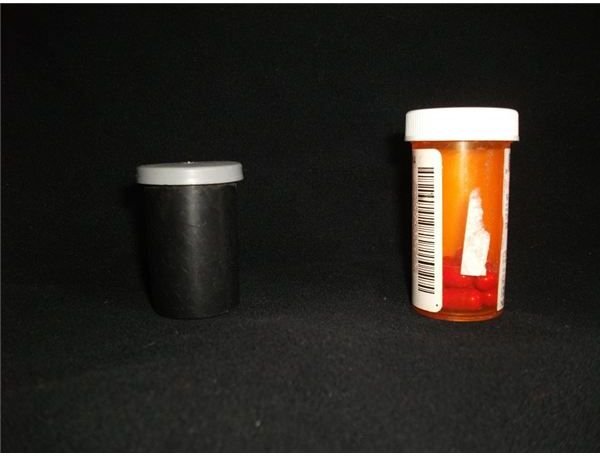
How to make a flash diffuser with something as commonplace as an old film canister? Simply remove the lid of the film canister and cut a slot into the side of the canister so that the canister will slide over your flash. Replace the lid and you are ready to go. You can either save old film canisters for this project, or, if you don’t use a camera that requires film, most camera stores or developing locations will have old film canisters they will give you for free. That’s right, this type of flash diffuser doesn’t usually cost a dime.
You need only:
- An opaque film canister, which you can usually get for free.
- A pair of scissors, which you probably already have around the house.
Old prescription bottles can make effective flash diffusers as well, especially if you desire a little extra color tone. Just remember to wash the bottle thoroughly to prevent the residues from your prescription from getting on your flash and to remove the label so that it doesn’t interfere with your lighting. Of course, there are also many others ways to create color tinted flash diffusers .
Old film canisters and prescription bottles put to good use.
The file folder method.
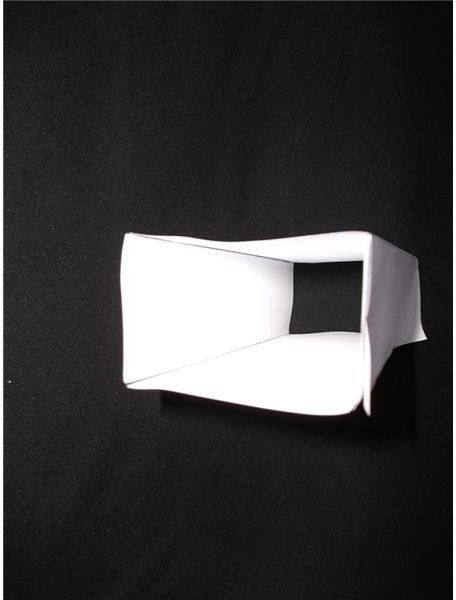
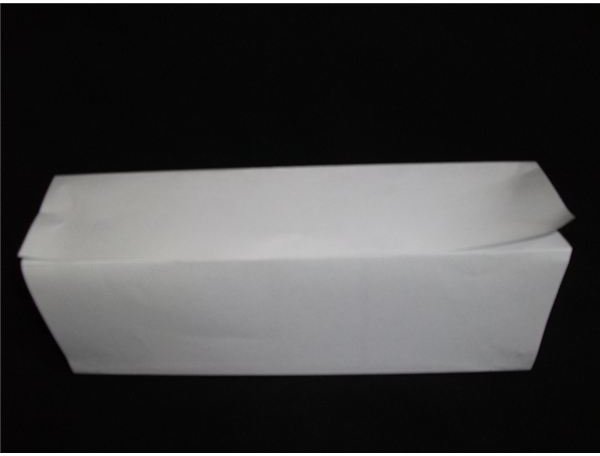
Another of the many methods of making a do-it-yourself flash diffuser requires only a file folder and a little tape. How to make a flah diffuser using such inexpensive materials? Simply measure your external flash (for example, 35mm by 65mm). Once you have your measurements, transfer them to the long edge of one half of your file folder. Draw one mark 35mm from the edge, a second mark 65mm from the first mark, a third mark 35mm from the second mark, a fourth mark 65mm from the third mark, and a fifth mark 35mm from the fourth mark. Use a pencil and ruler to draw a line at each mark, perpendicular from the base of the folder. Trim your file folder along the fifth mark, then decide how long you’d like your flash diffuser to be when finished. You can also trim a little more later, so go longer rather than shorter. Your result should looking something like the picture below.
You should end up with something like this.

File folder method, continued.
The finish your flash diffuser, fold your file folder along the marks so that you have five sections. Place the first and last section together, so that you have a three dimensional rectangle as pictured below, and use a little clear packaging tape to attach the edges. Slip the flash diffuser over your camera’s flash, preferably so that it points upwards, and start taking pictures.
You need only:
- An opaque file folder, available at most office stores for less than a dollar.
- A pair of scissors, which you probably have already.
- A pen or pencil, which you hopefully have already.
- A strip of packaging tape, or, in a pinch, plain translucent craft tape, which you can find in an office store for less than a dollar.
Keep in mind that you can use plain white paper for this project, but it won’t be nearly as sturdy and may not diffuse your flash as effectively.
You finished project should look something like this, only better.
Internal flash method.
Oh no, I don’t have an external flash! Not to worry, this section of the tutorial will describe how to make a flash diffuser for a simple camera. After all, many people would rather bring a more compact camera along on their travels than a highly expensive, complex camera.
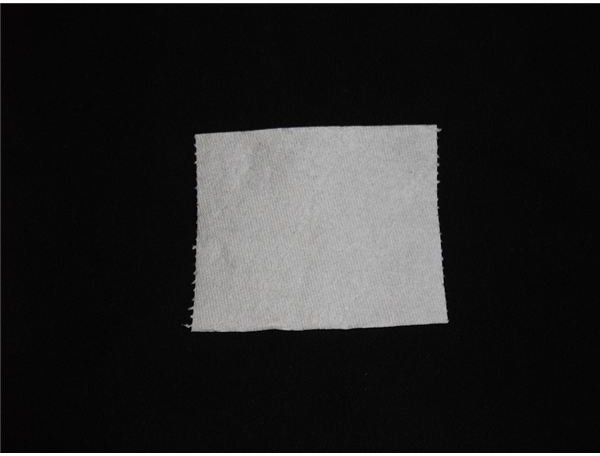
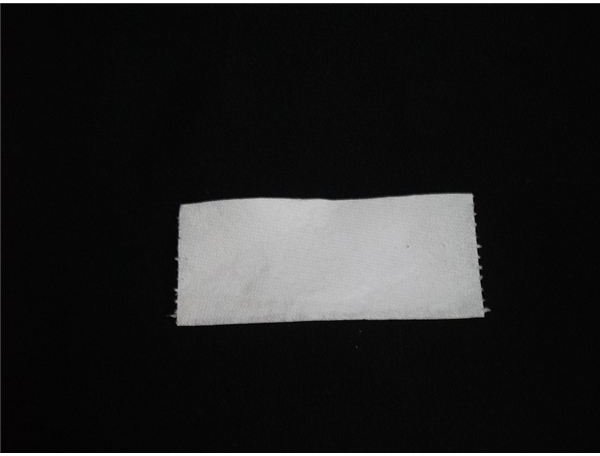
A piece of tissue paper, folded in half and held over the flash is quite effective. You can secure the tissue paper with tape, but be careful to use a tape that won’t leave adhesive on your camera. If you want something that looks a little more professional, try cutting a small strip out of an opaque file folder, like the one used in the previous method, and attach it to the front of your camera with a small piece of tape or small portion of Velcro. Remember, once again, not to use any adhesive material on your camera unless you plan on keeping the attachment around fairly permanently, otherwise you will have to deal with a sticky camera.
You need only:
- A square of tissue or a strip of opaque plastic, available just about anywhere for a few cents.
- A small piece of tape or a little Velcro, which you can find at most any craft store for less than a dollar.
Images
Good luck and happy shooting.
Whichever method you use to create your flash diffuser, remember than you can modify the method to suit the needs of your camera as well as your own personal needs. Take in account how you wish to mount your flash diffuser, how professional you wish your flash diffuser to appear, and how easily you’d like to be able to attach and remove it. You might even consider experimenting with a few different methods until you find that one that fits your style the best. Take as many photographs as you can and enjoy the beautiful difference your flash diffuser makes!


