
You can create background images that are not a completely solid color. You can do this with the Photoshop gradient tool. In this Photoshop gradient how to, we’ll teach you how to add a gradient layer in Photoshop.
Using the Gradient Tool
Adobe Photoshop helps you correct problems with images or photographs, or simply add effects to make these images look better. One way to do this is with the Photoshop gradient tool. The gradient tool helps you add color effects to images. And, in this Photoshop tutorial, we’re going to show you a Photoshop gradient how to tutorial to help you manipulate your images with this tool.
The gradient tool is located on your left-hand side toolbar. It is the shaded rectangular box. To start using the tool, you simply need to select it. But, once you select it, then you really need know how to use it.
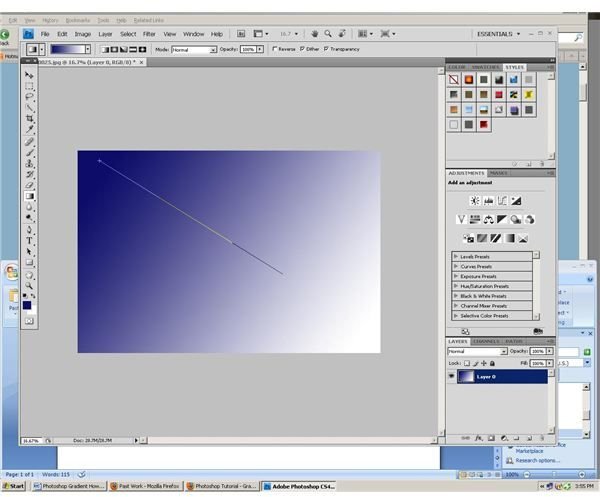
The gradient changes the shade of the fill. To select the entire canvas to add the fill, simply drag the pointer all the way across it. The larger the selection, the more gradual the gradient. But, it’s going to take some time to actually get the shading the way that you want it.
Adding a Gradient Fill
You probably won’t want to use this tool on a current image unless you plan on using it as a background, which is what these fills are commonly used for. Once you use the gradient tool, the entire image will be filled in. If you do want it as a background on a current image, create a new Layer by clicking on the current layer. Give it a new name. Then, select the new layer and use the tool.
If you want to create a completely separate file, then open up a new project, by going to File and then New. Give you project a name. Then, select the gradient tool. You can either select it on the toolbar or by select G and then Shift G. Drag the gradient tool around your layer.
Adjusting the Gradient Color
If you do not like the way that the gradient fill looks, you can change the way it looks in the Gradient Tool Options Bar. This bar opens up as soon as you select the gradient tool. This section allows you to change the opacity and mode of the fill. You can also use some of the gradient fills as your fill layer.
But, sometimes these presets still don’t give you the gradient that you want. You can, however, customize the presets further. Select the dropdown box next to the gradient tool icon . This will bring up the Gradient Editor.
Here, you can change the opacity , color, location, gradient type and smoothness. Simply select the preset that you want to use, and then adjust it. If you want to use this preset again, give it a name, and select the New button.
Also, within this dialog box are two Opacity Stop sliders. Use the top Opacity Stop slider to either overlay the gradient over another image or to create a softer transition between the different gradients. Use the bottom slider to adjust the Color Stops, effectively changing the gradient color.


