This tutorial will show the beginner photographer how to create a sepia tone effect in Microsoft Photo Editor.
Microsoft Photo Editor is a basic photo editing software tool that used to be included in the earlier versions of the Office package. In Office 2007 it was replaced by Picture Manager, which doesn’t support some of the features of the previous one. If you have changed your version of Office recently and you want Photo Editor back, you don’t have to install the whole package to get it. Just introduce your old Office installation CD in the CD drive, choose Custom Install when prompted and select Photo Editor from the list provided. If you are a beginner to photo editing, Photo Editor is a good place to start.
Unlike other photo editing software tools, Photo Editor does not have a direct option for changing pictures to sepia tones. But don’t get discouraged! You can do it very easily by altering the color balance yourself. It is quite a simple operation; all you need to do is follow the ten little steps described below. It is also a good opportunity to get acquainted with the RGB color model and distribution of the three primary colors (red, green, blue) in a photograph.
Steps
1. Open your picture in Photo Editor. To do that from within the program, click the second icon in the toolbar or press the key combination Ctrl + O on your keyboard. To open it directly from Explorer, hold the Shift key, right-click the name of the image file and click Open With. Go to Choose Programs, look for Photo Editor and select it, then press OK.
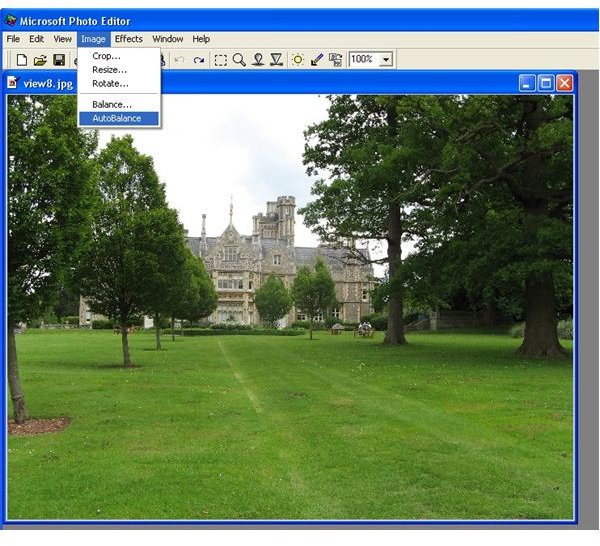
2. To optimize your photo for the next steps, you can use the predefined Photo Editor function called AutoBalance. For that, go to Menu > Image > AutoBalance.(Fig. 1)
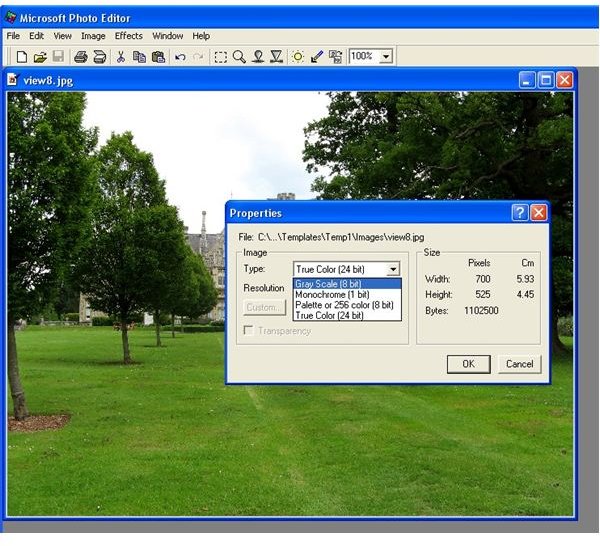
3. Right-click the image and click Properties. In the Properties window, change the type of the picture to Gray Scale (8 bit) and click OK. Your photo will be converted to black and white mode.(Fig. 2)
4. Go back to the Properties window and change the type to True Color (24 bit). Click OK. (Fig. 3)
Click image for full size

5. Open the Balance window from the Menu > Image > Balance or by clicking the sun icon from the toolbar.
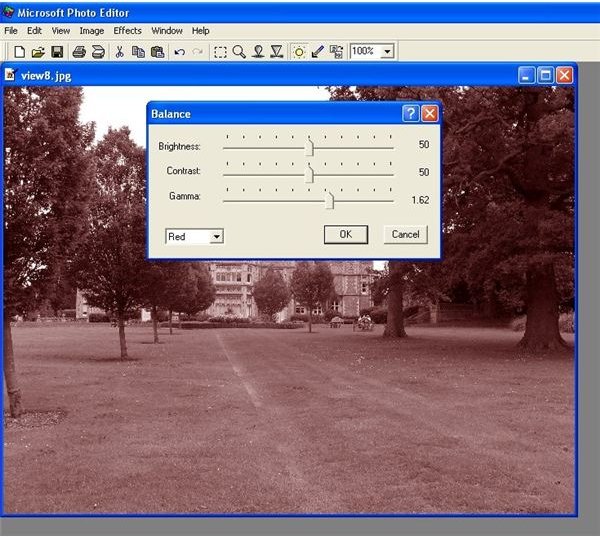
6. In the drop-down menu, choose Red and change the Gamma value to 1.62. (Fig. 4)
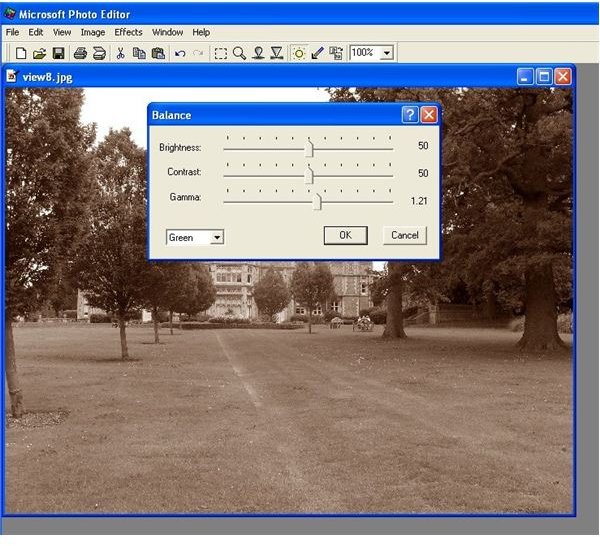
7. Return to the drop-down menu, choose Green and change Gamma value to 1.21. (Fig. 5)
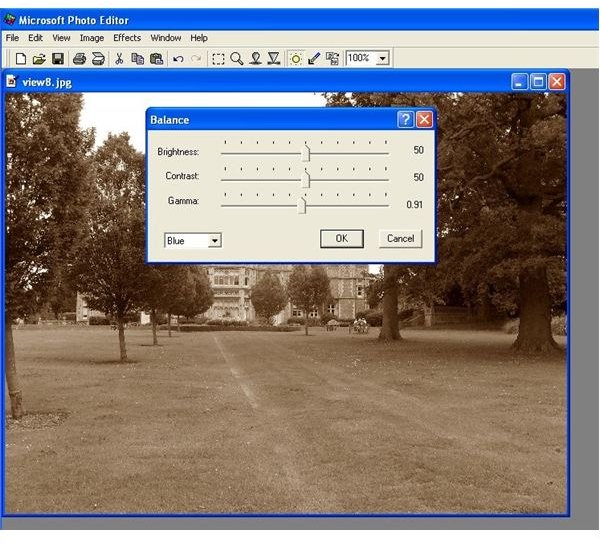
8. Choose Blue in the drop-down menu and change Gamma to 0.91. (Fig. 6) Click OK. At this point you should be able to see your new sepia image.
Click image for full size
9. If you are not pleased with your image, reopen the Balance window and adjust the Contrast until you achieve the desired result.
10. Save your new sepia image with File > Save As.
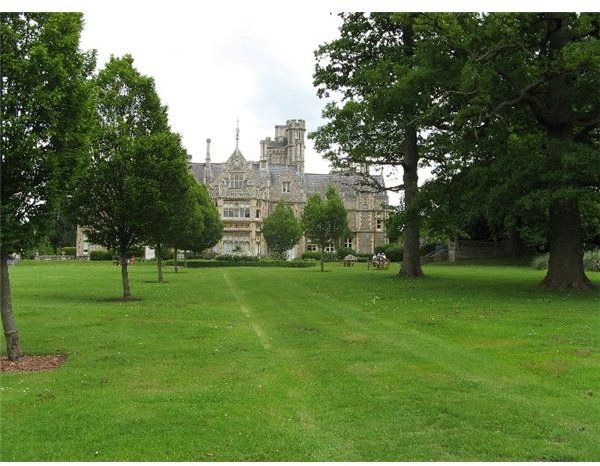
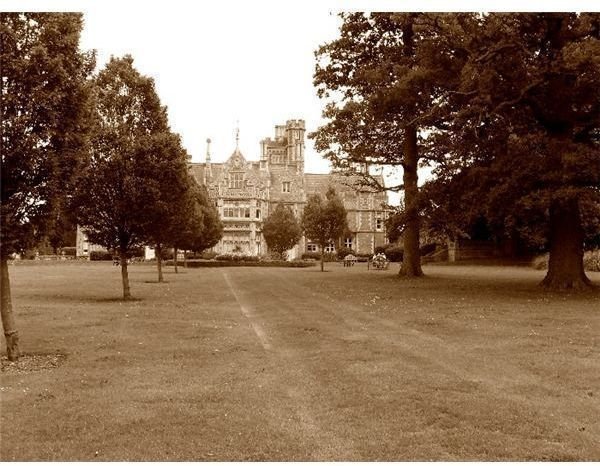
Color vs. Sepia