Are you seeing true colors? With hardware calibration, you can be certain what you see is what you get! Learn how to calibrate your monitor for Lightroom in this article.
Calibrating Your Monitor for Lightroom
Adobe’s Photoshop Lightroom is an effortless tool to edit all of your photographs. Why not take your editing to the next level by adding color correction to your workflow ? If you are serious enough to already be using Lightroom and probably Photoshop for your editing, it is about time you got serious about color management and monitor calibration. It sounds complicated, but it really isn’t. Once you calibrate your monitor (and it’s mostly automated), it is good to go and you can begin editing with accurate color. More advanced users calibrate their monitors and other devices (scanners, printers, and cameras) regularly, but for us, we will begin by automatically profiling our monitors.
Photo by .dr4gon
How It Works
Calibrating a monitor’s brightness, contrast, gamma, and RGB color can be painfully subjective and arbitrary when done by hand. Hardware calibration solves this by delivering consistent results across all of your monitors and screens, even if they are different brands. Hardware calibration works by using a sensor eye in the device that looks at a series of colors displayed on your monitor. It interprets these results from the software and corrects them to how they should be correctly displayed. For instance, before profiling your monitor, the red your LCD displays is not necessarily the red it should display. When the hardware sensor detects this subtle difference, it corrects the color so that when it is finished, you will be seeing an accurate shade of red. It repeats this for a variety of colors to generate a comprehensive profile.
This profile can differ in different lighting environments and LCD brightness. It is recommended that you generate multiple profiles for different environments so that you achieve consistent results in your workflow when editing in Adobe Lightroom or Photoshop .
Why It’s Important
Good hardware calibration for your monitor is extremely important in achieving accurate and consistent color. In the same way that you adjust your camera’s white balance to match a given scene, your monitor needs to be calibrated to give true color. A calibrated monitor is especially handy when adjusting a RAW photo ’s white balance and contrast. It is also invaluable when it comes time to print or display your photos on the web. When you print a photo, you can rest assured knowing that when a photo prints, the colors and brightness will be exactly the way you view them on your screen. Similarly, when uploading to the web, everyone else with profiled monitors will view your pictures exactly as you view them, with true colors! Never again will you look your photos the same way.
What You Need
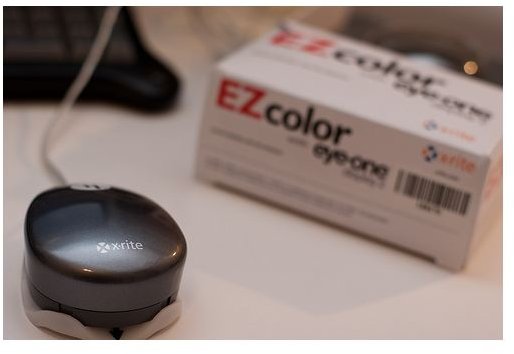
To calibrate your monitor for Lightroom, you will need a hardware calibration device such as the X-Rite Eye-One Display 2 or Datacolor’s Spyder 3 devices. Each comes with software that can automatically profile your monitor. They both offer a variety of devices (some with more advanced features), that allow you to manually calibrate your monitor’s luminance, brightness, contrast, white point, gamma, and more than you would even care to touch!
Recommended Settings
Here are a few settings it might ask you for:
White Point: 6500K
Gamma: 2.2
Luminance (Brightness): 120 - 150 cd/m2 (as a starting point, but can be adjusted to personal preference)


