It’s wedding time! This means that the wedding photographs have to be perfect. But, capturing the best wedding photographs takes some work. Use the proper lighting and make sure that your wedding photographs are done correctly!
Taking Great Shots
Weddings are undoubtedly one of the most important days in any couples’ lives. The goal of a photographer is to capture those perfect moments with perfect shots. Lighting can greatly affect how an image turns out. So, here are some wedding photography lighting tips and tricks to assist you in taking great wedding photography shots .
Outdoor Lighting
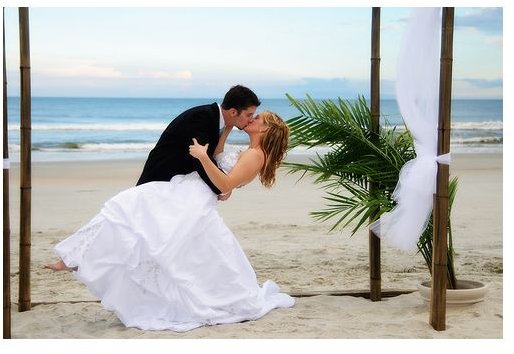
First of all, figure out whether or not this is an inside or outside wedding. If the wedding is outside, the best light would be natural, slightly overcast lighting . But, this all depends on the weather of the day. Regardless, your photographs need to be taken in soft light. If it’s a sunny day, ask the couple to stand under a tree or overhang of some sort. This will help diffuse the light.
You can also use a flash diffuser or try draping a sheer material over the camera. You’ll definitely need to use the flash and possibly a reflector. Check your light meter to see what is required for optimal lighting. If the conditions are extremely bright, this is where the reflector will help diffuse some of those shadows. If necessary, use a flash-fill. The flash-fill will brighten up the shadows so that no details are lost due to deep contrasts.
If the pictures are being staged outside, shoot for early morning or late afternoon. These times of day make for the best diffused lighting effects.
Indoor Lighting
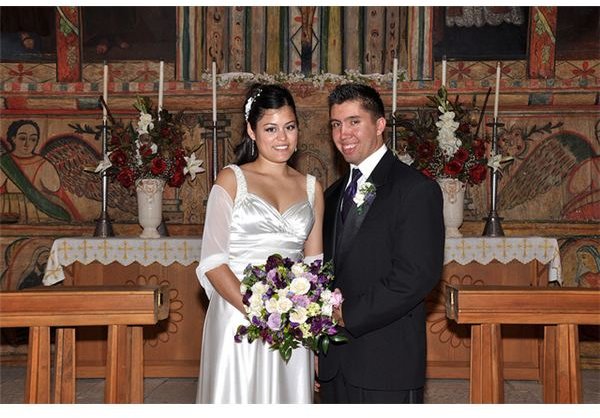
If the wedding is taking place indoors, you should find out what the church allows. Many churches do not allow flash photography at all. If that’s the case, use a tripod, and set your camera to a slower shutter speed. This will assist you in bringing in as much light as you possibly can. Some churches also don’t allow for a lot of movement so you will have to set up in one place.
If you are allowed to use flash, use the three-light setup. The three-light set up means that you will have your main light focused on the subject from the front and a backlight on their backs. The main light should shine from above the subjects.
Finally, a fill light will be used to lighten up any shadowy areas and should be positioned opposite of the main light at a slightly lower angle. Check with the light meter to ensure that the light is adequate.
If you cannot set up your lighting, you should use the reflector. Try to bounce the reflector off of a ceiling or wall that is light colored (white, beige, etc.) as opposed to a colored surface. The colored surface will add that color to the photograph itself. You should also try diffusing the light if it is too harsh. Use a flash diffuser or sheer material to create the desired effect.
Preparation is Key
The main key is to figure out the restrictions (lighting, movement, church) if there are any. Check out the location beforehand to see what lighting needs are required and create a list of must-have wedding shots . And, always have back-up equipment and batteries in case anything goes wrong.
References
- Pro Photography 101, http://www.professionalphotography101.com/
- Top Photo by Ryan Smith Photography - http://www.myrtlebeachphotography.org/
- Bottom Photo by Cameron Nordholm under CC BY 2.0
- Middle Photo by Larry 1732 under CC BY 2.0
- Christopher Maxwell, http://www.christophermaxwell.com/wedding-photography-tips.htm
This post is part of the series: Wedding Photography
Articles with tips for wedding photography.


