Ghostbone layers are texturized layers created in Photoshop used to overlay onto any image to create an overlapping effect. Creating these layers in Photoshop is easy and multiple texture layers can be added over an image with non-destructive layering.
Ghostbone Layers
Ghostbone layers are backgrounds used as subtle images for a background, logo, grid patterns and many other styles. In a nutshell, ghostbone layers are created as backgrounds or overlaid onto an image. Everyone has seen an image that uses this technique. If you have ever seen a picture with a background image crated as a grid pattern that is a ghostbone layer. They are easy to create and the possibilities are endless. Using Photoshop ’s non-destructive editing makes creating texurized layers a snap.
Choose an Image
Choose a simple image that will make a good pattern for the background. Any image can be used, but for this tutorial, a simple background will be best. Monotone images are the best backgrounds for text. Grid patterns can be used for backgrounds with logos, text or as a template for a series of images. A single color graphic image is a simple background image that will require fewer steps than a more complex image.
Ghostbone Layer With A Graphic
Step 1
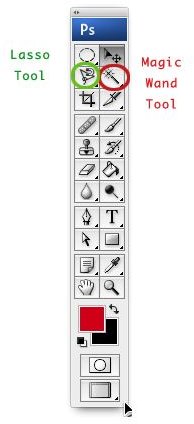
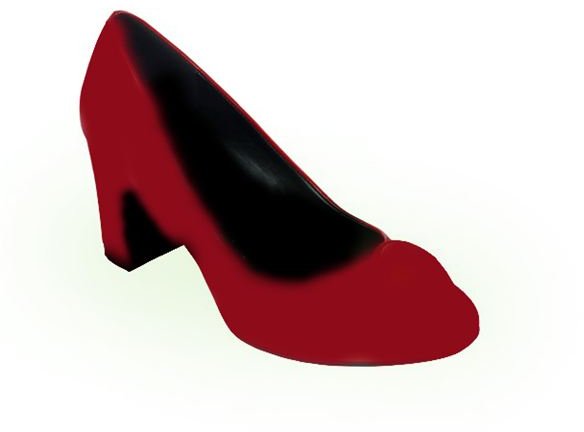
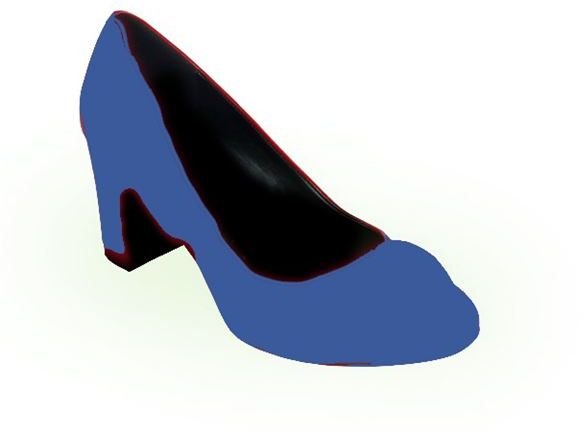
Choose the Magic Wand Tool (Figure 1) from the Tools Palette and select the whole image. If the background image is a graphic (Figure 2) or object, use the Magnetic Lasso Tool (Figure 1) to select the image. If the image is more complex choose Select>All or Cmd A on a Mac and Ctrl A on a PC. (Figure 3)
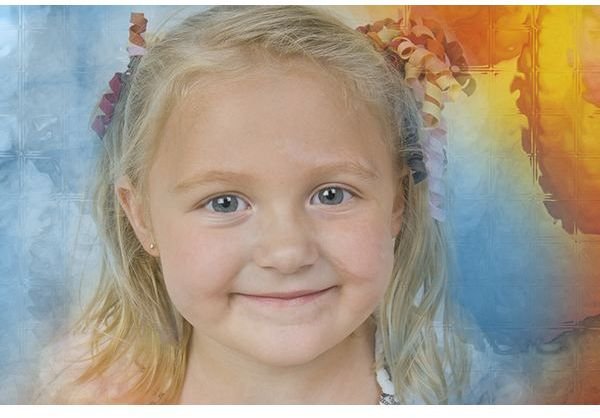
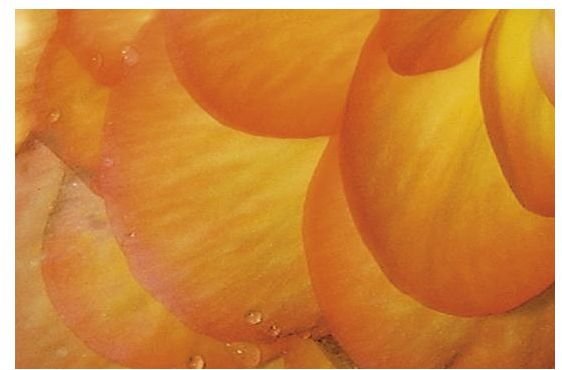
Figure 2 is a graphic that will make a simple background layer for text. Figure 3 is a more complex image that makes a good background layer for portraits or landscapes.
Step 2
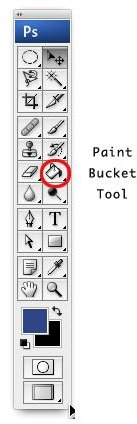
Choose the Paint Bucket Tool to change the color of a graphic to compliment the image it will be used with. Figures 4 and 5
Step 3
Select File>New and create a new document. Name the image, Grid. Select Transparent in the Background Contents drop down menu. Click OK.
Figure 4
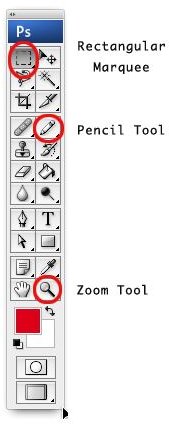
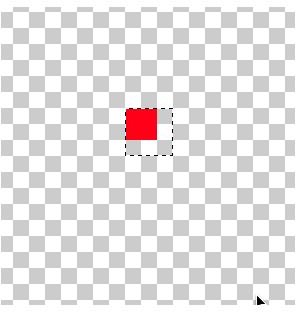
Choose the Pencil Tool in the Tools Palette (Figure 6). Set the size to 1 pixel. Make a 2x2 pixel box. You will need to use the Zoom Tool (Figure 6) to increase the window size to get an accurate size. Select the Rectangular Marquee Tool (Figure 6) and select the 2x2 pixel box. Add 1 pixel to the right side and bottom. Figure 7
Step 5
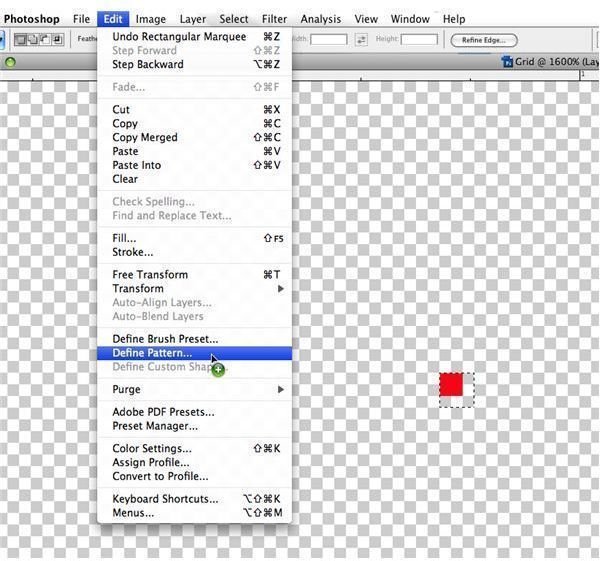
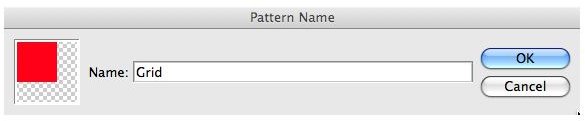
Choose Edit>Define Pattern from the Main Toolbar. Name the pattern Grid. Click OK. Close the document and return to the original graphic image.
Step 6
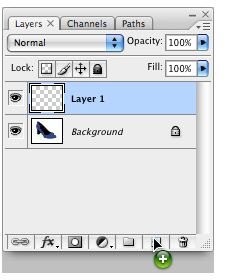
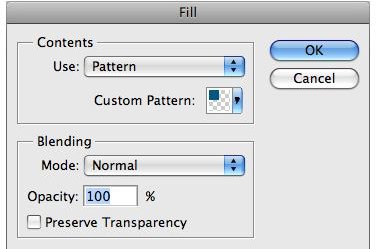
Create a new layer by clicking the New Adjustment Layer button at the bottom of the Layers Palette. Select Edit>Fill from the Main Toolbar Menu. Choose Pattern from the Use drop down menu and select Grid from the Custom Pattern Drop down menu. The Blending section settings are Mode Normal and Opacity 100 percent. Click OK
Step 7
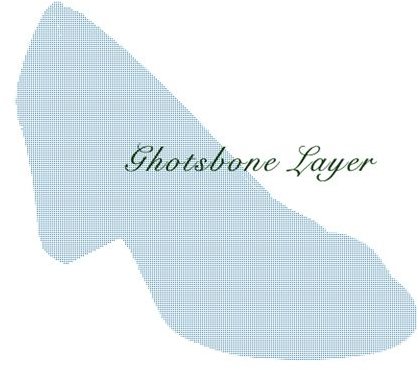
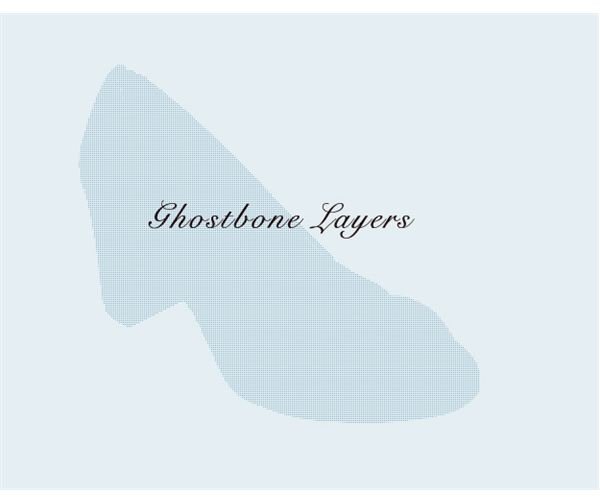
Delete the original layer, keeping the fill layer. A faded grid pattern of the graphic should be all that remains. Text can be applied on another layer or an image can be combined with the grid. The grid pattern can be used to overlay another layer for texture. This is a simple ghostbone layer effect.
Ghostbone Layer with a Texture Image
Here is a sample for a more complex background.
Step 1
Select All as in Step one for the graphic image.
Step 2
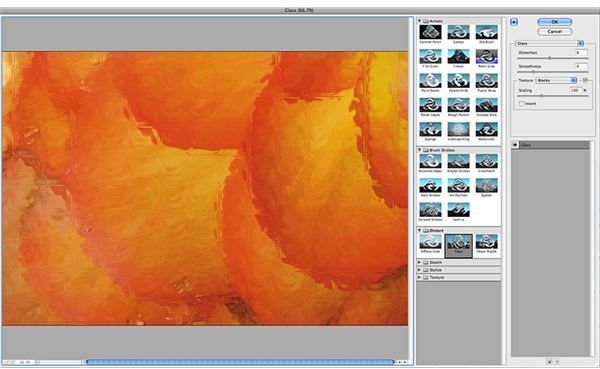
Choose Filter>Filter Gallery from the Main Toolbar. For this image, I chose Glass with Blocks for the Texture and set the Distortion to 9 and smoothness to 4. This will give a nice pattern effect. Figure 13
Step 3
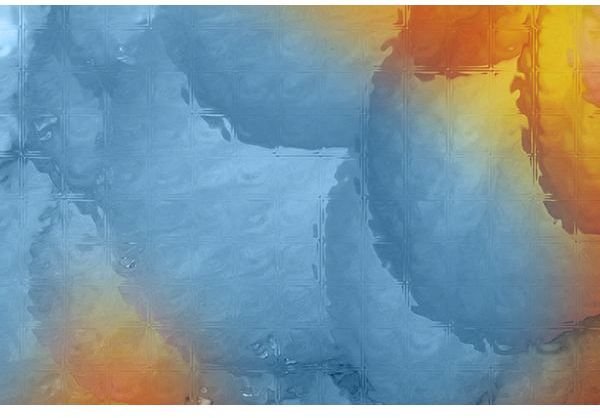
Select the Brush Tool from the Tools Palette and add a complimentary color. This creates the background image. Figure 14
Step 4
Create a new layer by clicking on the New Adjustment Layer Button at the bottom of the Layer’s Palette. Make sure the layer is in the bottom position. Copy the picture that is going to be the main image by choosing Cmd A and Cmd C (Mac) or Ctrl A and Ctrl C (PC). Next, in the bottom layer, paste the image below the background texture by choosing Cmd V (Mac) or Ctrl V (PC). Figure 16
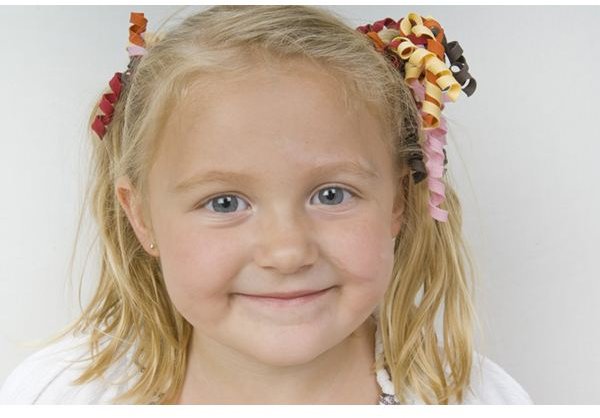
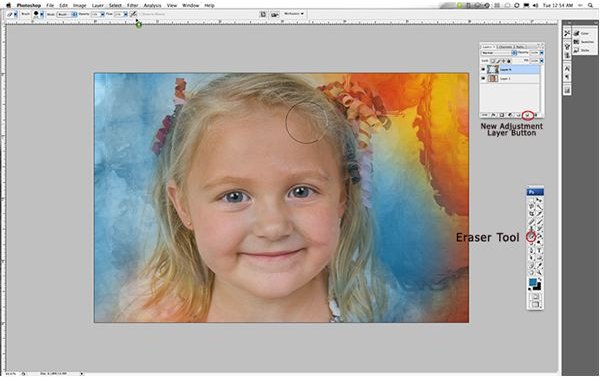
Step 5
Select the Eraser Tool from the Tools Palette and start erasing the background image till the face is clear in the eyes and fades to the edges. (Figure 17) Using the Opacity and Blending settings for an overall texture can also fade this effect. For example, a cracked effect works well for an overall texture on some images .