Add beard to your picture without installing a photo editing software by using free online services. This is a fun and simple way to edit your photos.
What’s With the Beard?
For some men, a beard is an asset to their physical appearance. It adds facial maturity, appeal, attractiveness and increases masculinity. Neatly trimmed beards reflect a person’s personality as formal, professional or a male just going through puberty. Beards that are not trimmed often project a bad boy image, sharp personality and a much older appearance. Not all men look good with beard and maybe some didn’t know that they look better with it.
Now, here are several tips and tricks on how to add a beard to a picture using free photo editing online services. It is a fun way to experiment with your photos to see what you would look like with different beards.
Using Pizap.com
Pizap is a free online photo editor. Editing is done by dragging and dropping objects into your photo. There is no registration required. So, you can start immediately by uploading your picture.
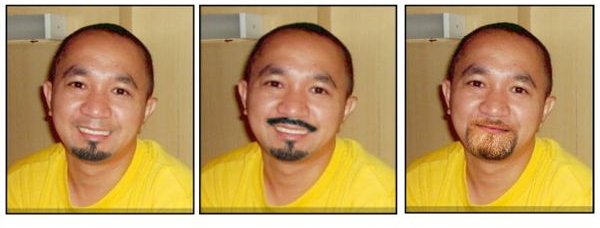
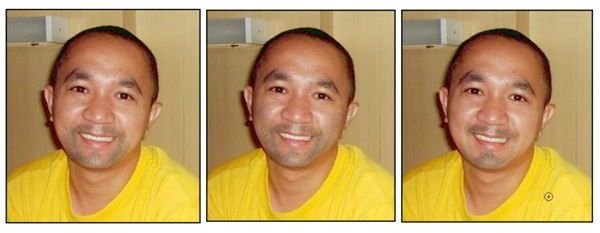
As soon as you uploaded your picture, click on the face icon marked with red circle in the image below. Then click the hair gallery. There are seven beards available combined with the hair styles and mustache.

Simply drag and drop your chosen beard to your picture. Resize and rotate the beard to fit your photo.
Since the objects in the gallery are ready made images, it is up to you to choose the right photo to edit as well as with the adjustments of the objects to suit your picture.
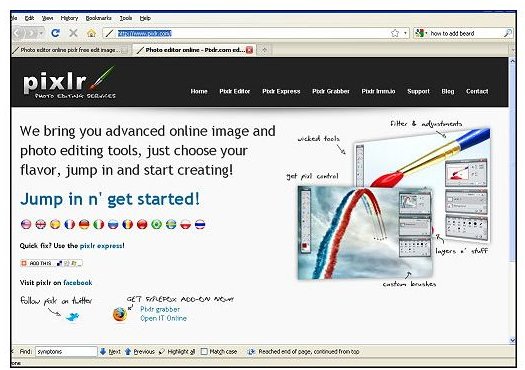
Pixlr.com
Pixlr is an advance image and photo editor online . It has the same workspace arrangement and some editing tools seen in Photoshop. This is very exciting because you can now define the beard you want without installing a photo editing application. Since it does not have a drag and drop feature and readymade objects, you will be guided with a short and easy-to-follow tutorial using Pixlr as your editor.
Pixlr
Open a new window and go to Pixler.com. As seen in the front page, let’s jump in and get started!
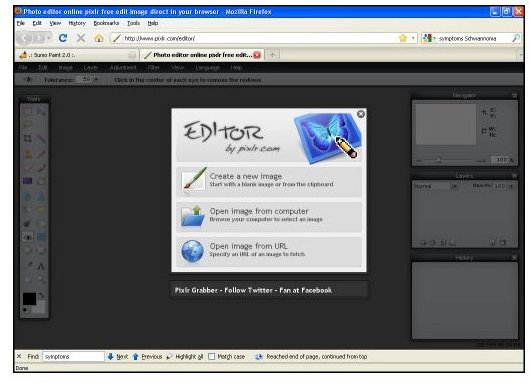
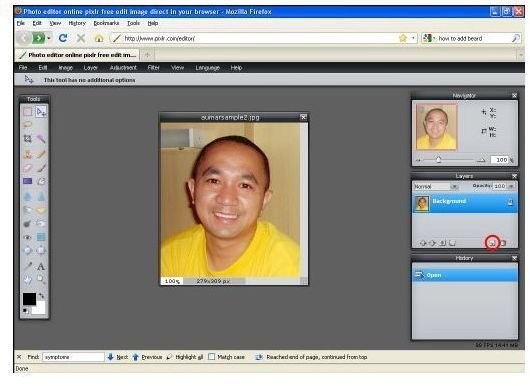
Open the image you want to edit from your computer or you may specify an image URL from the net.
Click the add layer icon marked with red circle in the image below.
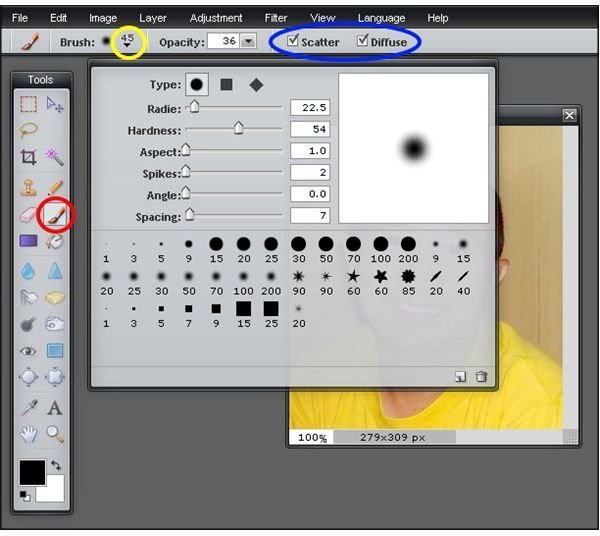
Now that we have a new layer, click the brush tool in the tools bar marked with red circle. In the brush options above, click the brush size highlighted with yellow circle. Extended brush options will appear and follow the adjustments shown except for the Radie as the brush size because it will mainly depend on how big is your image. Then, check the Scatter and Diffuse option.
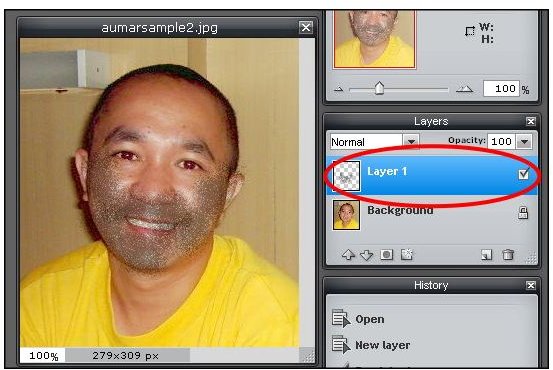
Make sure that the new layer is highlighted. Now, brush the face just like this. Don’t worry about the excess marks, we can fix that later.
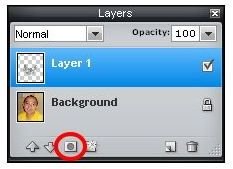
Click the layer mask. After adding a layer mask, the brush marks in your picture will disappear.
Using again the brush tool, brush the area of the face where you want the beard to appear. This time you can be specific with the shape and location. You can always use the Ctrl Z to Undo your previous action. As you notice, the beard reappears in the area you brush.
Adjust the opacity to make the beard lighter or darker and you can also adjust the size of the brush for the narrow areas.
Free Like a Bird
Using the drag and drop websites mentioned above, you are free like a bird to conduct your experiment on your photos. Design your photos by trying the available objects, not just the beard. And with Pixlr, it is a great advantage that you can access an advance photo editing service online. There are many things you can do with your photos in Pixlr, try every tools and effects just like creating it with Photoshop.


