Turn your picture into a transparent GIF with this easy step-by-step tutorial using Photoshop. You can turn your white background image or full background image to transparent in order to show the color and style of your webpage background.
Overview
In this Photoshop tutorial, you will learn how to turn your picture into a transparent GIF. GIF stands for Graphics Interchange Format which is an image format commonly used in websites .
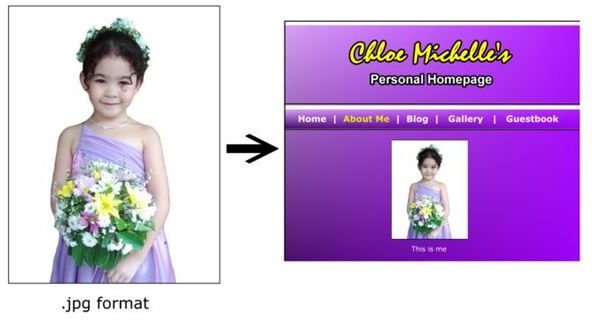
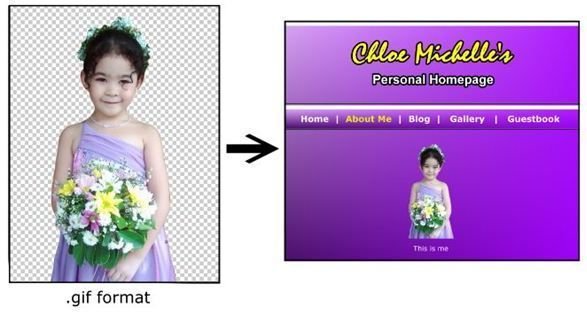
The images below show the difference between a JPG and transparent GIF on a website.
The transparent part of the GIF allows the background of your image to show through around the object. You will learn how to do this in easy steps.
Part 1: Plain Background
This part of the tutorial is applicable only to photos with plain or one solid color background. The edges of the object or person in the picture that you want to retain should not be similar to the background color. If so, you may try part 2.
Let us start by choosing the photo you want to edit.
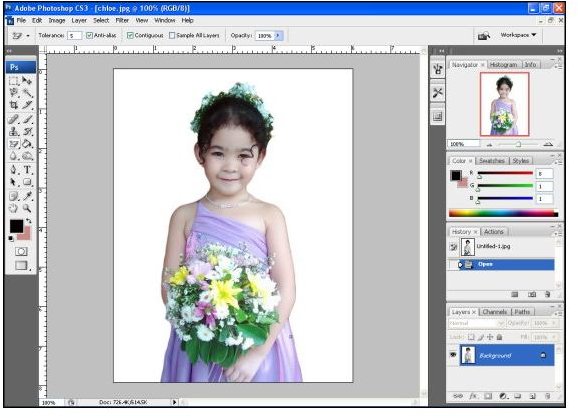
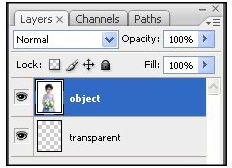
Go to the layer tab found at the right side. The background layer is the image you opened. Right click on that layer and click the duplicate layer.

A pop up window will appear. Name it as “object”. Now we have two similar layers with different names. Click the background layer and press the delete key in your keyboard. We only need the duplicate layer.
Then, Press Ctrl Shift N to create a new layer. Again, a pop-up window will appear, rename it as “transparent”. We have now the transparent layer and the object layer in the layer tab.
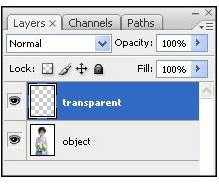
What you need to do next is to simply drag the object layer up the transparent layer to switch the arrangement. It should look like this.
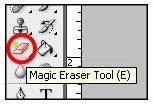
Click the magic eraser tool in the tool bar found at the left side of your screen.
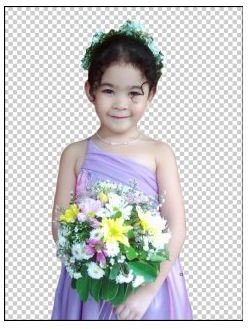
Make sure that the object layer is selected or highlighted in blue in the layer tab. Let’s go back to the big picture. Click the white background of your photo. The white background should be erased turning into gray and white checkered pattern. The checkered background represents the transparent area.
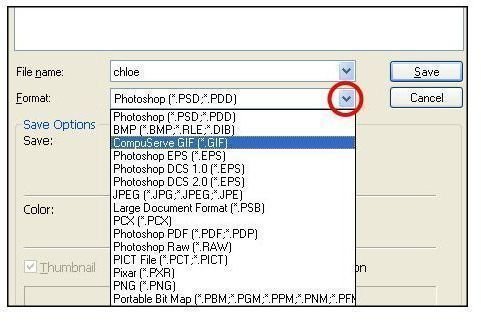
Now, we have to save the image in GIF to keep the background transparent. Press Ctrl Shift S to save as a different file. On the ‘Save As’ pop up window, write your desired file name and click the format drown down arrow and select CompuServe GIF (*GIF). Then, click save.
We are done with the first part. If you don’t have a website to test the image, you can try it by inserting your GIF image in your Microsoft Word Document.
Part 2: Photos with Background
There are many common images with white backgrounds that can easily be turned into transparent GIFs but how about if the image has a full background?
Well, you need to make it as an image object or simply turn the background into white. You may follow this link to learn how to cut a person from a picture and as soon as you are done cutting, continue the steps by following the Part 1 of this tutorial.
Maximize Your Learning
Don’t limit yourself with what the tutorial shows you. You can always define the area you want to make transparent. You can also make the center of the photo transparent and design the inside edges to make a digital photo frame .
JPG vs GIF image
Since JPG do not support transparency and animation, GIF is widely used in adding image designs to personal homepage and logos to other websites. In the other hand, professional designers does not prefer to use GIF image because it is only limited to 256 colors thus, it does not show the best image resolution while the JPG can run up to thousands of colors.


