If your treasured photos have become damaged, you can use free software such as GIMP to restore them. Find out how to restore scratched, discolored, faded and torn pictures in this open-source photo editor.
Getting Started With Photo Restoration
It’s fairly easy to restore damaged photos using the powerful tools found in GIMP. This free, open-source image editor has many of the tools and features of professional photo editing software such as Photoshop. Before you get started restoring your photos with GIMP, scan the photos onto your computer using the highest resolution possible. 600 dpi will produce an ideal result for printing and storage. However, you can scan at a higher or lower resolution as necessary to get a higher image quality or save space on your hard drive. For example, if you’re editing your photo to include it on a CD, DVD or to publish it on the Internet, you can scan at a lower resolution such as 200 dpi. Select a lossless format such as PNG or BMP for your scan. When you complete the edits to your damaged photograph in each section below, be sure to save your image with a new file name to preserve your original scan.
Restore a Scratched Photo
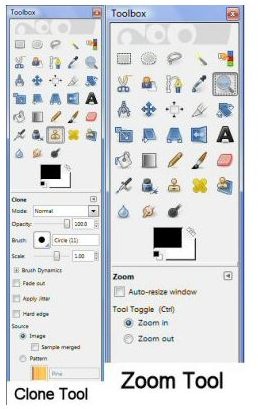
Load the scan of your scratched photo in GIMP. Press the magnifying glass icon in the toolbox to zoom into the damaged photo. Then click the clone tool, which looks like a rubber stamp. Reduce the scale of the clone brush until it is about 1/2 to 1/3 the width of the scratches on the photo. Press CTRL+CLICK to set the area you would like to use as a source. Select an area that looks as the area did before it was scratched. Look at adjacent areas on the photo to determine this. Click and drag the mouse to copy the intact part of the photo onto the scratched area. Continue cloning good parts of the photograph onto the damaged parts until all the scratches are gone. If some splotches remain after you’re finished, click “Filters” and select “Despeckle” from the menu. Move the sliders until the image looks smooth, then click “OK.”
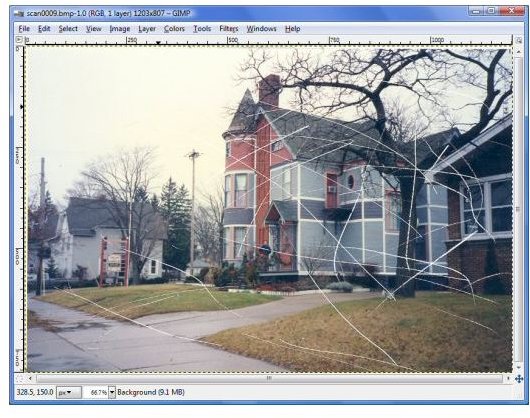
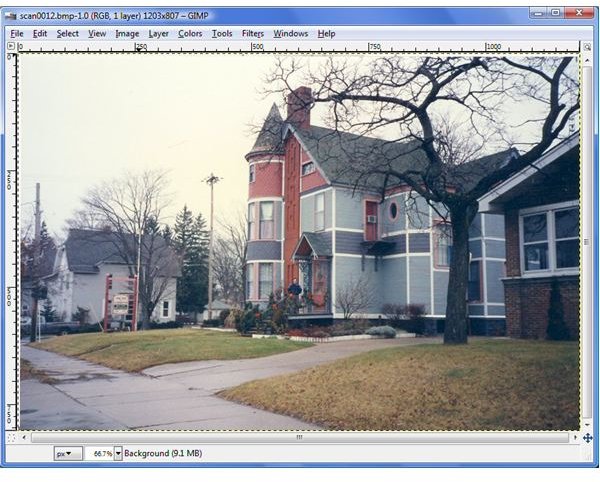
Restoring a Scratched Photo: Before and After
Restore a Discolored or Faded Photo
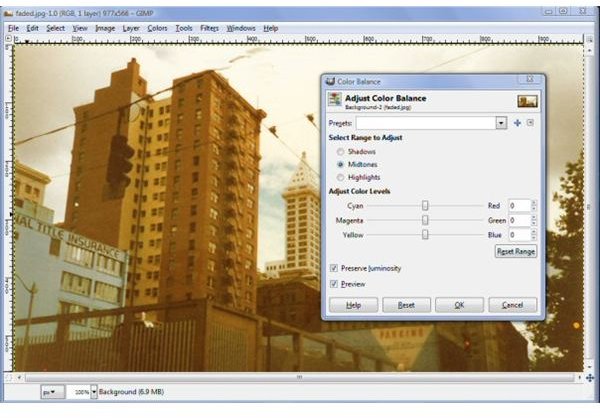
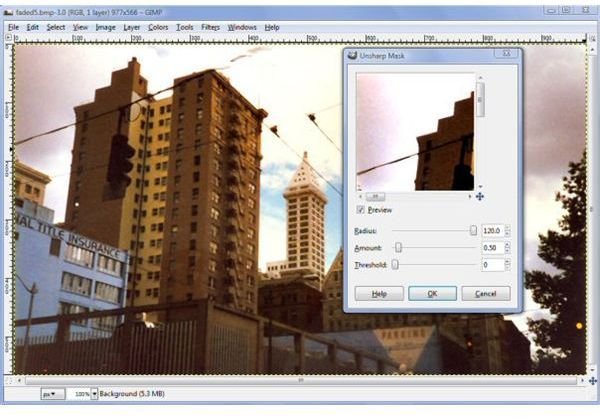
Open the faded photo in GIMP, then select “Colors” and “Color Balance.” Under “Adjust Color Balance,” select “Shadows.” Move the sliders until the photo improves. Repeat this process for the midtones and highlights ranges. Keep in mind that many photos become more yellow and less red when they fade. It’s a good idea to increase all the color levels when restoring a faded or discolored photo in GIMP. However, increasing the yellow less and the red more may provide an improved result. When the color of the image looks right, click “OK.” Select “Colors” and “Brightness/Contrast” from the GIMP menu. Ensure that the “Preview” option is checked. Move the sliders up and down to achieve the best appearance in the photo. Increasing brightness and contrast may make the photo look more faded, so try moving them both down to see if this provides a better result. Also, increasing contrast too much may obscure details within the photo, so keep these values fairly low. If the photo still seems faded, click “Filters” and “Enhance.” Select “Unsharp Mask.” Increase the radius to the maximum. Move the “Amount” level to between .25 and .50. Click “OK.”
Adjusting Color Levels and Using Unsharp Mask
Restore a Torn Photo
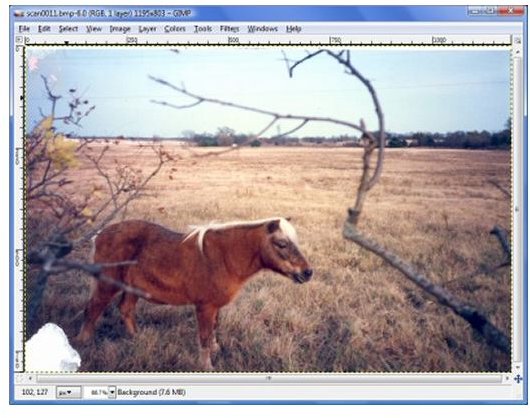
Open the torn photo in GIMP, then select the “Clone” tool. Press CTRL+CLICK to select an area within the photo that looks very similar to the missing region. Click the “Scale” slider and move it upward to make the clone tool larger. Copy the texture onto the torn or missing part of the photo. This works best if the area to be restored is a simple texture such as grass or sky. If you don’t have much source to work with, you may notice a pattern developing on the photo. You can eliminate this effect by taking care not to re-clone an area which you just cloned onto the photo. Instead, pick up the clone tool and begin cloning again from the original source area. To copy a texture such as brick or siding, carefully align the clone source with the clone destination.
Using the Clone Tool to Restore a Torn Photo

Saving Your Photo
Always save your photo file with a new file name to preserve your original scan. To do this, click “File” and “Save As” in the menu. Click the plus sign next to “Browse for Other Folders” if you’d like to save your finished image in a different location than the original. Also click the plus sign next to “Select File Type (by Extension)” to save the photo as a different file type. Be sure to save at least one copy of your image as a PNG or BMP file to save your image at high resolution. If you’re trying to reduce the file size for publication online, also save your photo as a JPG file.
References
- “5.2. Color Balance - The Gimp” http://docs.gimp.org/en/gimp-tool-color-balance.html


