In this DIY photography project, you’ll learn how to make your own pinhole camera at home using products you either already have, or can easily obtain.
What Is A Pinhole Camera? What Do I Need To Make My Own?
First and foremost, a pinhole camera is basically a can or a box with a very tiny hole in the center of one of the ends. The interior of the camera is completely black. On the other side of the camera (the side without the pinhole) is a flat surface where the film is held. There is also a cover that goes over the pinhole to prevent any light from getting into the camera.
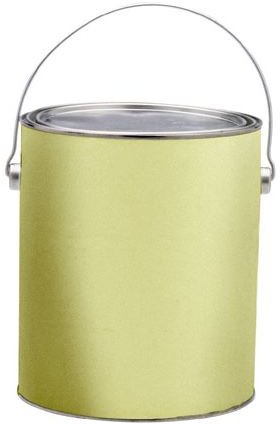
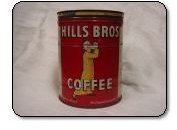
There are two main ways to make your own pinhole camera. The easiest, which I will explain here is to use a can with a tight-fitting lid (such as a coffee can). If you don’t drink enough coffee to warrant having a 2 pound coffee can lying around, you can also use a paint can, or even a cylindrical oatmeal box. Most of these cans have a plastic lid which you will want to make sure to paint black. Go to a local art shop or hardware store to find the blackest paint that you can. You’ll also need a #10 sewing needle to poke the hole.
Starting The Process
First, paint the lid of the can. Before you use the lid, make sure that every spot is covered and no paint has peeled or chipped off as it will ruin the film. You’ll also want to check periodically to make sure the paint is still intact. On the inside, you can either paint with a dull black color or line the inside with black paper so that there’s no reflection given off.
To make the pinhole, use the side that is not removable. When using a pinhole camera it’s much easier to attach the film to the removable end of the camera. For a camera with the film that ends up being three to six inches from the pinhole, a good size for the hole is about 1/75 inches. The hole can either be made into the can itself, or you could make a bigger hole in the can. If you decide to make a bigger hole in the can (as a sewing needle may be a bit hard to poke through a coffee can) you’ll want to make the hole about ¼ inch. You can actually use a piece of thick black paper to poke the 1/75 inch hole into and then fasten that paper over the larger hole in the can.
The needle should be poked through halfway, and it’s best to rotate the needle as you push it through to make the hole smoother. You can also use different needle sizes and experiment with the photos to see what size you think works best. After you’ve got that complete, look through the camera at a poster or newspaper to make sure that the image is clearly visible. If not, you may have to sand the edges with a piece of sandpaper.
Adding The Shutter and Viewfinder
The shutter can be something as simple as a small piece of dark opaque paper with one side taped over the hole to create a hinge. You can use a smaller piece of tape to keep the shutter closed when you aren’t taking photos with the camera. For a pinhole camera, a viewfinder isn’t really necessary, but can be added. The viewfinder can be created out of a frame made from cardboard and fastened directly above the pinhole of the camera. If you decide to use a viewfinder, tilt the camera slightly upwards before taking a photo to allow for parallax. Parallax is defined as the difference between what you see through the viewfinder, and what the camera actually sees. This is most commonly why some photos show edges cut off from tops of trees, or only seeing half of something on either side. What you see in the viewfinder will be slightly different than what you’ll see in the finished photo.
Loading Your Camera
While it is possible to use film with a homemade pinhole camera, photo paper is a better choice for several reasons. Firstly, photo paper is easier to handle as you can load it yourself with a safelight. A safelight is the same light used in a darkroom which emits light, but not the type of light that ruins the exposure of film. If you don’t have access to a safelight, you can also use a flashlight with about eight sheets of red cellophane paper placed about 6 feet away from you. If you choose to use film, it will need to be loaded in complete darkness. Photo paper is less sensitive to light than film, so for a sunlit object, count on an exposure time of about two minutes as opposed to one or two seconds for film. Based on a 2lb coffee can, the camera will require a 2 ¼ x 3 ¼ inch piece of photo paper. If you’ve chosen to use a paint can, you’ll need about a 4x5 inch piece of photo paper. Once you have the size needed, tape it firmly to the inside of the camera opposite of the end with the pinhole. The emulsion side (the side of the photo paper that is shiny.) An easy way to tell which side is the emulsion is to take a moistened finger and touch both sides of the paper lightly. The emulsion side will have a tacky feel to it. Make sure you test on the edge of the paper so that you don’t end up with a fingerprint in the middle of your picture. After loading the camera, close it tightly and make sure the shutter is closed.
Exposures and Times
In order to have clear, crisp photos you will need to keep the camera very still while the shutter is open. You can tape the camera down to a table, or use a bit of clay to hold it in place. Once the camera is secure, lift the black paper over the pinhole and leave it open for the approximate time by calculating the F number. This is done by dividing the distance from the pinhole to the photo paper by the diameter of the pinhole.
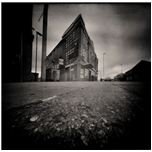
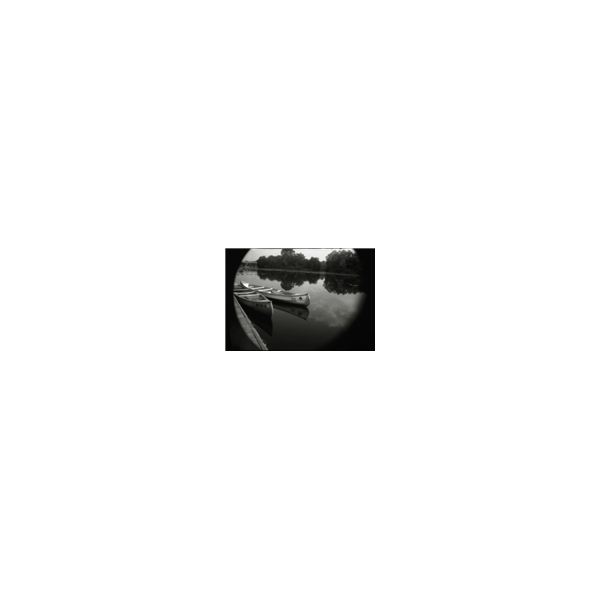
Images Taken With A Pinhole Camera