Reverse Macro Rings are getting expensive. Why not make a Reverse Macro Ring for yourself by spending just a few dollars?
Introduction
Macro lenses can be very expensive. Does this mean it is not possible to take photos using macro lens? No…you can make a reverse macro ring. Let us see how to do a reverse macro ring in the coming paragraphs.
Reverse Macro Rings – what are they?
Reverse macro rings are mounted to the back of an SLR camera to take macro shots. The length of the lens is anywhere between 24mm and 60mm. Why make a reverse macro ring rather than buying it from a camera shop? As reverse macro rings are slow moving items, it is not possible to find one when you need it. They have to place an order when you request for one and the price ranges between $30 to $60 USD. However, you can make a reverse macro ring for as little as $5. Isn’t that great news?
DIY Reverse Macro Ring – how to
Before getting on to the details on how to do a reverse macro ring on your own, let us first look at the things that are required to make one. One would require the following items:
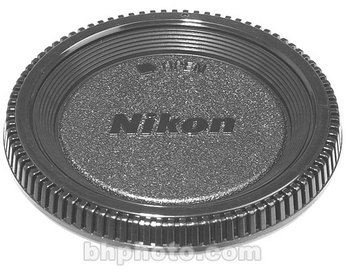
a. Body cap of an old camera (Ref: Fig 1 – Body cap)
Image Source : Bhphotovideo
b. A filter. The size of the filter should be of the same size of the lens you would require.
c. Super glue and epoxy glue
Fig 1 – Body cap
Steps-by-step instructions for DIY Reverse Macro Ring
1. Cut the middle of the body cap.
2. Take the filter and remove the glass. Be careful as to not cut your finger when removing the glass.
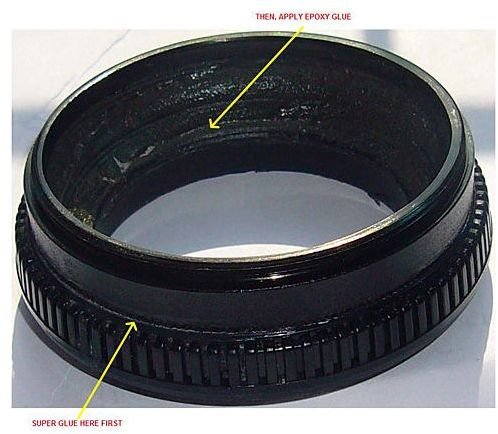
3. Join the body cap and filter ring in such a way they both don’t face each other. Align them carefully with a little super glue.
4. As you have used only very little super glue, you may re-align it if you feel the alignment is not proper. When you feel you got the required alignment, apply more amount of super glue all along.
5. Wait for the glue to dry up. It might take about 3 to 5 minutes.
6. Apply epoxy glue in the internal seam and allow it to dry. Epoxy glue takes a minimum of 45 minutes to 1 hour to dry up. (Ref: Fig 2 – DIY Reverse Macro Ring)
Image Source : Wired
7. Fit this to the camera now.
Hurray! Your DIY Reverse Macro ring is ready and you can shoot excellent shots now.
Fig 2 – DIY Reverse Macro Ring