Your camera’s exposure compensation control feature offers a handy tool for dealing with unusual exposure situations. It’s not hard to learn how to use this option and it can help you in a variety of situations.
Introduction
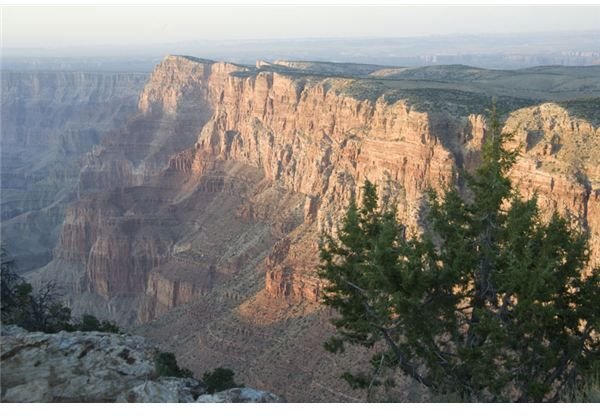
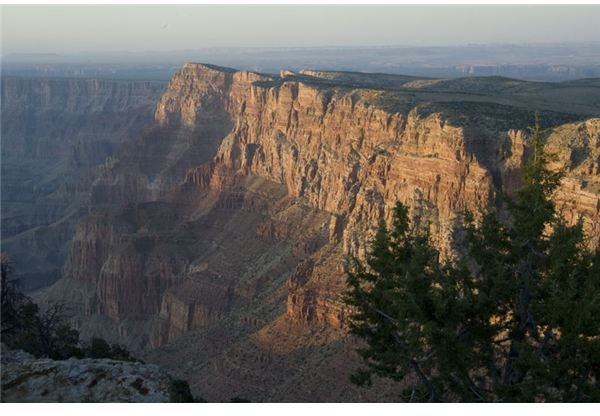
Modern DSLRs provide all sorts of options for auto exposure. In many situations, those auto exposure options work pretty well, but not always. In situations where you’re dealing with strong backlighting or unusual conditions, auto exposure can fail you. It also helps to understand how your camera views the world when it comes to exposure. Since the “average” scene measures out to 18% gray, camera light meters and exposure systems are calibrated to that measure. That’s fine for “average” situations, but what happens when the world isn’t 18% gray. Suppose you’re photographing a white cat running through a snow covered field or a black cat running across down an asphalt road? In each of these cases, your autoexposure will deliver the wrong results. Both scenes, if left to autoexposure will end up photographing gray.
Making Exposure Compensation Work
So how do you handle such a situation? Well, there are a couple of solutions, one is to set your camera to manual exposure and meter off of a gray card held under the same light your subject is under. Another is to use your camera’s Exposure Compensation control dial. This handy tool can be used to add or subject several f-stops worth of exposure to help correct for unusual lighting conditions. This control can be used to add compensation (dialing in the plus direction) or subtract compensation (dialing in the minus direction). While the amount of compensation possible varies from camera to camera, most offer from 2 to 3 f-stops worth of control. Generally the compensation controls move in either 1/3 or 1/2 f-stop increments (often programmable with the camera’s custom functions).
The challenge in using your camera’s exposure compensation controls lies in figuring out when the scene needs the compensation and how much of it to dial in. Thankfully your DSLR provides a lot of useful information via its LCD screen. One particularly helpful option is a graph known as a histogram which shows the image’s pixel distribution from dark to light areas. If the distribution is too far to the left, with no pixels on the right side of the graph, then the image is underexposed and needs some extra compensation. Depending on how far the histogram is scrunched to the left you’ll boost the exposure as much as an f-stop worth or more. Your goal is create an image with a pixel distribution that runs as close to the right edge of the histogram as possible, since that will include as much highlight detail as possible. If your histogram shows the opposite (bunched over to the right) then subtract compensation.
Another way of using exposing compensation involves flash photography. Depending on your camera and flash combination, you may be able to dial up a mix of flash and camera exposure compensations to get the right mix of ambient light and flash coverage. Generally the flash’s exposure compensation is set via the flash unit’s control panel, but some cameras make it possible to make adjustments through the camera’s custom functions. One thing to be particularly careful about is making sure you return your exposure compensation control back to its neutral setting once you’re done with your shoot. If you don’t, you may find your next shoot ruined as a result.


