What is digiscoping? Read on to enter the universe of digiscoping, including tips, techniques and valuable resources.
Digiscoping 101
I’m sure we’ve all encountered those times when the available magnification just isn’t enough, no matter how far we push it. If those times frustrate you as much as they do me, you might want to consider entering the universe of digiscoping.
Digiscoping is exactly what it sounds like- using a microscope or telescope to improve on your camera’s magnification. One advantage of engaging in telescope or microscope photography is that the camera and viewing device are totally separate; as a result, you can upgrade your camera without affecting the viewing device, and vice versa. You can also take advantage of optics that wouldn’t fit on your camera, at least not at a reasonable price. Depending on your budget, you can either attach the viewing device directly to the camera or use an adapter that matches up the eyepiece with the lens of your camera (or line them up by hand). While the handheld technique works passably in microscope photography, it doesn’t work nearly as well with telescopes, since the longer focal length also results in a narrower field of view and an increased sensitivity to movement.
Line up the eyepiece of your with your camera’s lens, take the shot, and enjoy the results… if only it were that simple!
One general difficulty is that associated with light. When using extremely high magnifications, the effective aperture (especially in the case of microscopes) gets reduced accordingly, thus making light a precious commodity (after all, you can’t take a picture of something you can’t see!). Commercial microscope companies address this issue by selling external light sources, but you may have to resort to higher ISO settings to compensate or make use of longer shutter times. For this reason as well as mitigation of vibration issues, a tripod is very highly recommended. Naturally, light tends to be less of an issue with binoculars and telescopes, due to their larger lenses and correspondingly larger light gathering ability.
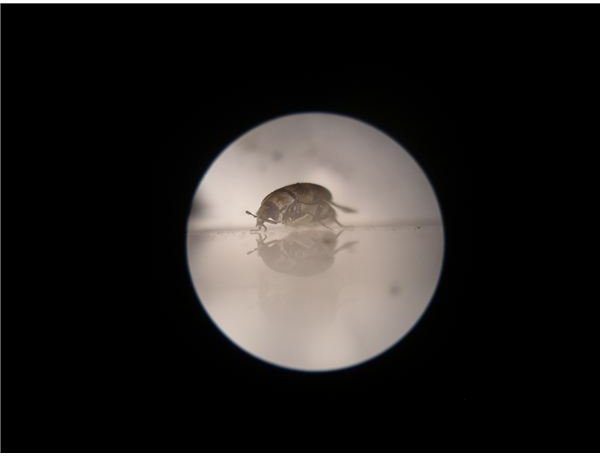
If you’re not using a camera adapter, another challenge is aligning the optical axis of the camera with that of the viewing device; misalignment will result in vignetting, causing a circular FOV framed by the eyepiece rather than the usual rectangular FOV. I haven’t considered this to be a problem as long as I can get a clear shot that includes the entire viewing device FOV, but if it becomes an issue, insure that the FOV of the viewing device is equal to or greater than that of the camera. The best results I have achieved with this method have been with a Pentax Optio point-and-shoot camera, since its barrel diameter just happens to perfectly match the diameter of the dissecting microscope’s eyepiece.
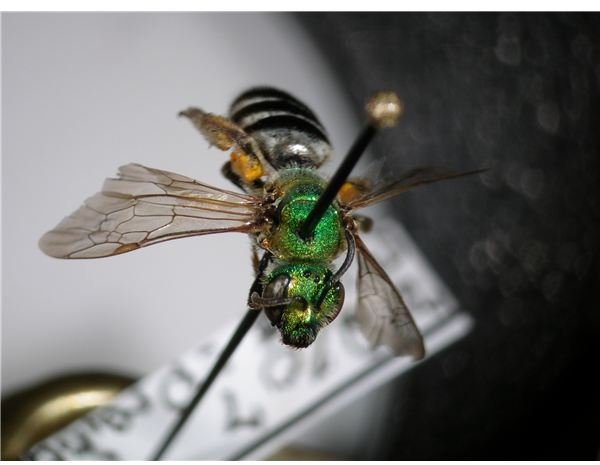
Keep in mind that the kind of observation you want to do will play a large role in the imaging device you choose. If you’re viewing animals, a small, rugged scope that can be rapidly moved and rapidly trained on your target is critical. If you’re practicing astrophotography, then magnification as well as light gathering ability (and possibly the ability to track stars automatically) will be some of your key concerns. If any of this interests you, check out this resource on digiscoping on a budget or Mike McDowell’s extensive digiscoping blog & tips. Digiscoped.com also provides a wealth of technical detail as well as specific information on Nikon & Canon rigs. And above all, have fun experimenting with digiscoping!
Images