Like Adobe Photoshop, GIMP’s Layers feature lets you manipulate your graphics in so many different ways. But the best thing about it is that you can delete a layer without ruining your original background layer. Here’s a brief tutorial on the basics of using GIMP Layers.
Using GIMP Layers - Basic Tutorial
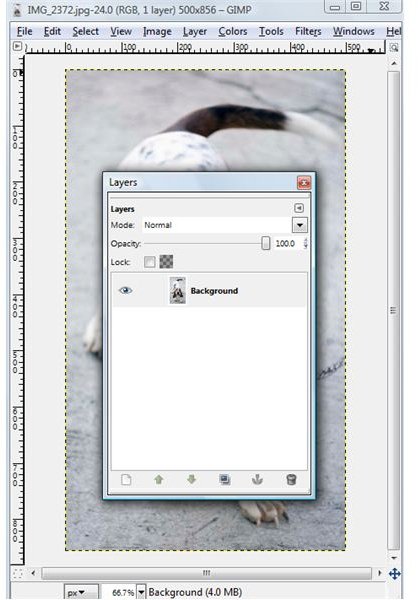
To get the Layers Dialog Window from the GIMP Main Window, you can do two things - open a new file or create a new file from scratch. Either way will give you a background image to work on with Layers.
To open up the Layers Dialog Window, simply hit CTRL+L. Now, examine the elements contained in this new dialog window. To learn what you can do in the Layers window, take a look at the feature icons located at the bottom of the window. The first option lets you create a new layer. The next two options represented by an up and down arrow let you move layers. You can see how this feature behave if you have 3 or more layers currently active in the Layers Dialog Window. The next option allows you to create a new layer and then add it immediately to your background image. Next you have the anchor icon which you can use for floating selections. It adds a floating layer to the layer below it. And finally you have the trash icon which obviously is used for deleting any layer.
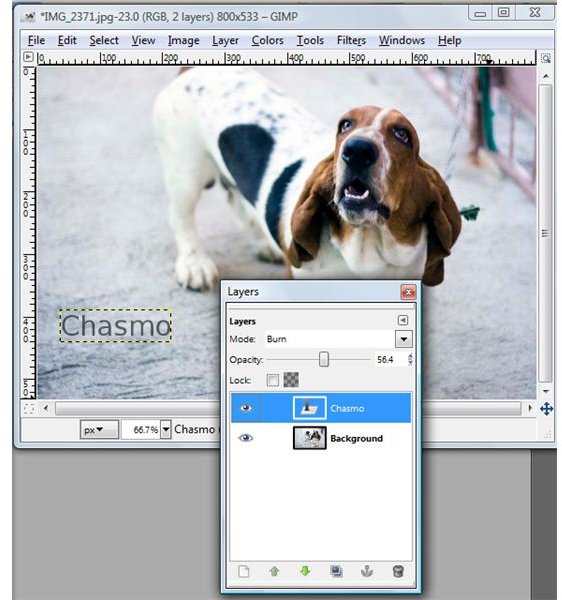
Right above the Layers Window are several other options. The first one being an arrow icon which if you click will reveal the configuration box containing various options that lets you add command tabs, show button bars, change preview size and more. Directly below this arrow is the mode option. Click on the drop-down arrow to reveal various blending modes that you can apply to your layers. You can also reduce the opacity of currently selective layers using the opacity slider or set a specific opacity level by using the up and down arrows. Finally, you also have two options for locking the alpha layers of either the background layer or other layers available.
Now, it’s time to play around with the GIMP Layers Window.
Once you’ve selected a particular layer, you’d notice that it is now highlighted in beige. Click on the eye icon to hide the currently selected layer, reduce the opacity of a layer and use all the other features of the Layers Window. Just make sure that you are working on the right layer. One thing that you should pay attention to is the fact that if you’ve added a new layer and edit or modify it, the background image is not affected at all. You will only see the things that you did with the current image after you’ve saved the image.
And basically that’s all you need to know to start working with GIMP Layers. Remember you can always delete a particular layer if you have erroneously added something to it that you don’t want to appear on your image.


