In part two of this series on tethered photography, we will take a look at the requirements for setting up a tethered shoot. What software can you use? How to shoot, change camera settings and a lot more. Read on to learn about tethered shooting with your digital SLR camera.
Requirements for Tethered Shooting
The most basic requirement would be that your camera supports tethered shooting. Most of the modern midlevel and some entry level digital SLRs come with this feature. Check your camera manual to see if it supports tethered shooting.
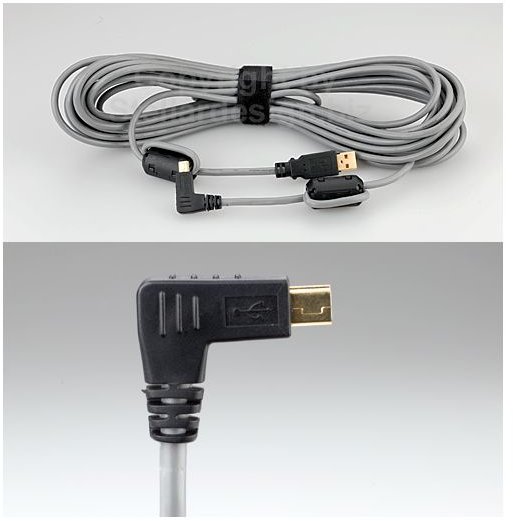
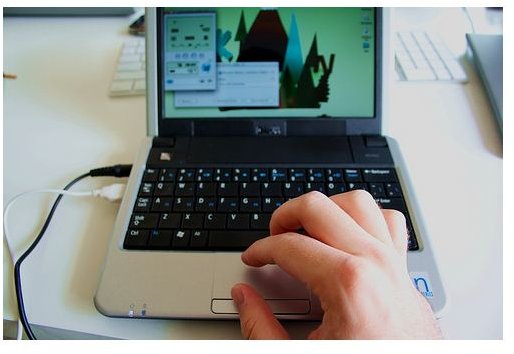
You’ll need a desktop or a notebook/laptop computer with a suitable USB or firewire port. Most of the modern cameras come with the USB port as standard for any kind of tethering or external control of the cameras. Depending on the amount of free movement you would like with your camera or working conditions, you’ll need a suitably long connecting cable. USB 2.0 supports cable lengths of up to 16 ft which is not a lot but usable if you are shooting in a studio environment. There are also amplified USB cables which allow for longer lengths, you have to look for these special cables for more freedom of movement.
The next most important requirement is software that will allow you to perform tethered shooting. Adobe Lightroom and Apple Aperture are two of the leading photography solutions that support tethered shooting with select cameras. Canon digital SLRs come with the EOS capture software that will allow you to perform tethered shooting. Nikon shooters need to purchase the Nikon Camera Control Pro software package if their camera is not supported by Lightroom or Aperture.
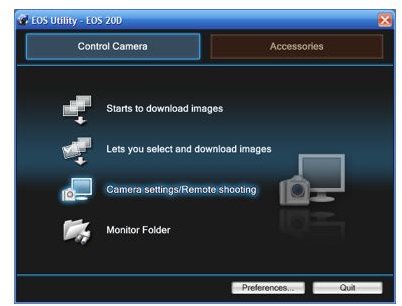
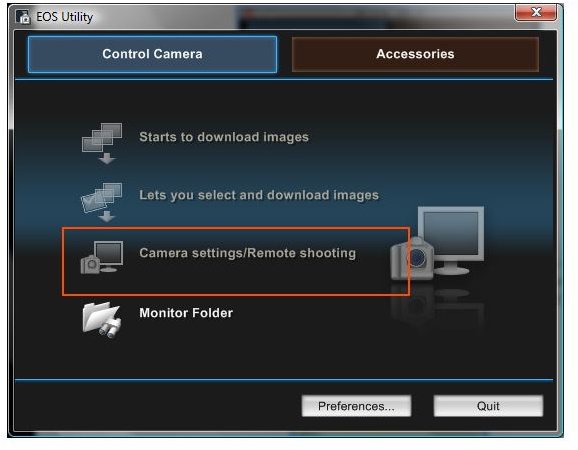
There are also several third-party software solutions available that will allow you to perform tethered shooting. Shown in the image below is what the Canon Capture software screen looks like and by selecting the appropriate option from the menu after your camera has been connected to the camera, you can start shooting tethered (click on any image to enlarge).
If you intend to use third-party software, refer to the software site for the list of supported cameras. Once you get the hang of doing a tethered shoot you can modify equipment and set up a rig for your shooting requirements.
Software Capabilities
Once you have set up the shot and lighting requirements, it’s time to set up your camera. Connect your camera to the computer using the USB cable and load up the capture software. The capture software screen should pop-up with controls to set up your shot. The screen usually consists of all the regular controls that you use on your camera like ISO, aperture , shutter speed, image styles, etc. Once you’ve made the appropriate selection you can either choose to fire the camera from the computer making use of the in-software shutter release button, or start shooting with your camera as usual and you will see the images appear on the computer screen. You can select whether the images are to be saved to the computer, to the camera’s memory card, or both. Remember that if you are shooting bursts, the write speed offered by the computer might not be the best, in these situations I would suggest writing to the camera’s memory card.
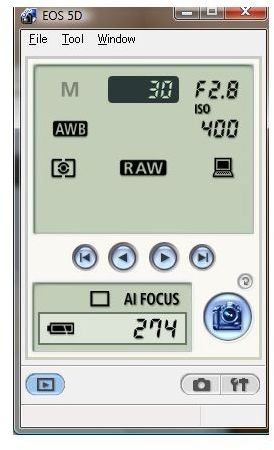
On Canon cameras, as shown below, the EOS capture utility screen will allow you to perform everything that you need to get going with shooting tethered. It’s a similar control screen for the Nikon software as well. Regarding tethered shooting settings on software like Adobe Lightroom and Aperture, just look for it in the help menu which would also give you the information as to whether your camera is compatible or not.
Software Supporting Tethered Shooting
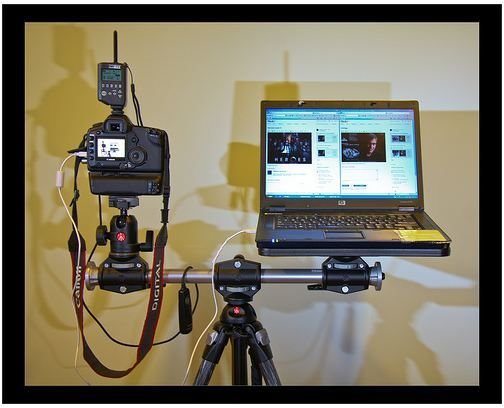
Using software like Adobe Lightroom and Aperture for tethered shooting will provide you more control in terms of image adjustments and fine tuning. Shooting with the camera capture software would allow finer control of the camera features. You can always set up your shoot to be imported into these programs once they’ve been captured by your camera control software. Once you have established your workflow of tethered shoots you can customise your gear using special tripod setups and stands to shoot more comfortably. For example, if you have a decent enough laptop, you could try on-the-go tethered shooting!
You are not limited to professional applications like Lightroom and Aperture for tethered shooting, you can always find other free applications that will allow you to achieve the same. Remember that tethered shooting allows you to control your camera in a very different manner allowing you the possibility of trying out new shots like time lapse since some cameras do not come with built controls but do allow you to use software based control of such features.
Images: JTWilcox and coffee3in1
Learn more here:
https://tuffguyphotography.com/blog/2008/09/shooting-tethered-on-canon-dslrs/
https://www.photosmudger.com/2008/12/cameras-computers-and-bondage.html
https://photoshopnews.com/2006/12/06/tethered-shooting-in-lightroom/
https://www.jibble.org/canon-tethered-shooting/
https://terrywhite.com/techblog/?p=528
This post is part of the series: Tethered Shooting with a Digital SLR Camera
What is tethered shooting? What are the pros and cons to shooting tethered? How do you go about this technique? Can tethered photography enhance your photos? Learn all about shooting tethered in this Digital Camera Tips article series.


