The Dodge and Burn brushes in Paint Shop Pro can be used to selectively lighten or darken any area in a digital photograph. This tutorial will demonstrate how to use both of these tools.
Using the Dodge and Burn Brushes
Two of the most useful tools in Paint Shop Pro are the Dodge and Burn brushes. With these brushes, you can very gradually lighten or darken problem areas in a digital photograph without affecting the rest of the photo. These tools can also be used to add emphasis to particular areas in a photo while taking unwanted emphasis away from others.
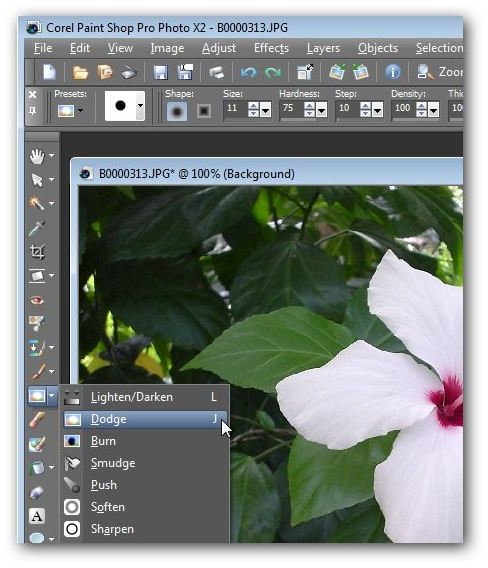
The Dodge and Burn brushes can be found about mid-way down the tool panel on the left side of the Paint Shop Pro user interface as shown in the screenshot below. (Click any image for a larger view.)
Although it may not be quite so apparent from the names of the tools, the Dodge brush is used to lighten areas while the Burn brush is used to darken them. One nice feature in Paint Shop Pro is that once you select one of these tools, you immediately have access to both of them, assuming that you have a two-button mouse. That is, if you select the Dodge brush, left-clicking the mouse will apply the dodge effect to your image while right-clicking will apply the burn effect. Likewise, if you select the Burn brush, left-clicking will apply the burn effect and right-clicking will apply the dodge effect.
Dodge and Burn Brush Settings
Once you select either the Dodge or the Burn brush, a new toolbar with settings for this brush will appear underneath the main toolbar.
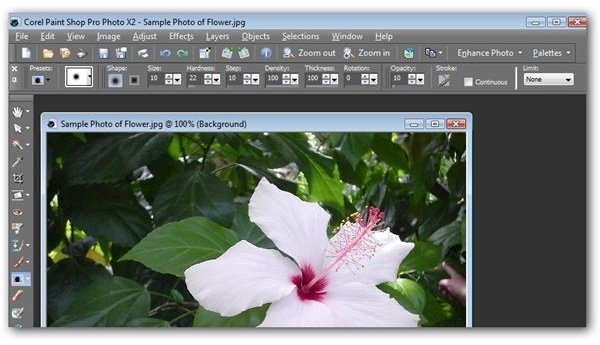
The default values for the majority of these settings are generally the best ones to use in most circumstances, especially if you’re just getting accustomed to these brushes and their capabilities. However, depending on the dimensions of your digital photograph and the size of the area that you want to modify, you’ll probably want to adjust the Size setting that controls the radius of the brush. For finer detail, you can choose a smaller value so that the brush covers fewer pixels. If you want to make wider, more sweeping changes, you can increase the Size value to save yourself a bit of time.
Applying the Brush
These tools are called brushes because when using them, you are basically painting on the effect. That is, to use the tool, hold down your mouse button and paint over the area that you want to lighten or darken. It’s a bit hard to see in the thumbnail image below, but if you click and look at the larger view, you’ll be able to see how the mouse pointer changes to a brush with a circular radius.
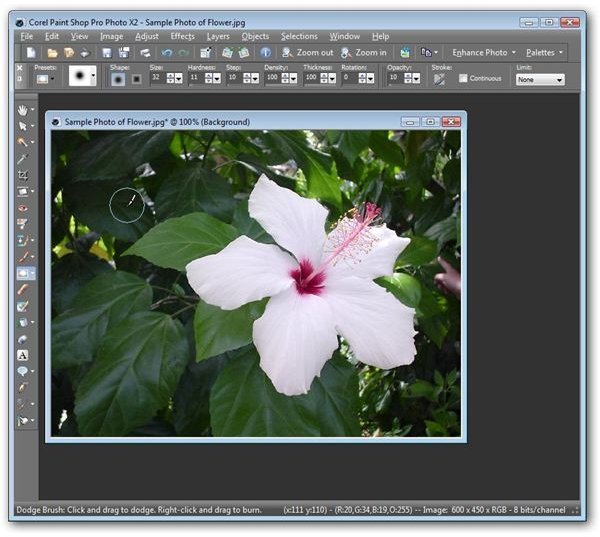
When performing this action, you should see the photo changing very gradually. If you want more pronounced effects, simply release the mouse button and then hold it down again while making another pass across the area.
Additional Resource****s: For more tips and tricks, be sure to check out the other Paint Shop Pro tutorials here on Bright Hub’s Digital Photography Channel.


