This article describes the steps in creating a simple, easy border around photographs in Photoshop.
Prepare Your Image
Adding a border or frame to your photograph can greatly enhance the overall impact of your image. Here are the steps to place a simple border around your photos using Photoshop .
1. Open your image and resize it, if necessary. If you imported your photo from your camera or camera’s memory card, the size will probably be very large. For example, my camera saves photos that are about 42 inches wide by 32 inches high at 72dpi. This is too big both for web viewing and normal sized prints. If you scan your photos, scanning them full size at 72 dpi is fine for web viewing, however scan at 300 dpi if you plan to print your photo. For more in depth information on photographs and resolution, consult the following articles: Printing Digital Photos - What Is Your Best Option? and Scanning Photographs – Creating Digital Photos without a Digital Camera .
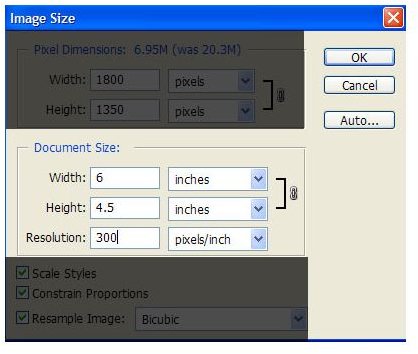
To resize your image, choose Image on the menu bar, then select Image Size under that. In the Document Size area, I chose 6 for the width, and it automatically changed the height to 4.5 because I had the Constrain Proportions box checked. You can uncheck this box, but your image may resize distorted. If you are planning on printing your photo, you will want to change your resolution to 300. If not, keep it at 72 pixels/inch.
Select a Color

2. Choose your border color. In the Tools bar, click on the lower box of the color selector which controls the background color. (In the picture to the left, this is the white box). The Color Picker dialog box appears. Choose the color you want your border to be, then click OK.
Create the Border
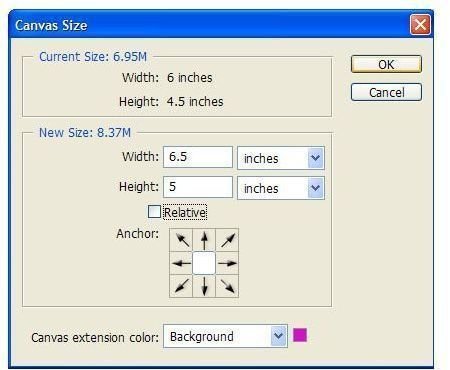
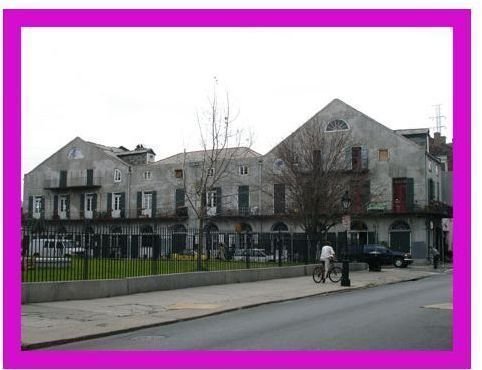
3. Increase Canvas Size. Choose Image on the menu bar, then choose the Canvas Size option. The canvas size will start off the same size as your image. Click the checkbox labelled Relative. Then insert the width of your border by placing a number in the width and height. For example, I wanted a quarter inch border around my photos, so I added .5 inches to the total width and height. Photoshop equally places half of that amount on each side. You have the option to also Change the Canvas Extension Color. The little colored square next to this options shows you what your border color will be. In Step 2, I chose a bright purple color for demonstration purposes. Click OK when you have completed your selections.
Enjoy your photo
4. Here is my photograph with its new border.