
Step outside the box and learn how you can use white balance as a creative tool.
We have already looked at what white balance is and even how to set custom white balance . What you might not have thought about is the creative use of white balance settings. One way to create a mood or feeling in a picture is to add color. Since the process of changing white balance settings involves adding color, this is a great way to experiment and see what kind of effects you can get.
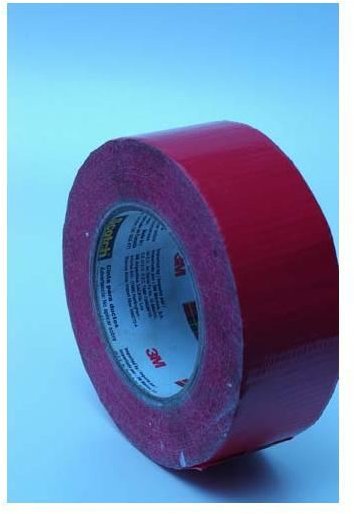
One example comes from a photo of a roll of duct tape. Why was I photographing duct tape? I had been taping something – perhaps marking where the lights should go in my studio – and thought it looked interesting. See the two pictures below. The first is a color-balanced photo I did using custom white balance. The second is a closer study I did with the tungsten setting. Notice the blue colorcast, giving it a cool, almost sterile feeling.
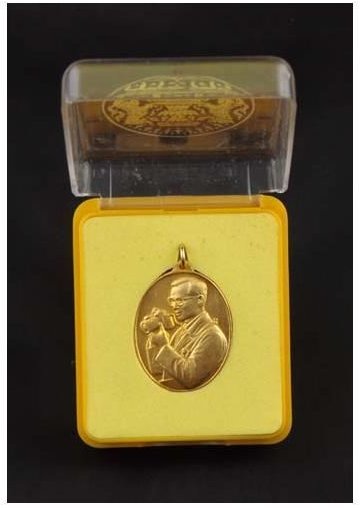
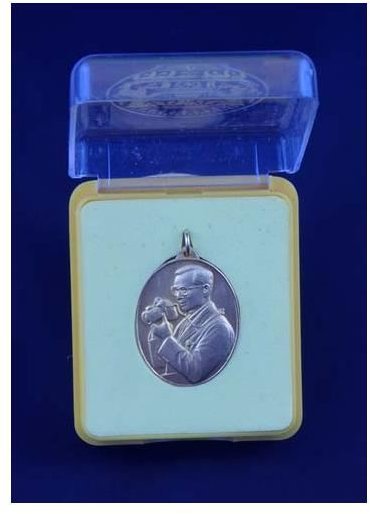
Another example, below, shows a more subtle approach to experimenting with white balance. I was photographing a medallion I got when I was traveling in Thailand a few years ago . This is a picture of the King of Thailand, who is not only a great monarch but also a fellow photographer. See how all these parts are affected: the yellow case, white catch lights in the clear plastic and even the black background. Note that I did not make any adjustments to these photos except to resize and crop them.
First, the custom white balanced photo. This is pretty much spot on.
Next, balanced for daylight. See that this looks a bit washed out from the previous.
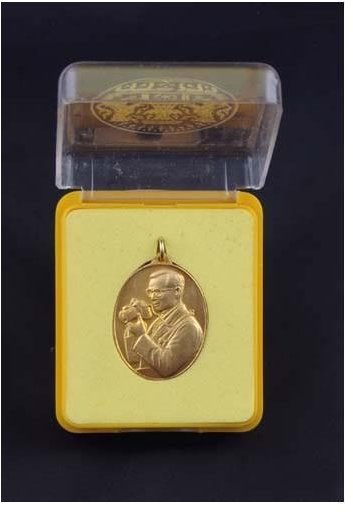
The next one is with the shade setting and the following one with cloudy. These differences so far are very subtle.

Now we get to something a little more pronounced. The shot below was done with the fluorescent setting. You can see the slight tint that is designed to balance against the greenish fluorescent lights.

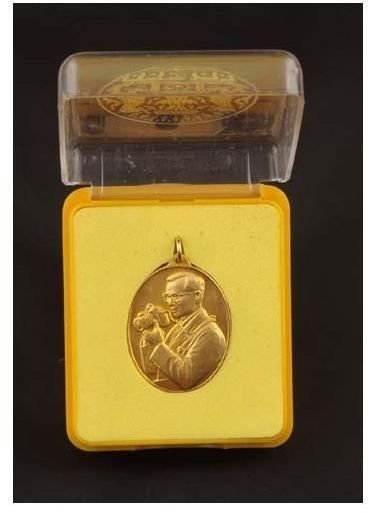
Finally, we get to the incandescent setting. The blue tint is very pronounced and makes a dramatic effect on the shot.
Play with these white balance settings. You might find that they add a look that takes you out of the normal zone and into a whole new world of creativity.


