Who would have thought that combining an incense stick, black velvet, a dark room and camera could result in some of the most amazing and creative images ever to be seen?
The Art of Smoke Photography
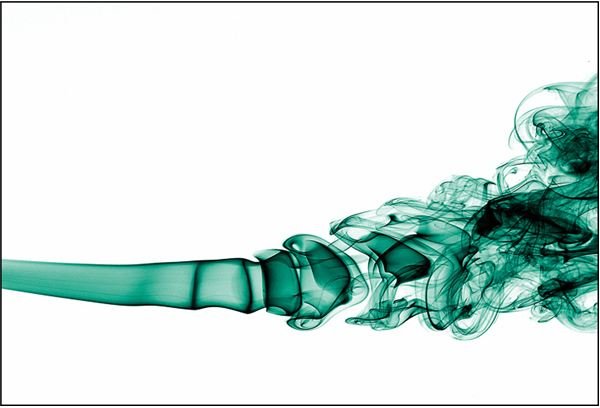
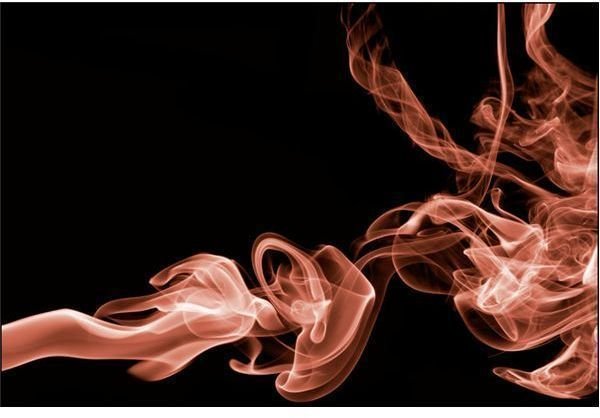
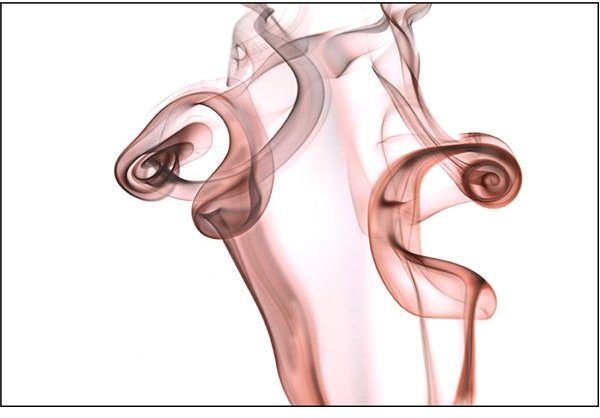
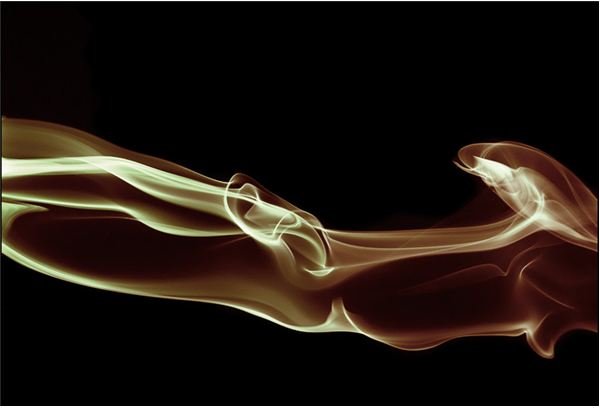
Smoke photography is truly an impressive and inspirational art form. Like the Rorschach ink blot test, smoke photography will have you seeing hidden images within the whole, gently guiding a person’s way of thinking to become more creative and imaginative.
When producing smoke photographs, you’re only limited by your creativity. I’ve recently had the pleasure of speaking with Graham Jeffery, a photographer from a small market town in the middle of England called Hinckley, who has truly mastered the art of smoke photography.
(Click on any image to enlarge)
The Interview
Bright Hub (BH): How did you come to discover the art of smoke photography?
Graham Jeffery (GJ): I stumbled into it, I set up the studio (I converted the loft space at home into a small studio about 4 years ago) to photograph candle flames and then got interested in the shapes of the smoke I saw when snuffing out the flames. I then experimented briefly with cigarette and cigar smoke before settling on incense sticks as the best source of smoke.
BH: I see from your website that you use nothing but Canon equipment. Any rhyme or reason to this?
GJ: When I retired from computing I had a lump of money that I had earmarked for new camera equipment. I wanted the flexibility of an SLR and the best quality kit I could afford. At the time the Canon 1Ds was streets ahead of the competition in offering a full size sensor of 11 Megapixels and a build quality that would last a long time. I didn’t expect to ever have that sort of money to invest in a hobby again. So the 1Ds body lead in turn to a range of Canon lenses.
BH: What photo editing software do you recommend?
GJ: I use Capture One from Phase One as the raw converter and Photoshop for all other editing.
BH: How long does it take you to produce a smoke photograph, from setup to final touches?
GJ: There are a number of stages to producing a viable image.
-
Studio setup: Setting up the lights and background, positioning the camera, testing the exposure and the focus settings. I prefer to have the camera on a tripod and prefocus on the smoke. The smoke will behave differently each time you shoot depending on air movement, air pressure and ambient temperature so some time is spent watching how the smoke moves before finally setting up the camera. I would allow an hour for this phase.
Advertisement -
Shooting: This is by far the easiest stage, I stand beside the camera with a remote release watching the shapes build and shooting when I think there is an interesting pattern in the field of view. I would shoot at least 100 frames at a time and then preview the results on the computer. Rinse and repeat. 30 minutes minimum depending on the need to reshoot.
-
Selection: This can be the most time consuming phase, it depends what you want. For one picture that has to be no better than web quality this shouldn’t take too long but for a set that have to be printed at magazine quality it could take a long time with several reshoots.
Advertisement -
Post processing: Smoke images will have to be cleaned up if you want a spot free image on a perfectly clear background. The time and effort required depend on how the image will be used. I generally aim for an image that will appear smooth and spot free when viewed as an 8 x 10 inch print. The use of selections and gradients, with curves and colour adjustments is relaxing fun compared with the time spent spotting and generally cleaning up the smoke. Up to one hour per image.
This is not a direct answer to your ‘how long’ question but should give some idea. I am not producing these images commercially; it’s a hobby so it takes as long as it takes.
BH: I often tell my readers the best experience is practise. How many photos do you need to take before shooting a keeper?
GJ: I’d be happy if 2 or 3 percent of the original exposures resulted in a keeper, but the more you do the higher your standards become, and the fewer keepers you have. The last serious smoke shoot I did I was trying to use the full frame of the original exposure, no or at least minimal cropping, and still have a pleasing composition , this made the task of finding a keeper many times harder.
BH: Any advice for people who are just learning this form of photography?
GJ: Relax, have fun, experiment, take fresh-air breaks and don’t burn the house down. Also read the how-to article in the Sensitive Light Smoke Gallery .
Thank You!
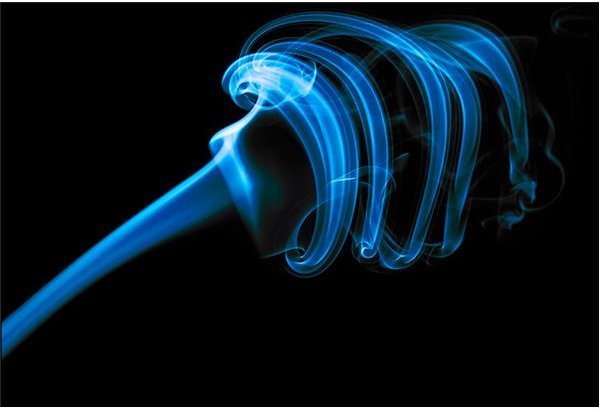
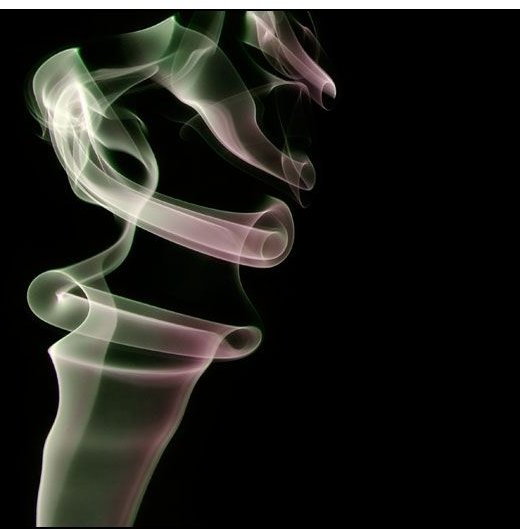
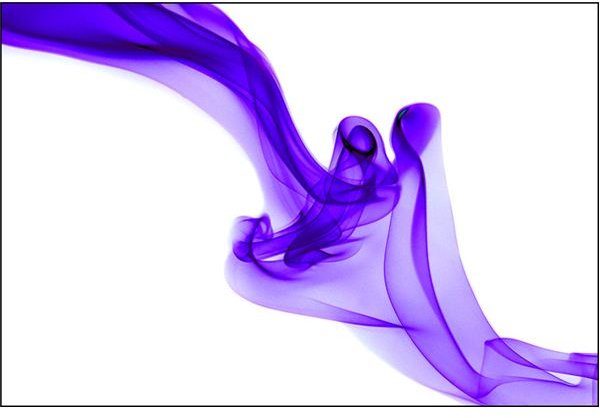
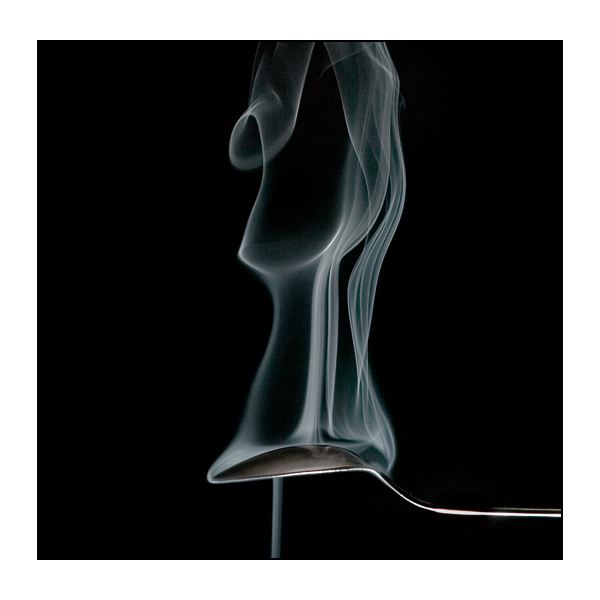
As you can see from Graham’s photos, he excels in the world of smoke photography and I’d like to take this opportunity to thank him for his time and sharing his knowledge.
To see more of Graham Jeffery’s work, please visit his website, Sensitive Light . All the photos used in this article are Graham’s.