If you’re like a lot of people and love that rustic, classic feel that sepia-toned images have, you might be excited to know that this is a very easy effect to achieve in Photoshop. Here I’ll show you two different ways to achieve this popular effect for both beginners and advanced users alike!
First and foremost, before we start talking about how to artificially create a sepia filter in Photoshop, lets actually discuss why sepia tones exist. Sepia toning was originally created for two reasons. The first reason was fairly aesthetic in purpose, as it was to help give black and white images a warmer, more inviting feeling. The second reason was to promote longevity in the images by converting the silver in the photograph to a silver sulfide, which weathers the pollutants much better than silver photographs alone. There are quite a few different methods that can be used to traditionally tone an image to a sepia color, and several of them allow for the effect of multi-toning, allowing for sepia highlights and black and grey shadows.
In this tutorial, you’ll actually learn how to create digital representations of both types of sepia toning, traditional brown-spectrum sepia effects, as well as multi-tonal sepia effects.
Traditional Sepia Toning - Method 1
This first method is great for those of you who want a nice, traditional feeling for your images, or for those of you new to Photoshop. It largely consists of two steps, which is converting your image to black and white , and then using a preset photo filter which Photoshop provides to create the effect. This is a quick way to apply a sepia filter; Photoshop does all the hard work for you!
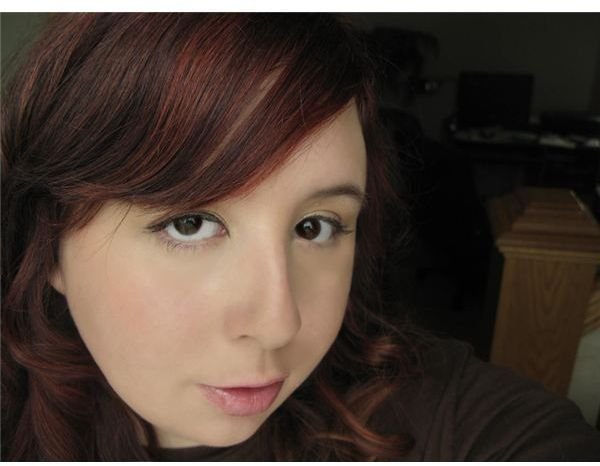
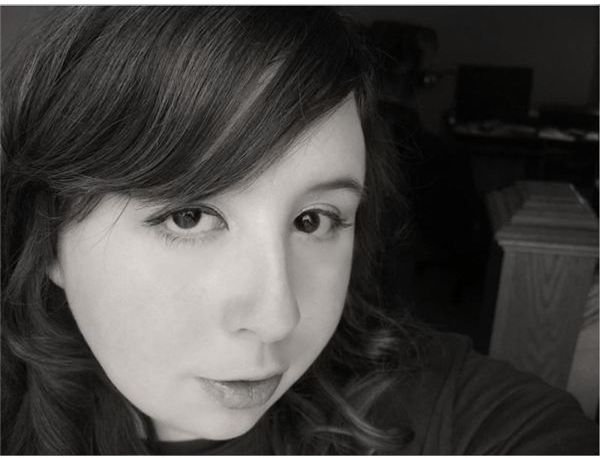
Open the photograph you want to use for your sepia toning. Here I’ll just be using a clear picture of myself with a nice representation of both lights and darks so you can see how it’ll look.
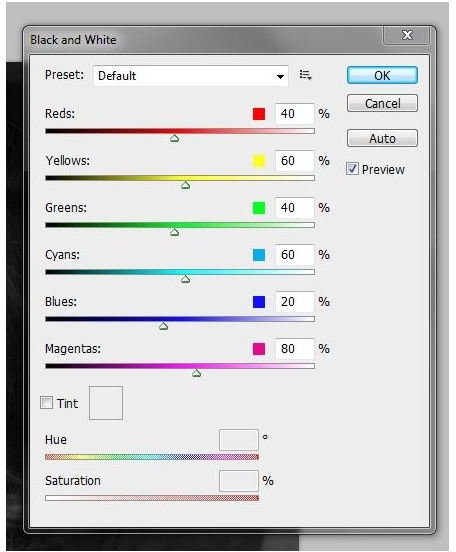
The very first thing you’re going to want to do is convert this image to black and white. There are a number of ways to do this, including just doing a simple desaturate, but if you’re going to try for a bit more authenticity or visual interest in general, you’re going to want to use the Black and White option that Photoshop gives you. To get to this panel, simply go to Image > Adjustments > Black and White. Here’s what mine looks like by default:
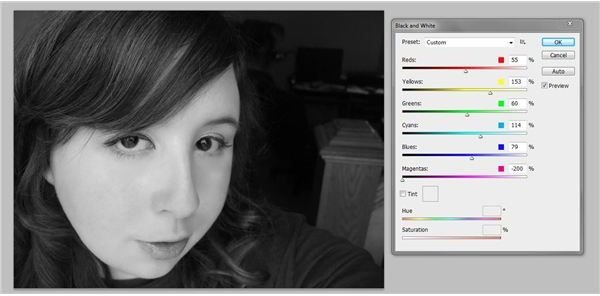
Now I’m just going to move the sliders to make the skin brighter and the hair have a little more depth. For me, that means turning up the yellow tones and turning down the red tones a little. Here’s what it looks like afterward:
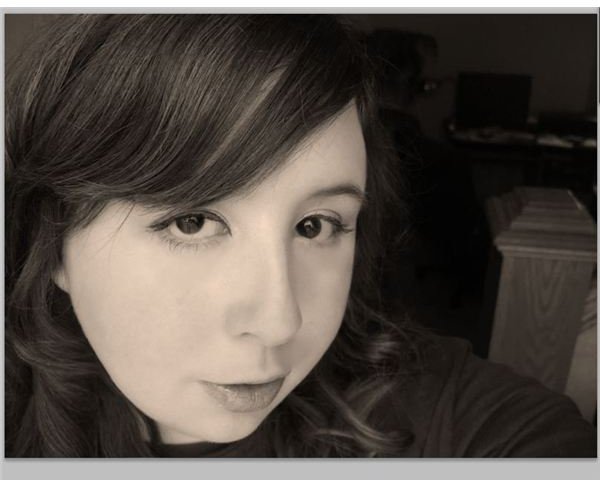
Here’s an extremely fast way to get a sepia tone to your image in a matter of seconds after you get the light and dark tones you like. Simply go to Image > Edit > Photo Filter. Select Sepia from the drop-down tab.
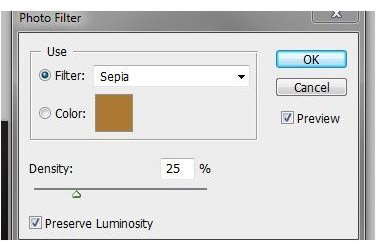
Here’s what it comes up with for default. A very nice, subtle effect.
Turning up your density to 75% will produce a more noticeable effect:
Custom Sepia Toning - Method 2
Of course, you might be like me, and you aren’t one to leave Photoshop to make the rules, even for something as easy as a sepia filter. Photoshop contains blending modes that offer a lot of control over the way you can apply a solid color, be it sepia or not. This allows for you to create a lot of fun effects, as well as multi-toned sepia effects for your image. This method involves three steps: turning your image black and white (as you did above), creating a layer that is filled with the color you wish to apply to your image, and setting the blending mode, opacity, and fill of your layer to create a fantastic custom effect. Here’s how you do that!
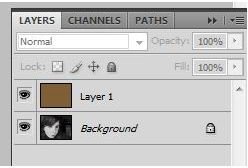
Starting with your black and white image from before (or following the steps on a new image), go ahead and create a new layer above your black and white image , and fill it with a brown-tan color. I’m using #816036 here.
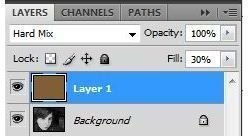
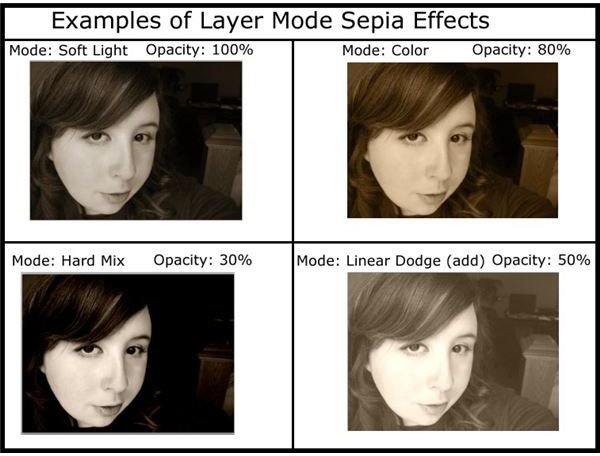
Now to apply the effect, all you have to do is pick the layer mode you would like. I suggest using modes like color and soft light, but feel free to experiment with different methods. You may need to change the opacity and fill, though, to achieve the effect you would like. Here’s where the layer mode and opacity are located on the layer style window:
Here are a few different examples of what you can come up with by using this method! As you can see, certain methods allow you to have darker, less saturated tones, more reminiscent of multi-tonal sepia images. Click to enlarge to find out what settings I was using when I created these.
References
- All images and information are provided by Amber Neely, who has over a decade experience with Photoshop, and seven years professional experience in graphic design.


