There are lot of tricks Photoshop allows you to do to alter your personal photographs. One of the funner tricks is swap out the head in one picture with that from another. This can be used to fix photos or create trick photography. Here is how to achieve this editing trick.
Photoshop offers photography editors the chance to change the head from one photograph onto the body of another photograph. This can be fun way to create comic effects as well as to fix photographs. A popular television commercial showed a woman editing together a photograph of her family, each one with its own defects. The woman then combined the photos, replacing bad sections of some shots with good sections of other shots. In other words, if you take two photographs of the same people and replace the head of the person who blinked or is looking the wrong way with the same person’s face from the other photo using Photoshop. Replace head images easily using these step-by-step instructions.
Step-by-Step Instructions
**
When replacing heads in Photoshop, there are a few easy steps to follow. However, it is important to make sure that you take your time, because slip-ups will make the edited photograph look bad.
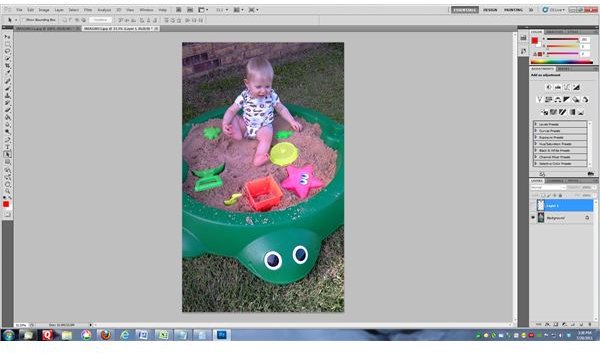
Step One: Open the two photographs you want to work with in Photoshop. One of the photographs will be referred to in this article from here on as the “body photo” and the other as the “face photo.” Of course, the Body photo is the one that will remain mostly unchanged, except for replacing the face. The face photo is the one you are extracting the face from.
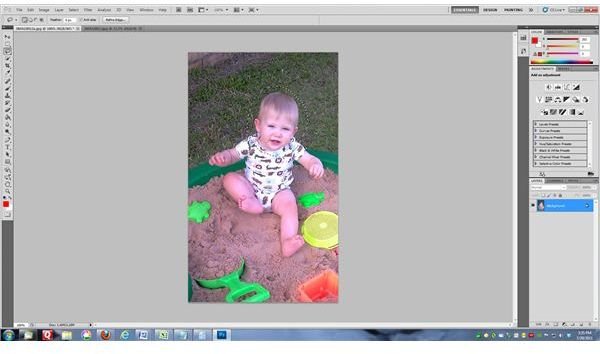
Step Two: Select the face photo and use the Lasso tool (located in the tools panel on the right side of the Photoshop screen) to draw a selection around the head of the figure in the photo. Click CTRL-C to copy the head that you have now selected.
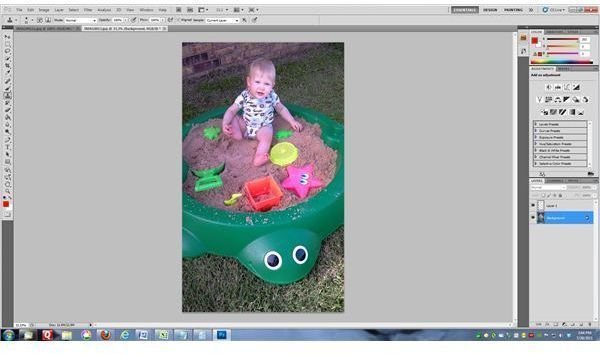
Step Three: Open up the body photo and use CTRL-V to paste the head onto the image in that photo. Now, the head you lassoed and copied is placed over the top of the photo.
Step Four: It is now time to make the head look right on the body photo. Click CTRL-T to go into Transform mode. In this mode, you can move the head around the body image. Move it over the other head and then re-size the head to make it proportionate to the body you are placing it on.
Step Five: Using the copy/paste method, there is background around the head left over from the face photo. It is now time to remove this background so only the background in the body photo remains. The best thing to do in this case is to create a new layer and make it black. To do this, click Layer>New>Layer and then choose Black in the color panel. After creating this layer, drag it under the head layer in the palette.
First, use the Pen Tool, zoom in on the face, and carefully draw a fine path around the new head. Then save your work. Now adjust the path of your pen tool using the anchor points created when tracing around the head. Move them out or in and needed to eliminated as much background as possible without eliminating any of the new head. If you need to curve any of your lines, hold the CTRL key and drag the line by the end points.
Next, turn on the eraser tool and start erasing the background surrounding the new head. Zoom in as close as you feel comfortable to make the erasing as precise as you can. Be careful here not to erase any important parts of the actual head.
Once you are finished with this, you can trash your black layer.
Step Six: There might be some traces remaining of the original head from the body photo still showing up in the image. To get rid of these, choose the Clone Stamp Tool. Find the parts of the old head that need removed. To do this, choose the original layer of the body photo and use the clone stamp to remove the areas of the old head.
Step Seven: Finally, touch up the photo. Choose Image>Adjustments>Hue/Saturation and start to adjust the saturation slider in this panel. Do it on both layers in the image, the original and the new head. Next, adjust the brightness and contrast to make sure that both layers are leveled out.
That is all it takes to fix your photographs using Photoshop. Replace head shots when someone blinks, looks away or even simply looks better in another photograph. You can even take a photograph of your favorite actor and place the head on the body of a fan - just for fun! The possibilities are endless with Photoshop.
References
Tutorial from author’s personal experience.
Images are screen captures of author’s personal work.


