HDR photographs capture the viewer’s attention. While they may seem difficult to create, you can actually do so in Photoshop. Learn more in this tutorial.
Taking HDR Photographs
High dynamic range imaging (HDR) photography involves taking images at extremes and combining them to create interesting, dramatic shots. This process usually involves setting up your camera at different exposure levels and taking at least two different photos at the lightest and darkest exposure.
To take HDR images, set up your tripod and take two or three different images. Generally, you want to take the first one at the lightest exposure, the second at a mid-range exposure setting and the third at the darkest setting.
Do not move the camera from the spot, as the images must be exactly the same. Only the exposures should be different. Using a tripod keeps the camera from moving. Once you have taken three images, it is time to open them in Photoshop.
Combine Your Images
In Photoshop, create a new layer for each image. The top layer must be the lightest, followed by the mid-range exposure image and then the darkest image. Merge the layers so it creates one layer.
You can further adjust the contrast and opacity to create even more dramatic images. Always save your work as you go in case Photoshop crashes.
“Faking” HDR Images
If you already have a picture that you want to make into an HDR photo, you don’t have to go through the process of recreating the image. You can create the HDR effect without having to set up your camera.
1. Open the image that you want to use as your base image.
2. Go to Image and then Adjustment. Select the Shadow/Highlight option. Your values should be close to the following for Shadows:
a. Radius: around 40
b. Shadows: 50 percent
c. Tonal Width: 45 percent.
3. For the Highlights, use the following settings:
a. Radius: around 1,110 pixels
b. Highlight: 80 percent
c. Tonal Width: 75 percent.
4. Create a duplicate layer from the base layer, and select the Color Dodge option for this layer.
5. Duplicate the base layer again, and set the layer to Linear Burn.
6. You may see that certain parts of the image are extremely black. Go to Select and Color Range, and select Invert.
7. Create a New Layer Mask, and select the Gaussian Blur filter.
8. Duplicate the Linear Burn layer, and change the blending option to Overlay.
9. Click on Layer Mask and invert it.
Finishing Touches
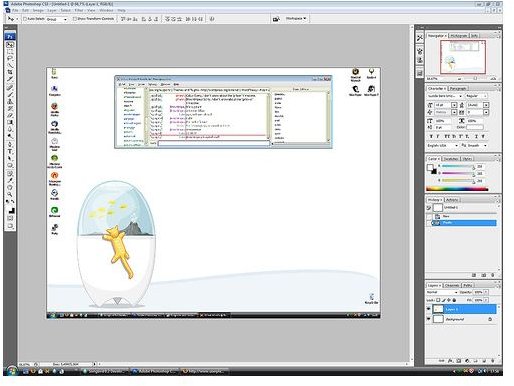
Now, adjust the opacity until it looks right to you. You can also manipulate the foreground color. Go to Select and Color Range, and add a feathering effect to it. You can also again duplicate the Base layer and add a Gaussian Blur filter to it to give the image a softer look.
Deepen the color with a Gradient Map if you want to create a more dramatic image.
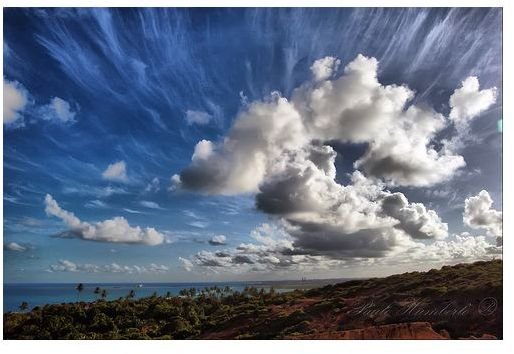
This Photoshop HDR tutorial just gives you the basics for creating HDR photographs . You can take more than two or three shots or adjust current images at different lighting levels. You can definitely experiment with HDR shots and have fun doing it.
References
Photo Album, https://www.nill.cz/index.php?set=tu1
Lasse Havelund, https://www.flickr.com/photos/menza/323144713/sizes/m/in/photostream/
Paulo Humberto, https://www.flickr.com/photos/paulohlins/3206931385/sizes/m/in/photostream/