Here are some of the best tips for photo retouching in photo editing software.
Photo Editing
In days past it took quite a bit of equipment and resources for photo retouching, but today it is simple since it is fully computer oriented and so are our DSLR cameras. Instead of sending photos off to experts at photographic companies, we simply turn on Adobe Photoshop and begin the photo retouching process on our own with professional level software. For most people starting out, photo editing can be a little bit confusing since you have to decide what looks good and what kind of elements are fogivable to “photoshop.” Here is a look at a few of the top photo retouching tips that most people can employ with their consumer level programs.
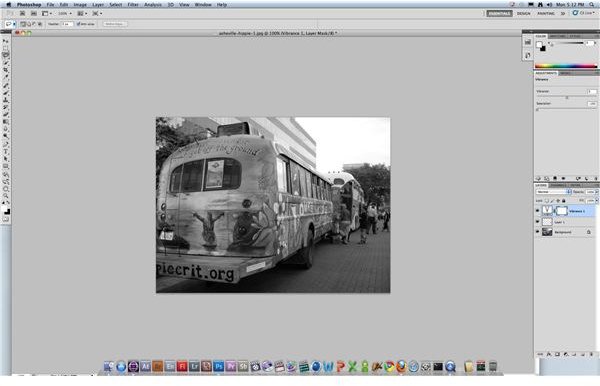
Contrast
For most people who are shooting digital camera images regularly, proper lighting and controlled situations are not their top priority. Instead,
the ability to just see images clearly so that they can remember a moment is going to take precedence. More often than not, these situations are going to require you to raise the contrast of an image during your photo retouching phase. This can be as easy as employing Adobe Bridge before actually bringing them into Adobe Photoshop for photo editing , or once you get into the full program you can do a much more focused contrast adjustment. In most cases a slight adjustment is doing to be satisfactory, but many people make a stylalistic choice about raising the contrast up a great deal to add drama.
Facial Retouching
In a general sense, facial retouching indicates the softening out of lines and removing of blemishes on the face of your subject. This has often been referred to as “airbrushing,” which is referencing the physical touching up that used to be done on photos before it was easy to do photo retouching right from your computer. This process has actually become even easier than you might think though using programs like Adobe Photoshop. It is easy enough to actually paint directly onto the facial image of someone in the appropriate color, but if you need to do quick photo retouching then there are tools that are even
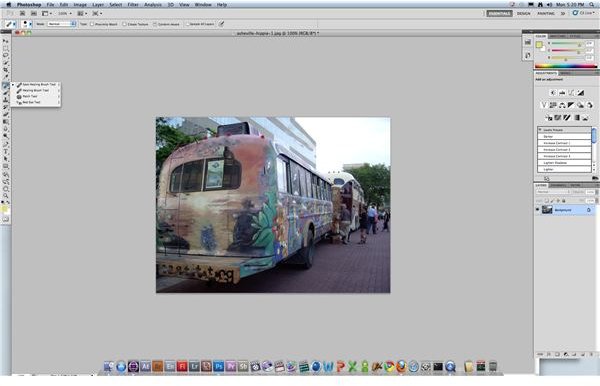
better than this.
The Brush Tool is a multi-faceted option in Adobe Photoshop that can help repair many parts of the image. The Red Eye Tool option within the Brush Tool can help you remove red eyes, and the patch tool can help bring things together. What is more important for photo retouching is the Healing Brush Tool, or even the Spot Healing Brush Tool. What this does is to bring consistency to the color in the image, which dramatically alters incremental areas of the image. For example, if you have an area of the image that has a slight red hue or darker streak to it then the Spot Healing Brush Tool is going to help you replace that color with that of the dominant color.
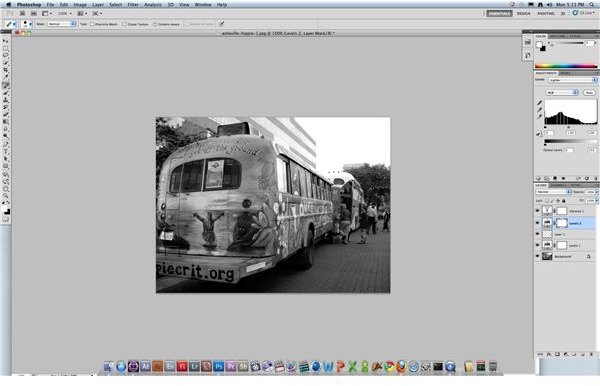
Saturation
In the same situation as with contrast, saturation may be one of the main places to make adjustments during photo retouching. Though the
primary reason will likely be the conditions of photography, especially if it is unplanned and outdoors, but also because saturation really helps you highlight the visual character of the image. For example, most people do not want to engage in black and white photography because it does limit your options. This is one of the easiest photo retouching options that you have, and when you fully desaturate the image you may be able to see where you want to lighten, darken, or crop out other elements. In many situations you will just want to increase the saturation, which is something that is often decreased in flat images in the same way that contrast is altered.
References
Photos: Screenshots by Shane Burley.
Source: Author’s own experience.


