Plugins help you with a lot of tasks, and Photoshop has a lot of them. Want to learn how to load Photoshop plugins into GIMP? Well, this GIMP tutorial reviews everything that you need to know to do this.
GIMP and Plugins
While it is a free program, GIMP comes preinstalled with a lot of features. But, just like Photoshop and other editing programs, you can install plugins that allow you to do a lot more with the program, especially Photoshop plugins. So, you are now faced with an issue: how to load Photoshop plugins into GIMP ?
Download the Latest Version of GIMP
Well, first you need the right version of GIMP. Photoshop plugins only work with GIMP 2.4 or later versions. If you have an older version, go to the GIMP website, and click on downloads. GIMP should automatically sense which operating system that you are using and only provide you with that option. Download GIMP, and restart your computer if necessary.
Adding Plugins
While you can install nearly any type of plugin into GIMP, they’re not all going to work. GIMP is compatible with a whole lot of Photoshop plugins since it is an Open Source program. But, certain ones will not be compatible no matter what you do. You just need to try them, and see if they work. If they don’t, simply delete the plugin from the folders.
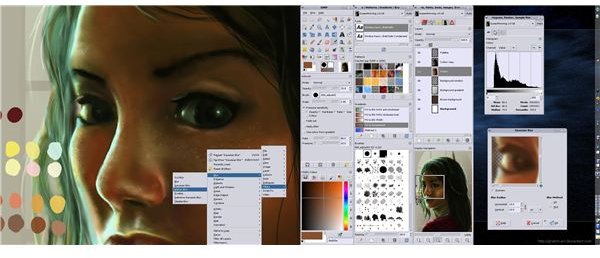
You can install both Photoshop plugins and brushes into GIMP
. To add plugins to Windows XP, simply extract the plugins from a zipped folder, and then drag and drop the plugins into the following file: C:\Document and Settings\
The X refers to the particular version of GIMP that you are using. If you get to the GIMP folder, you should see that there’s a number there. Just drop the plugins and brushes into the folder that most closely matches the above path and the latest version of the program if there are multiple folders.
Restart the GIMP program, and you’ll see the recently added plugins .
Adding Brushes
If you also want to add brushes to your GIMP program, you need to follow the instructions for your particular operating system. In Windows, generally, you have to extract the brushes and put them in this folder: C:\Document and Settings\
In Mac, you must put them in this folder: /Users/username/.gimp-2.x/brushes/. The username in this instance refers to the short username that you usually find in your Mac pathways.
If you want to add brushes and plugins to a Linux program, open up the “Home” folder. Make all of your files and folders visible since Linux usually hides the GIMP files. The keyboard shortcut for this process is Ctrl + H. You should see a directory that has .gimp-2.x. Again, the 2.x refers to the actual version of GIMP that you have.
Open up the folder, and look for subfolders for both the plugins and the brushes. Drop the files into the appropriate folder.
References
TechZilo, https://www.techzilo.com/how-to-install-gimp-plugins-scripts-brushes-and-gradients/
GIMP, https://www.gimp.org/screenshots/


