GIMP is a free image editing tool for both beginners and professionals. You can use this tool for a variety of image editing tasks, including changing the size of your image. In this GIMP tutorial, you’ll learn how to use GIMP to make JPEGs larger.
Using GIMP for Image Editing Tasks
The free image editing program, GIMP, is offered under the GNU public license. You can use this program for a variety of tasks, including resizing your images. This GIMP tutorial reviews how to use GIMP to make JPEGs larger. This task is simple, and even beginners will quickly catch on how to resize images using this program.
Installing GIMP
First, you must download GIMP to use it. This program is compatible with different operating systems, including Linux, Windows and Mac operating systems. Simply go to the website, and click on Downloads. It should automatically detect which operating system that you are using and only provide you with the downloads for that OS. Download and install the program. You may have to restart your system. If you receive this prompt, go ahead and restart your computer.
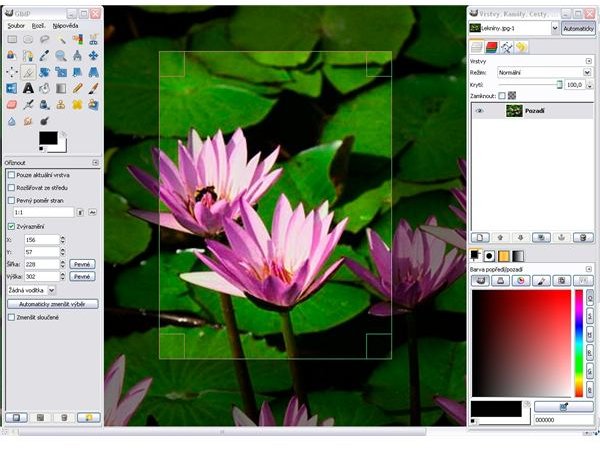
Once GIMP is installed, you now need to select the JPEG image that you want to resize in GIMP . To do this, find the image in your pictures gallery or folder. Right-click on it, and select Open With and Open with GIMP Image Editor.
Changing Image Width and Height
Your GIMP program will now open up with your image in the editing window. Go to the Image dropdown menu, and select Scale Image from the list of available options. This opens up the Scale Image dialog box. In this box, you’ll see selections for image width and height.
You can resize your image based on items like pixels, percentages, inches, points, picas and millimeters. One of the easiest ways to resize your image is via percentages, which is the second option in the dropdown box next to Width and Height.
For example, if you know that you only want to make your image 20 percent smaller, you can use the down arrow to 80 percent in the height and width. When you change the dimensions of the photograph, you’ll see the resulting pixels underneath it. This is important if you have a pixel limit on a photograph, which is common on social networking sites.
Unless you want your image slightly distorted, always leave the aspect resolution locked. If not, then your image will not be proportional.
Additional Options
You’ll also see options for changing the resolution of the X and Y axis and changing the interpolation of the photograph. The interpolation allows you to create new data points. If you are not familiar with these options, you should experiment with these two features before you actual use them to change the size of your photograph. Use a dummy photograph to see how changing these settings affect your JPEG image.
Save Your Settings
When you are done manipulating the image size , click on Scale to resize your image. If you like your settings, then go to File and then Save to permanently save your changes. If you want to keep the original image, but still use the smaller image, go to File and Save As, and then give your image a new name.
References
GIMP, https://www.gimp.org/screenshots/
Simple Help, https://www.simplehelp.net/2007/08/13/how-to-resize-images-using-the-gimp/


