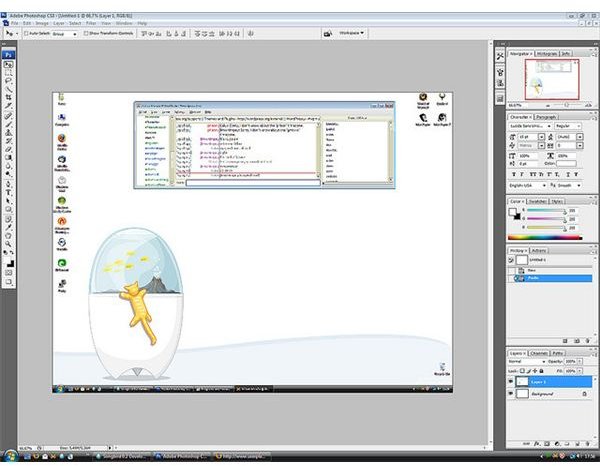
Photoshop Elements: Merge Photos Quickly & Easily in this Adobe Photoshop Tutorial
Why and How to Merge Photos in Photoshop Elements
Adobe Photoshop Elements allows you to perform a variety of tasks just like the standard version of Adobe Photoshop, but it costs significantly less. It usually costs under $100. One of the editing tasks that you can do in Elements is merge two photographs. Now you may be asking a question about Photoshop Elements: merge photos – how?
It is actually relatively easy, especially if you use a layer mask. A layer mask allows you to fully or partially mask a section of your image. You will use this tool to obscure a section of one of the images partially.
Before you learn how to merge two photos, you might want to know why you would want to do this. One reason is to show somebody in a different location. For example, you could add a bike rider to the Tour de France who was only riding down his block. Merging photos create some fun images that you can use for both personal and business purposes.
Creating Your Layers
Now it is time to start merging your images. To do this, follow these steps:
1. Open up both images that you want to use for this effect.
2. In the image that you want to use for your background layer, generate a new adjustment layer. You can create a new adjustment layer by clicking on the icon in the Layers palette that looks like the Ying/Yang symbol.
3. Create the layer. Do not make any changes to the layer, and click OK. Once you create your adjustment layer, you will see that an adjustment mask has automatically been created.
4. Next, create another new layer, and drag it above the adjustment layer that you just made.
5. Copy the image that you want to use as your foreground layer to the layer that you just created.
6. Now, click on your foreground image, and hit CTRL plus G. This attaches this layer to the layer right below it, and this creates a clipping group. The layer mask that you had added to the background layer is now attached to the foreground image as well.
Merge Your Image
You are now more than halfway through the process of merging two photos. After the above steps, you must now paint a mask onto your adjustment layer. To do this, follow the below steps:
1. Click and select the mask within your adjustment layer.
2. Click on the Brush tool. Use a soft brush with a large tip.
3. Make sure that your paint color is black, and start painting your image. Your background image should now start showing through. The black paint appears on the mask, not your image. It just causes the background to show through.
If you want portions of your top image to show through, zoom in and only paint over the areas that you want masked.
Referneces
Alibony, https://www.alibony.com/pse/020708merge-images.html
Lasse Havelund, https://www.flickr.com/photos/menza/323144713/sizes/z/in/photostream/
