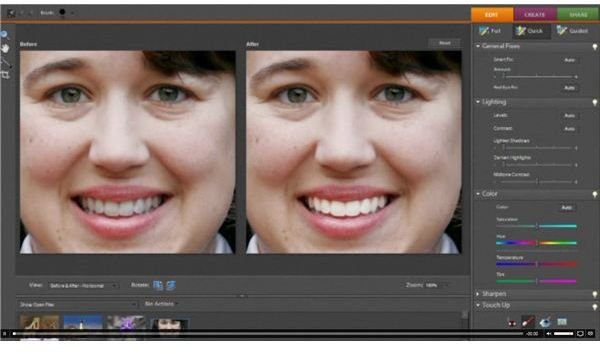
Adobe Photoshop Elements 8 for Mac: Erasing Faces and Replacing Them Digital Photography Technique
Adding Your Face to Someone Else
Ever wondered how Jon Stewart’s “Daily Show” superimposes people’s faces on different bodies? Well, you can actually do this fun technique in Adobe Photoshop Elements 8 for Mac. Erasing faces and replacing them with other faces is quite easy in this program if you use the Magic Extractor.
Erasing the Original Face
The Magic Extractor is a tool that allows you to select certain items in the foreground and background to be replaced. It basically removes a section of the photo. You can then save this area of the photograph, and superimpose it on other objects or people. You can cover up the other image, or erase it using a clipping or by simply using the eraser tool.
The eraser tool may be the simplest way to remove a face from a photograph. You simply select the tool, and physically erase the face from the photograph. Always remember to zoom in close to the object so you don’t erase objects around it.
Cutting Out Your Face
Once you erase the face from the original image, it’s time to start using the Magic Extractor. To use this tool, follow the below directions:
1. Open the photo with the face that you want to use.
2. Make an oval selection around the face that you want to superimpose over the other photograph. Make a wide circle right now, and make sure that you have all of your face in the image.
3. Next, go to Image and then Magic Extractor.
4. Either click on the section of the image that you want to keep or draw lines around it.
5. Now, select the Background Brush. Use this tool to draw lines or click on the areas of the image that you don’t want to keep. Zoom into your photograph during this and previous step to ensure that you are selecting the correct parts of the photograph. You can use either the Hand or Zoom tool for this step.
6. Pick a brush size, and either select the Background Color or Foreground Color swatch.
7. Select a new color from the Color Picker, and hit OK.
8. Hit the Preview button to see how your image looks. If the wrong items are selected, hit the Original Photos button on the Display menu. You can hit the letter “X” on your keyboard to compare your selection with your original image. If you don’t like the background selection and want to change it, go to the Background menu and choose a different option.
Tweaking Your Image
You know have a selection, but usually you need to tweak it a bit. If too much of your photograph has been removed, use the Add To Selection tool, and run it over the missing sections to bring them back. Use the Point Eraser tool to remove more of the photograph.
When you are done, just Hit OK. Now, you can drag and drop your face on to the body in the other image.
References
Adobe, https://help.adobe.com/en_US/PhotoshopElements/8.0/Win/Using/WS083AC514-D907-483b-84A1-4EA3989C4C65_WIN.html
Adobe, https://www.adobe.com/digitalimag/explore/?explore=photo
Screenshot provided by the author.
