Personalize your desktop with icons that mean something to you.
Often referred to as “the free Photoshop”, GIMP (GNU Image Manipulation Program) is a powerful piece of software that allows its users to process their images or create new ones at a high quality standard. Thanks to its friendly interface combined with its generous features and complex tools, GIMP can be used both by beginners and professionals with great results and minimum hassle. If you haven’t downloaded it yet, you can do that directly from www.gimp.org . If things seem a little complicated at first sight, don’t get discouraged, there are a lot of tutorials on the Internet to get you going.
In this tutorial we’ll focus on creating icons from your photographs using GIMP. An icon is a very small image that you can associate with certain files on your computer to make them easier to recognize and work with. Icons are usually saved in a special format ending in the extension .ico. Most of the software products come with a selection of icons you can choose from. But you can also create your own personalized ones, as special and unique as you.
What you need
- A version of GIMP installed on your computer
- The photograph you want to turn into an icon
Steps
1. Launch GIMP from your desktop or from Start – Programs – Gimp.
2. Open your image in GIMP (File – Open / Ctrl + O).
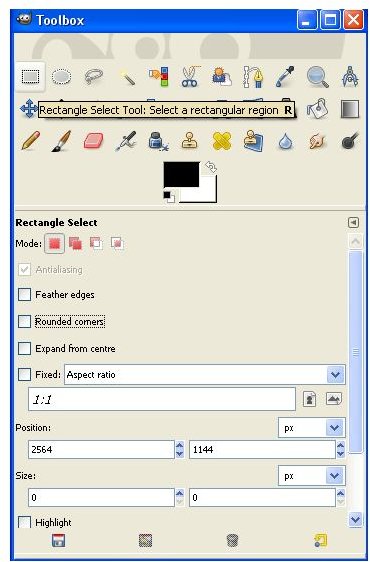
3. If you want to use only a part of your photograph, select the Rectangular tool from the Toolbox (Fig. 1) and select the part you want to use for your icon. Note: It is better to select a square area, because the image will be resized to a square shape.
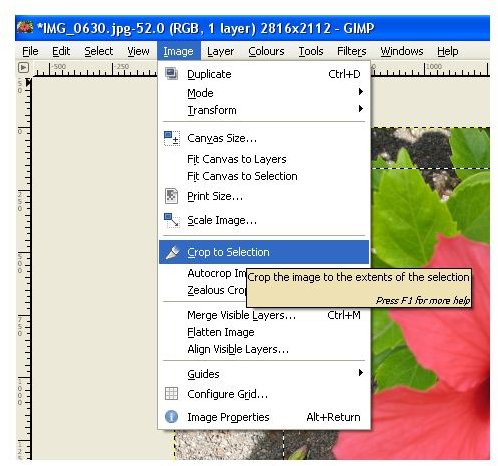
4. Go to Menu – Image – Crop to Selection. (Fig. 2) The image will be cropped to the extents of the area you selected.
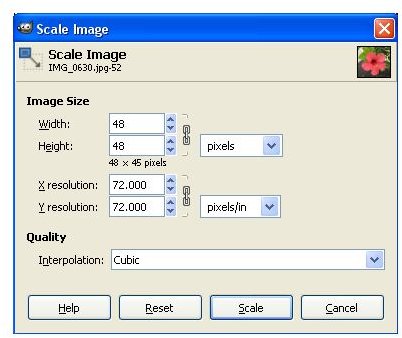
5. Go to Menu – Image – Scale Image. In the window that pops up specify the dimensions of the icon: Width: 48, Height: 48. Your image will be resized to the specified dimensions. (Fig. 3)
Click to enlarge image
6. Adjust the brightness and the contrast of the image (Menu – Colours – Brightness-Contrast) until you are pleased with the result.
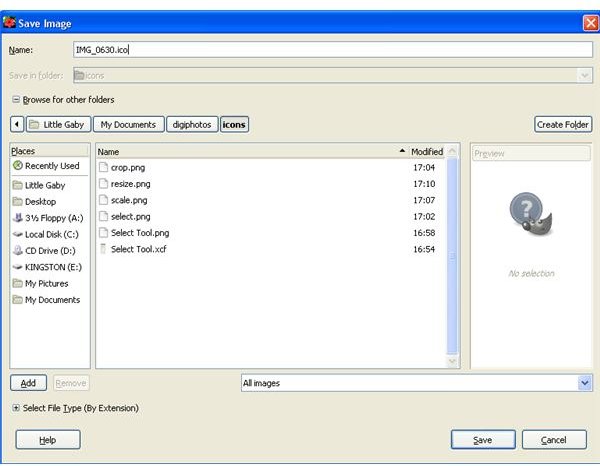
7. Save your new image (File – Save As). In The Save Image window change the extension of the file to .ico, choose a destination folder and click OK.(Fig. 4)
8. In the Save As Windows Icon window, go to the drop-down box and choose 8bpp, 1-bit alpha, 256-slot palette. Click Save.
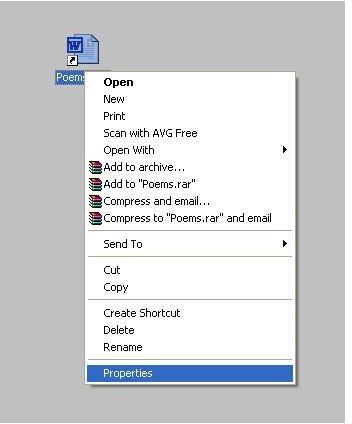
9. To change the icon of a shortcut on the desktop, right-click it, go to Properties and click Change Icon in the Shortcut tab.(Fig. 5)
10. Find your icon with Browse, open it by double-clicking it and click OK to replace the old one with the new one you’ve just created. (Fig. 6).
Click to enlarge image