What is a watermark? How can you create one? This article explains all that and more!
Getting Started
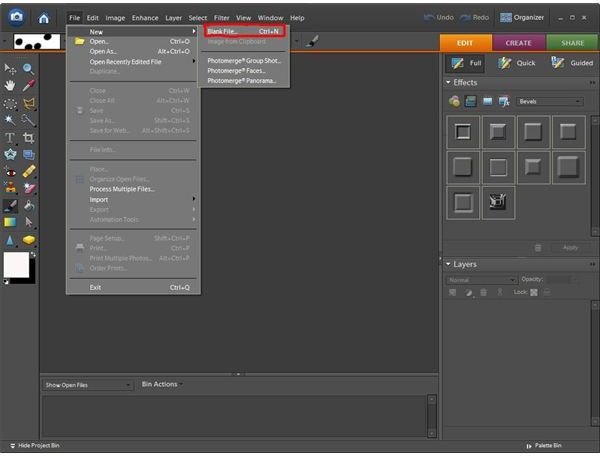
To create a watermark with Photoshop Elements, you’ll need to create a blank file. To do this, simply go to File on the top menu bar, and then scroll to New (it should be at the very top of the pull-down menu) and click on Blank File. If you’re into using keyboard shortcuts you can also hold down Ctrl+N to get the same effect. Name your file something easy to remember (such as Watermark), and set the file size. I usually create new files that are 500x500, but you can make yours any size you’d like.
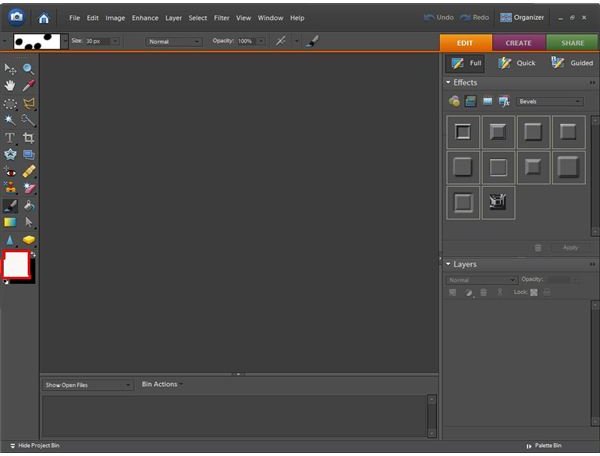
Since you’ll want your watermark to be transparent, you’ll need to add a background color to the file that can easily be removed later. You can choose any color you want to use. To do this, click on the foreground color box and a screen will come up. Choose the color you’d like for your background and then click OK. Now click on the paint bucket to select it, and click the canvas to fill your background with your chosen color.
Creating A Watermark Help
Creating The Watermark
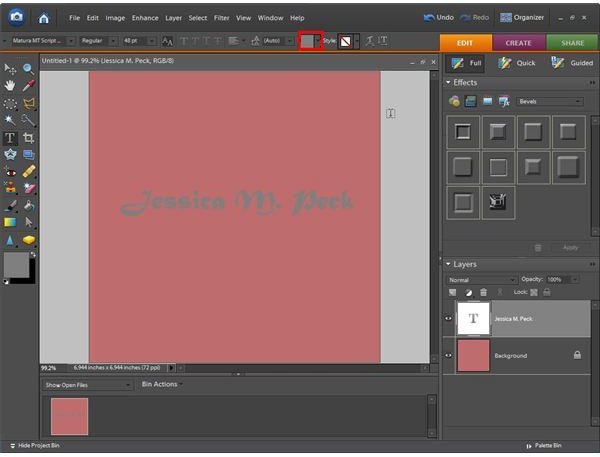
Once you have the color filled, you can start to work on the actual watermark. First, select the font type you’d like to use. Arial font is most commonly used, but feel free to choose whichever text you prefer. For my example I’ve used Matura MT Script Capitals set to a font size of 48 pixels. To make your script look as though it is written in 3-D, you’ll want to make your font gray. You can do this by clicking on the text color box on top of your screen (outlined in red in the photo below) and clicking on “more colors.” Once the box has come up you can type the number of a gray color in the box with the pound sign next to it (#). A good gray color is 808080. Once you’ve selected a gray color click OK.
Creating The Watermark Help
Typing The Copyright
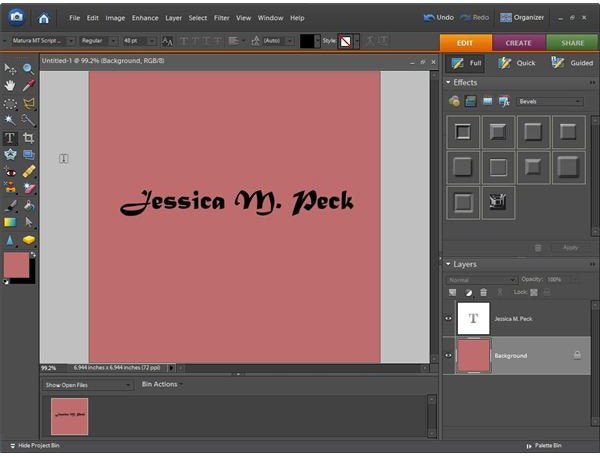
You can now begin typing your text onto the canvas. Click anywhere within the canvas and type what you’d like your watermark to say such as “Created by John Doe” or “Copyright 2008 John Doe.” If you want to add the copyright sign there are 2 ways to do this:
1. Hold down Alt and, using the number pad on your keyboard press 0169. This will only work on a PC (not a Mac).
2. If you’re using a Mac, hold down the Option key and press the letter G on your keyboard.
3. Another alternative if using a PC is to bring up your character map. The character map is found by going to your Start menu, hover over All Programs, and scroll to Accessories, then to System Tools, and finally selecting the Character Map. Once you’ve found the copyright icon, click it so that it’s highlighted and click on Select. Now click on Copy and close the Character Map. Once you’ve gone back to your Elements text you can paste that icon into your canvas.
Once you’ve typed your name you can select the move tool to position your text where you’d like it. This works well if you’ve used a font that is too large and your name has gone off the screen. You can also highlight your text to re-size it, change the font, or make it bold, italic, or underlined. Once you’re happy with your text, you can add the 3-D effect.
To learn how to create your 3-D effect and add your watermark to an image, read part two of this article!
This post is part of the series: Creating and Adding A Watermark to Your Photos Using Adobe Photoshop Elements
ThisPhotoshop Elements tutorial series will explain to you in layman’s terms how to create a watermark using Adobe Photoshop Elements 6.0, how to add a watermark to your images and what watermarks are used for.


