This article explains the icons of Adobe Photoshop Elements 6.0 It explains what the icons do and where they are.
Erasers
Eraser Tool: The eraser tool is pretty self-explanatory. It will erase whatever you want from the photo leaving the background color (usually white.)
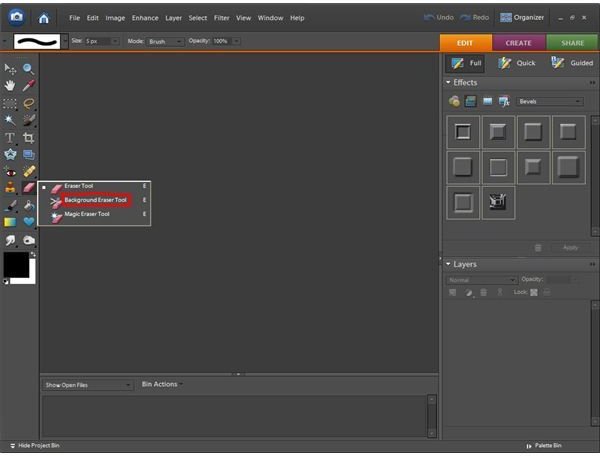
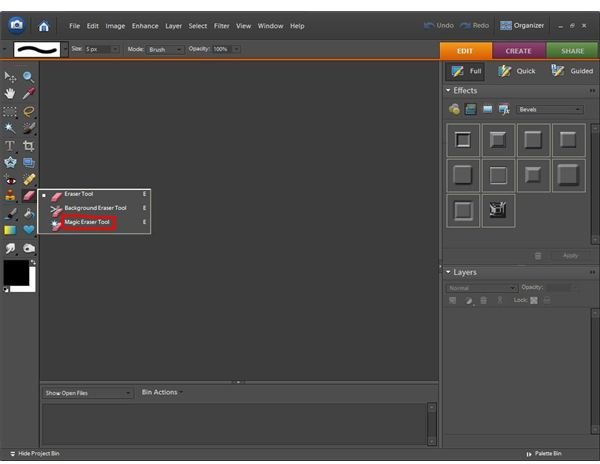
Background Eraser Tool: The background eraser is found by right-clicking on the eraser icon. The background eraser allows you to erase small portions from one layer and let the other layer show through.
Magic Eraser Tool: The magic eraser is one of my favorite tools. It can be found by right-clicking on the eraser tool icon. The magic eraser will erase all of the pixels that match the color of the object you want to delete. You can set the tolerance for how wide of a range the pixels it deletes are. It works best for high-contrast images.
Eraser Tool Icons
Brushes, Color Replacement, and Pencil
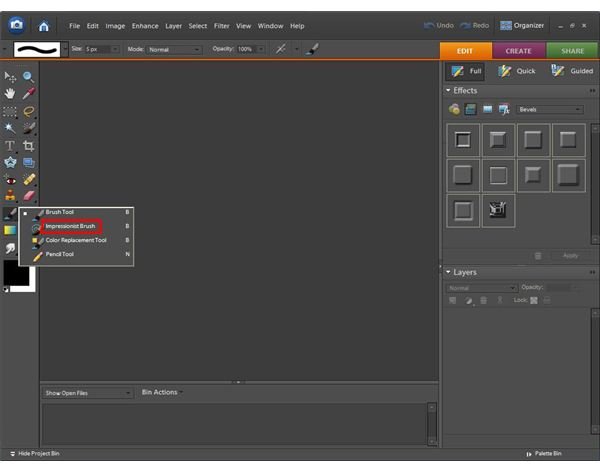
Brush Tool: The brush tool is used just as a normal paint brush. You choose a color, how large you want your brush to be, and start painting on the image.
Impressionist Brush Tool: The impressionist brush tool is found by right-clicking the brush tool icon. It works as a blurring tool giving your photo an “impressionist artist” feel to it.
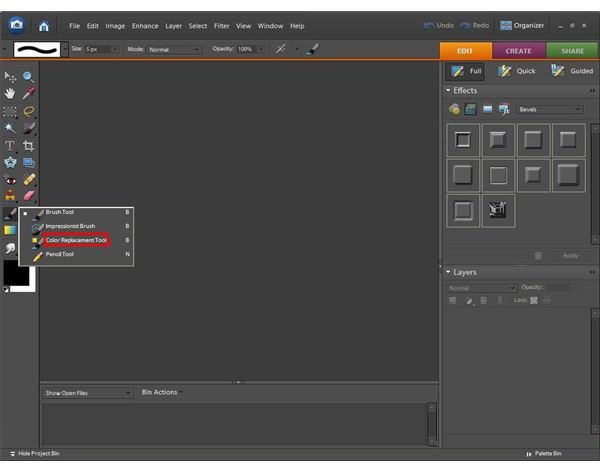
Color Replacement Tool: The color replacement tool is found by right-clicking the brush tool icon as well. It can be set to any size and can replace color, add hue, luminosity, or saturation to your image. If you hold alt+click, it will use the eyedropper tool to get the exact color from another part of the image.
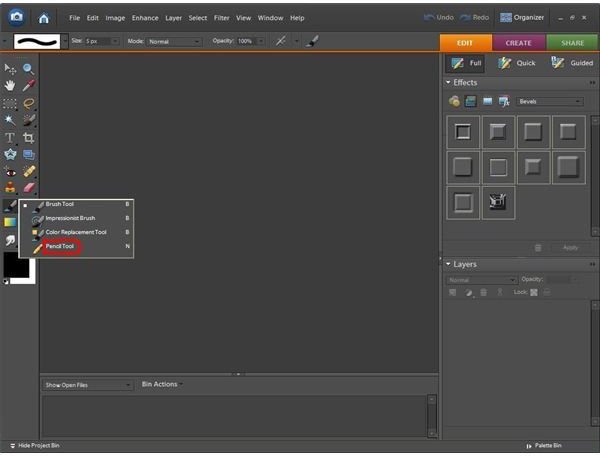
Pencil Tool: The pencil tool is the last tool found within the right-click brush icon box. It allows you to make a thinner line in any color you choose.
Brushes, Color Replacement, and Pencil Icons

Paint Bucket and Gradient
Paint Bucket Tool: The paint bucket tool is used when you want to make the entire background the same color without coloring it individually. Just choose a color and click and the background will change to whatever color you’ve chosen.
Gradient Tool: The gradient tool is just that. It will add a gradient to the image. A gradient is basically a color filling tool with color-changing effects. It looks great as a background for an otherwise bland image. You can also create your own gradients to use later. Photoshop Elements gives you a choice of the most popular options, as well as an option to make your own and save it.
Paint Bucket and Gradient Tool Icons


Creating Shapes
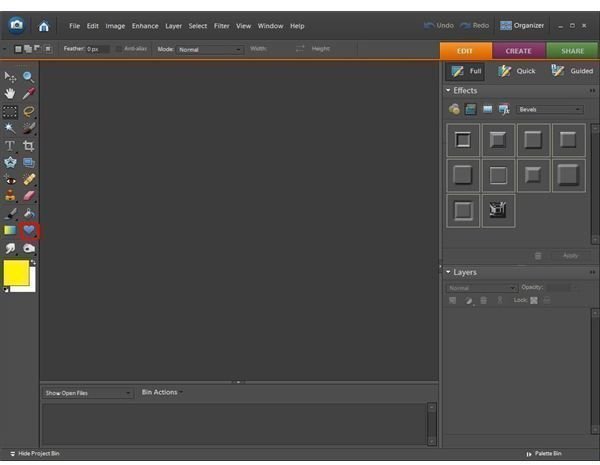
Custom Shape Tool: The custom shape tool allows for you to create different shapes onto your image such as a heart, butterfly, or checkerboard.
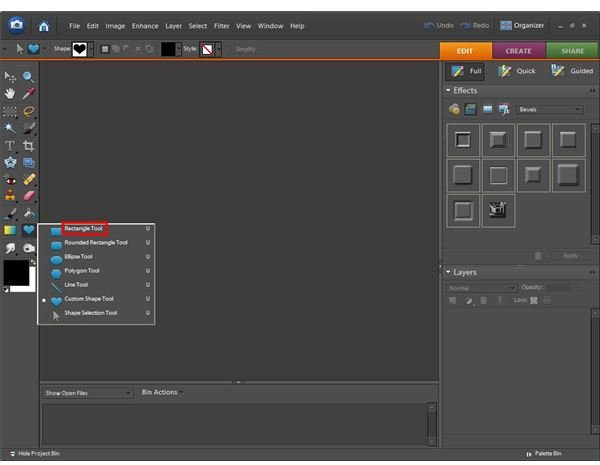
Rectangle Tool: The rectangle tool is found by right-clicking on the custom shape tool icon. It allows for you to add a rectangle onto your image. Just choose the color and drag your mouse to the size you’d like the rectangle to be. It will fill in with the color you’ve chosen automatically.
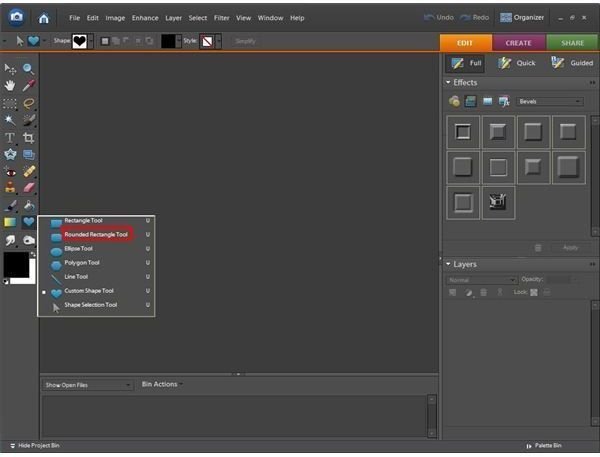
Rounded Rectangle Tool: The rounded rectangle tool is also found by right-clicking the custom shape tool icon. It works the same as the rectangle tool, except it’s a rectangle with rounded edges.
Ellipse Tool: The ellipse is another tool found by right-clicking the custom shape tool icon. It allows for you to add a circle or oval to your photo.
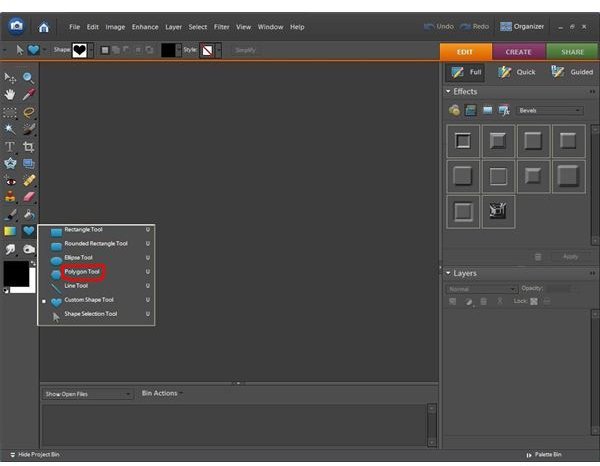
Polygonal Tool: Along the same lines as the other tools, and found in the same location is the polygonal tool. This allows you to add polygon shapes to your image.
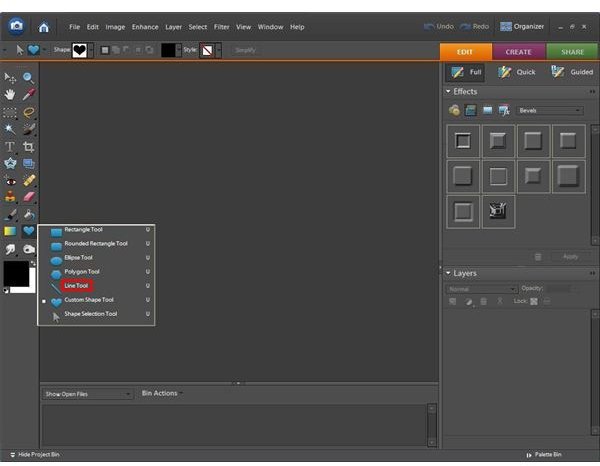
Line Tool: In case you want to make a shape that isn’t available in the pre-constructed shapes, you can use the line tool found by right-clicking the custom shape tool icon to design your own shape.
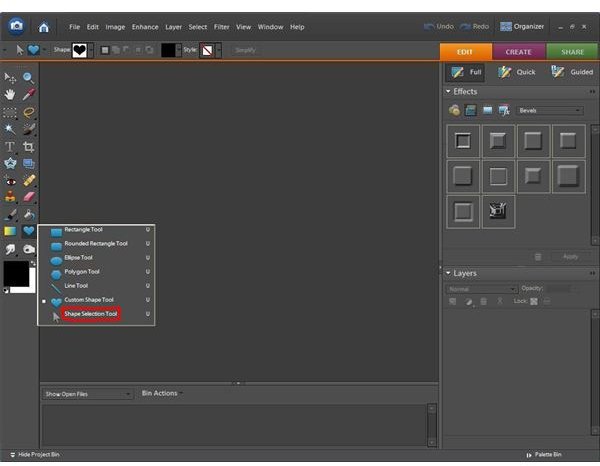
Shape Selection Tool: The last tool found by right-clicking the custom shape tool icon is the shape selection tool. This allows you to select a shape you’ve drawn and move it to another location or make it larger or smaller.
Shapes Tool Icons

This post is part of the series: Tools in Adobe Photoshop Elements 6.0
If you’re just getting started with editing photographs using Adobe Photoshop Elements, you may be overwhelmed with all of the different buttons and options you have. This article series will explain the different menus, buttons, and other options that will help you to use Photoshop Elements.
- Tools and Icons in Adobe Photoshop Elements - Including Zoom, Marquee, Lasso and Magic Wand
- Tools and Icons in Adobe Photoshop Elements - Including Selection, Mask, Red Eye Removal, Healing and Stamp
- Tools and Icons in Adobe Photoshop Elements - Including Erasers, Brushes, Gradient and Shapes
- Tools and Icons in Adobe Photoshop Elements - Including Smudge, Blur, Sharpen, Dodge and Burn


