
Photos are valuable to everyone whether yours serve as memories, reminders, or something to entertain your friends with. Easily keep your photos organized on your iPhone in albums. We’ll show you how.
Creating photo albums on the iPhone is not as straightforward as you might think. iTunes is great for music, movies are just so, but Apple have failed to step up on the photo side. It is actually rather disappointing how spectacularly Apple have failed to allow you to manage your photos, but the solution is here. Find out how to create photo albums on your iPhone, below are instructions for those using Mac or Windows.
Using iTunes
The default way of creating a photo album for your iPhone is via iTunes. There are a couple of ways to do this:
- Connect your iPhone to your computer and open iTunes.
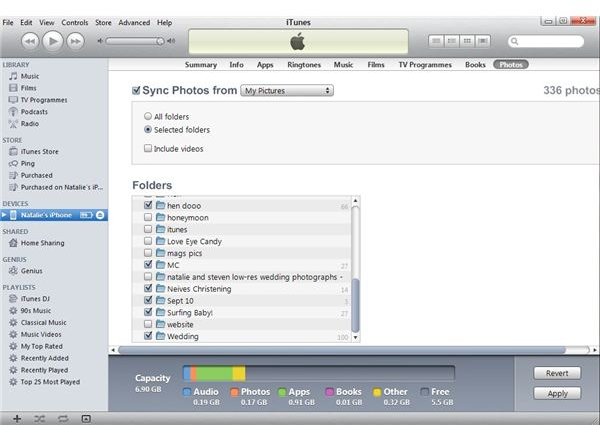
- Select your iPhone from the left hand menu and select ‘Photos’ from the menu on the top right hand side.
- This will give you the screenshot to the right, giving you options of syncing all folders, check this if you wish to transfer everything, or select which folders and videos you’d like to transfer from your computer’s picture library. Check the box for ‘Select Folders’ if this is the case and check the folders you wish to transfer to the iPhone.
- If you are transferring video clips you must check the box ‘Include Videos’.
- Once you’ve followed the steps above select ‘Sync’ and once that’s done you’ll see the selected photo albums have been added to your library.
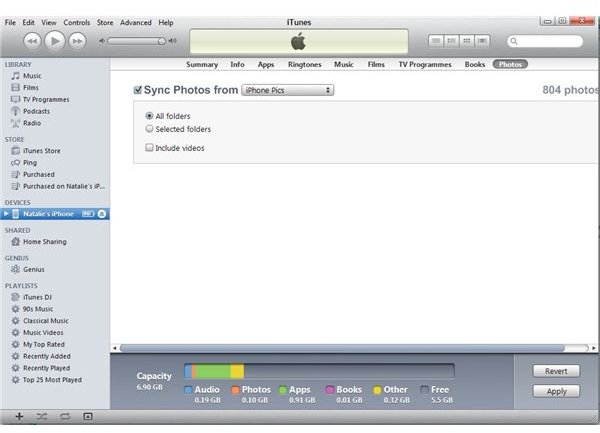
Another way to do this which many find easier to manage is to create a folder within your picture library, for example ‘iPhone Pics’, and then create sub folders within it of all the picture albums you’d like to add to your iPhone. Follow steps 1 and 2 above and then after checking the box to ‘Sync Photos From’ select your folder, in this case ‘iPhone Pics’. Lastly, check the box for ‘All Folders’ and sync.
By following the second route all you’ll need to do from that point on before syncing is just add any extra pictures to that folder.
Mac Users - iPhoto Library Manager
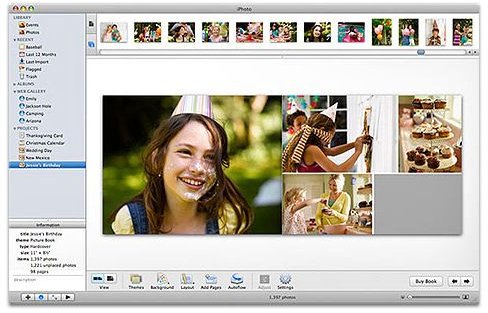
Many Mac users are turning to iPhoto Library Manager for creating albums. Amongst its multiple photo editing features it allows you to create albums which transfer to your iPhone on syncing with iTunes. You can download this for free , or to access advanced features for a fee of $19.95 .
- Once you’ve opened iPhoto, to create a photo album select the ‘+’ sign or ‘+ Add New’ from the bottom left hand corner or top left hand corner, depending on which version you have.
- Name the album and hit ‘Create’. On the left hand menu you’ll see ‘Albums’ with blue book icons, your new album name will appear here.
- Next, in the library option you’ll see ‘Photos’ so select this to bring up your library and drag the photos you’d like to the album you’ve just created.
- Lastly, keeping iPhoto open, open iTunes and sync with your iPhone. You’ll then see your new album has been added to your library.
In Conclusion
Apple rarely make things as easy as they could be and the photo aspect of iTunes is no different but we’ve given you the solutions to create albums on the iPhone here, and fingers crossed Apple will one day simplify the process. Well, we live in hope.


