The iPhone has a large storage space that is meant to be used only for iPhone apps, movies, songs and photos that can only be synced with iTunes. Now, you can also use your iPhone as a USB drive to store virtually anything you want. Read more to find out about this interesting application.
Introduction
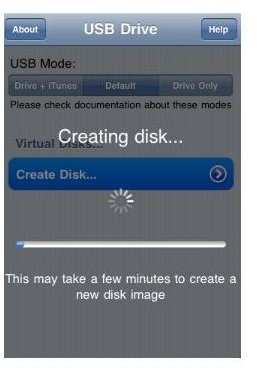
For this tutorial, you need not install any software on your PC. The only thing required is the creation of a virtual drive on your iPhone. The virtual drive creation process generally takes time depending on the amount of space you are allocating to the drive. For a smaller storage drive, it should take only few minutes, whereas, for a larger drive, time may vary from 10-15 minutes. During the virtual drive creation process, make sure your iPhone doesn’t go into standby mode. Follow the step by step instructions given below.
Note: You must have a jailbroken iPhone to carry out the steps mentioned in this tutorial.
Step-by-Step Instructions
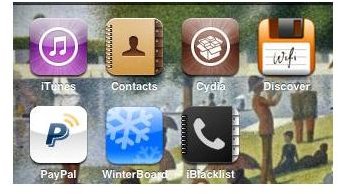
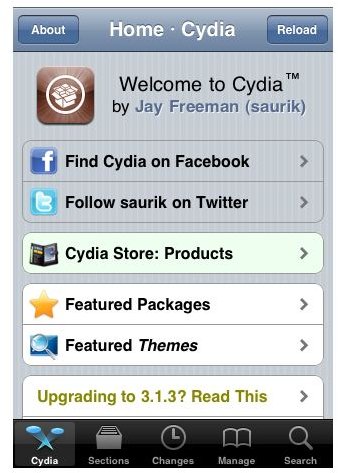
Step 1: Tap the Cydia icon on the Springboard.
Step 2: Now, tap the Manage icon on the bottom right.
Step 3: Now, tap Sources.

Step 4: Tap the Edit button on the right top corner.
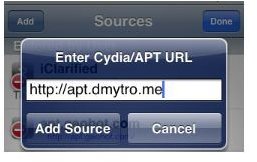
Step 5: To add a new source, tap the Add button on the left top corner.
Step 6: Add the following URL: https://apt.dmytro.me in the address bar and finally tap the Add Source button to add this source.
Step 7: Once the source has been verified, a Return to Cydia button will appear. Press this button to continue.

Step 8: Finally, tap the ‘Done’ button to add this source.

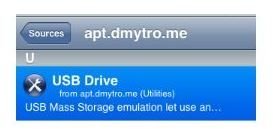
Step 9: From the list of sources, select the apt.dmytro.me source.

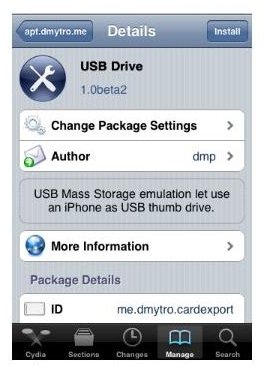
Step 10: Now, from the list of packages, select the USB Drive package.
Step 11: Tap the Install button to start the installation process and then tap the Confirm button on the right top corner to continue with the installation process.
Step 12: After the software installation process is complete, Return to Cydia button will appear. Tap this button to return to the Cydia application.
Step 13: Finally, tap the Home button to return to Springboard. Tap the USB Drive icon on Springboard.
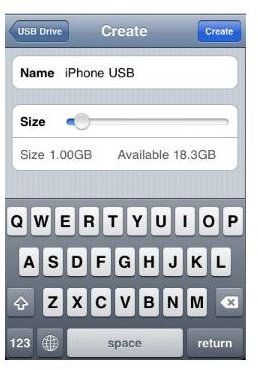
Step 14: Now, you need to create a virtual drive on the iPhone. Press the Create Disk… button to create a virtual disk. Enter the desired name and the size of this virtual drive and finally, tap the Create button to create a virtual drive.
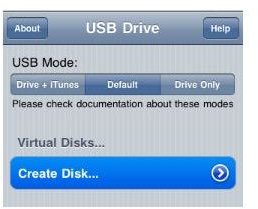
Step 15: Now you have to specify the desired USB mode for the virtual drive you just created. You have 3 options.
- Drive + iTunes: This will make your iPhone compatible with iTunes as well as allow you to use your iPhone as a USB drive.
- Default: No changes are made to the iPhone settings.
- Drive Only: You can only use the iPhone as a USB drive. However, the iPhone will not be compatible with iTunes in this mode.
I decided to choose Drive only mode for testing purposes. Reboot your iPhone when prompted.
Step 16: Once the iPhone reboots, you can access the virtual disk on your computer you created with USB Drive.
Images Credit
- Apple iPhone screenshots by Apple
- Cydia application screenshots by Cydia


