Want to root your HTC Wildfire? There is no need to use the Soft Root now, you can root it completely using the unrevoked reflash tool and HBOOT drivers. Here’s how.
The HTC Wildfire is one of the best budget Android smartphones. It offers decent hardware specs and runs Android 2.1 Eclair. Even though there are some better options like the LG Optimus One and the Samsung Galaxy 3, the HTC Wildfire has been selling quite well.
In this tutorial, I will explain how you can root your HTC Wildfire. Rooting your HTC Wildfire will give you complete access to the file system, allowing you to modify anything you want to. You can also install custom ROMs or upgrade to newer versions of Android.
Rooting the HTC Wildfire wasn’t a very easy process some time back. There was just a soft root hack for it, but now you can root it completely. It’s a simple process now which involves using unrevoked3, a tool which can be used to flash a custom recovery image on your Android phone and flash custom ROMs onto it.
Before rooting your phone, check out these 5 reasons to root your Android phone , as well as 5 reasons not to root it .
How to Root HTC Wildfire - Complete Guide
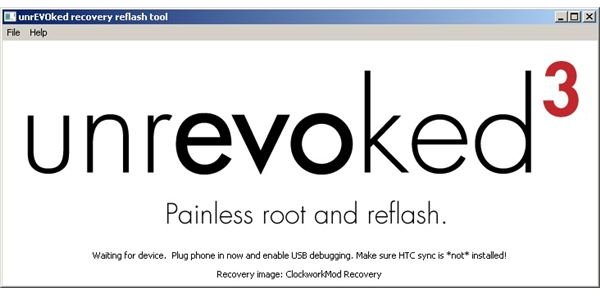
1. Download unrevoked3 for your operating system (Windows, Linux and Mac OS) from here.
Download unrevoked3 for Windows
Also download the modified HBOOT drivers by unrevoked .
2. Extract the unrevoked modified (HBOOT) USB drivers and save them on your desktop.
3. Switch off your Wildfire and boot into the HBOOT menu by holding down Power + Volume Down.
4. Select HBOOT USB at the HBOOT menu by pressing Volume Down 4 times and then the Power button. Wait until you get an “SD checking” message.
5. Connect your phone to your PC with the data cable. Your phone should display “HBOOT USB PLUG”.
6. Click on Start and right-click on Computer. Select Properties and go to the Device Manager.
7. Under Other Devices, you should see the Android 1.0 device. Right-click on Android 1.0 and click on Update Driver Software. Browse your computer for the driver software and select the Android modified USB drivers folder that you extracted on your desktop.
8. Once the driver is installed, click on Close and make sure that the Android Bootloader Interface is being displayed under Android Phone in the device manager.
9. Now close HTC Sync if it is running and connect your phone to your PC again using the data cable.
10. Enable USB Debugging on your phone by going to the Menu > Settings > Applications > Development and enabling the USB Debugging option.
11. Run the unrevoked3 reflash package tool that you just downloaded. Follow the instructions and your HTC Wildfire will be rooted in a few minutes.
Your HTC Wildfire is now rooted. You now have full access to the file system on your HTC Wildfire and are free to flash any custom ROMs and backup your current ROM with the data.
Source: XDA
References
- Screenshot provided by writer
- The Unlockr: How to: Root the HTC Wildfire (Unrevoked Method), http://theunlockr.com/2010/09/20/how-to-root-the-htc-wildfire-unrevoked-method
- HTC Wildfire Smartphone Device by Montgomery under CC BY 2.0


