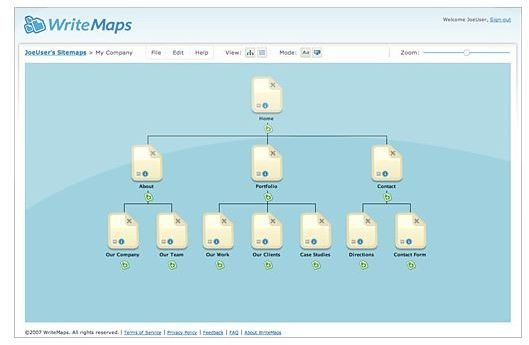
Some consider sitemaps as old as the Ark. However, search engines and veteran web developers consider them of high importance. Keep reading to fine tune your sitemap creating ability. It’s better late then never.
Creating a Website Sitemap
So, you have a website and now it’s time to create some type of organizational flow. Regardless of your intentions (even if the site isn’t built yet) creating a sitemap is recommend by every thoughtful web developer.
Every type of blog and/or personal or business website needs a sitemap. Why?
For two reasons mainly. Of course you can come up with infinite reasons but for everyone’s sanity and well being, check out the following:
Reason 1 - Organizational Structure
Not many people use sitemaps these days to navigate a site. The main reason for this is better design and modern features giving users a better online experience. However, this is not to say they are extinct. When looking for that obscure section or article, sitemaps do come in handy.
Reason 2 - Search Engine Optimization
Probably the most important of all defenses for sitemaps. When search engine bots crawl websites they follow every link, eventually landing on your sitemap, therefore indexing (hopefully) all visible links.
This leads us to the meat of the article. . .
Follow the steps below to create the all illustrious website sitemap.
Note - There are numerous ways to dynamically generate sitemaps with Wordpress, Drupal or Google. This article covers the most basic concepts of creating an HTML sitemap from scratch.
Step 1 - Start with a simple word processor.
Google Docs, MS Word, Word Pad, Notepad. . . name your flavor. It doesn’t matter. Just make sure you can convert to HTML or copy content from either of these sources. If you feel like doing this with a pencil and paper, by all means don’t let me stand in your way.
Step 2 - Organization is key.
If the site is not developed yet, than this will be a good exercise in developing what pages and content need to be created. Think of the sitemap as an outline to your web site.
-
Starting with the most important categories > sub-categories > sub-sub-categories> (points to) individual pages.
-
Take a look at the Bright Hub sitemap . Underneath Business you’ll find categories ranging from Home Office to Project Management, Sales & Marketing, E-mail, Career Planning. . . etc. You’ll get the idea of how many sub-categories neede
Advertisement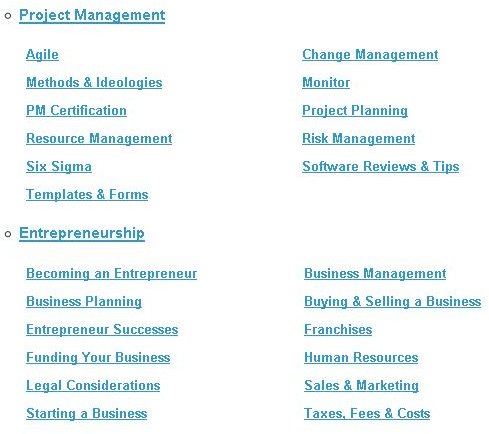
d based on the logical pattern of your site.
Advertisement
Step 3 - Putting it all in place.
Now it’s time to make sense of everything. No sitemap will do any good on your hard drive or scrawled on a notepad.
-
Let’s get to the fun part. Remember, all of this can be copied over to your favorite HTML editor. i.e, Dreamweaver , Front Page (if you dare). Also, if you’re using any of the word processors mentioned above, saving an HTML file to be uploaded is simple.
-
Next, you need specific destination url’s (links) for all of the desired categories. Just telling the bot what you have isn’t good enough. There has to be a pathway.
Advertisement -
Highlight over the word and depending on what program you’re using, find the function that allows you to hyperlink a word. Insert the relevant category link, and bingo you have a live sitemap. Do this 100 times, or however many times necessary, and you’re ready to roll.
-
As mentioned above, to create to the HTML file:
Advertisement- Hit Save As like you are saving a normal file.
- Under file type, select > All Files
- Name the file site-map.html (or anything with .html after it)
- The file will now be ready to upload - see instructions below.
Going live» Using your standard upload protocol, i.e, FTP if building a traditional page. For blog pages, just publish and you’re off to the races. Note - Most blog publishers should try and create a dynamic sitemap. Life will be easier for everyone that way.
Remember, this is a work in progress. Categories will be added and removed as the map matures. Don’t hesitate to edit things and improve the over all framework - this is not a sacred document. However, the above tips should at least get you started in the right direction
*Image courtesy of Write Maps