This article will provide the reader with detailed instructions on how to share slideshows on Facebook.
Introduction
Almost everyone has heard of Facebook , in fact, many people have a Facebook profile, and the reason for this is that Facebook has everything a person needs to interact with his friends and family. According to BBC News “Social network giant Facebook has registered its 500 millionth member.” Now, that’s a big number.
One of the many Facebook applications is the ability to upload photos; therefore, people are able to see pictures of their loved ones and comment on them, now, the experience can be even more rewarding when the photos are made in the style of slide; however, not everybody knows how to share slideshows on Facebook.
There are many websites that allow the creation of slideshows, and the ability to publish them on Facebook for free. Today we are going to use Slide.com to complete the task. It is very simple and just about anyone can do it.
Instructions
-
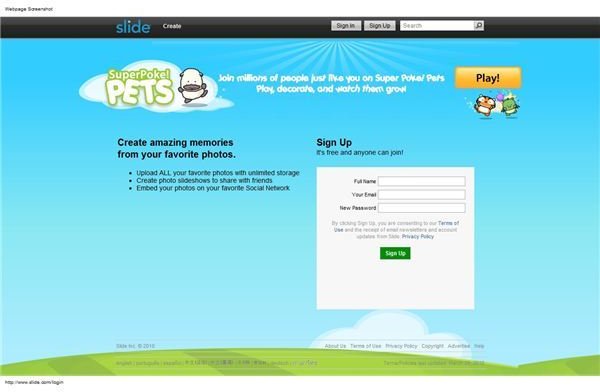
Go to Slide.com and Sign in. If you have not got an account, you can create one for free by filling in the form and clicking on “Sign up.”
Advertisement -
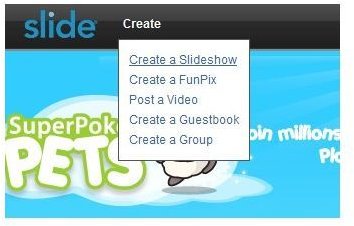
Hover your mouse over “Create” and click on “Create a Slideshow.”
 Advertisement
 -
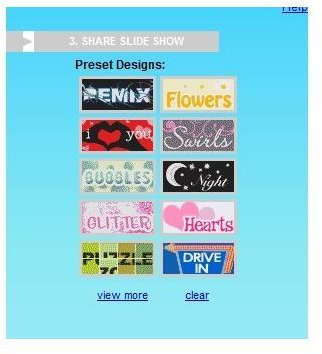
Choose a “Preset Design” as shown below.
 Advertisement
 -
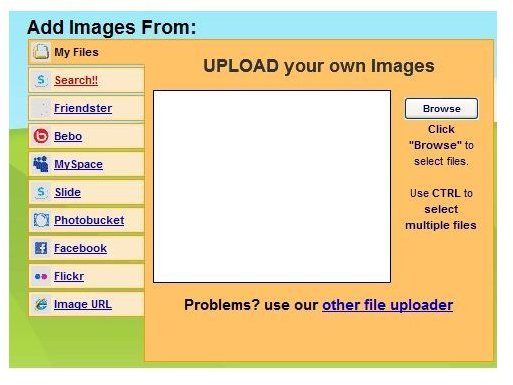
Upload the images you want people to see on the Slide. You can upload pictures from your computer by selecting “My Files” and then Clicking on “Browse.”
 Advertisement
 -
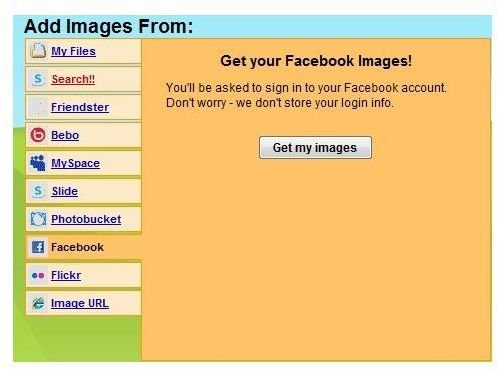
Select “Facebook” if you wish to upload pictures directly from your Facebook’s Albums, and click on “Get my Images.“Then Allow Slide to access your Facebook by clicking “Allow” on the pop up window.
 Advertisement
 -
Choose the album you wish to use and click on “Done” on the new pop up window .
 Advertisement
 -
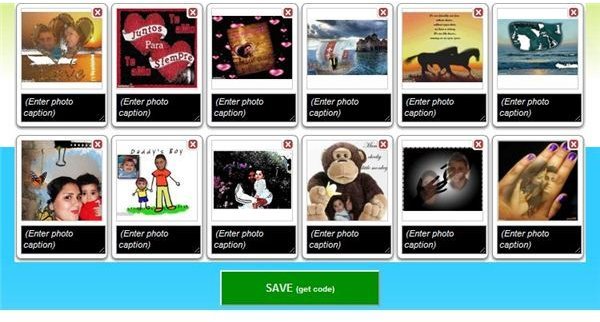
Scroll down and click on the red “X” on the pictures you wish to delete. You can also rearrange them by dragging them. DO NOT click the “Save” button yet, as you still need to customize your slide.
 Advertisement
 -
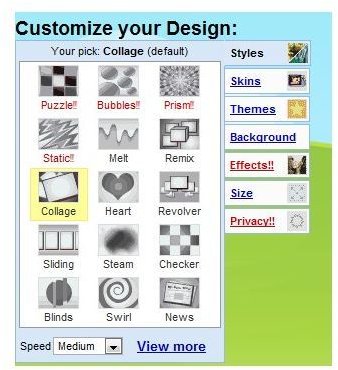
Customize your design choosing you Slide’s “Style,” “Skin,” “Theme,” “Background,” “Effects,” “Size,” and “Privacy” settings as shown below.
 Advertisement
 -
Click on “Save” once you are happy with your slide’s settings.
 Advertisement
 -
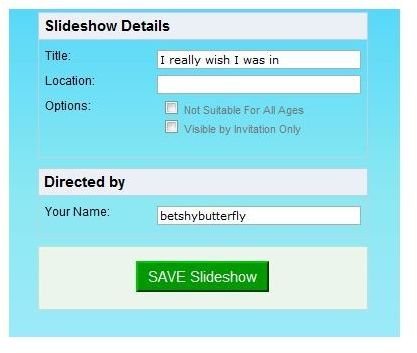
Fill your “Slideshow Details” and Click on “Save Slideshow.” You can also choose a predetermined Slide Intro and add the Slideshow Stars on the left side.
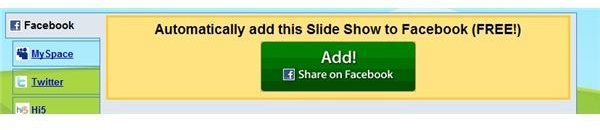
- Now that your Slideshow is ready, click on “Add! Share on Facebook” to share your Slideshow on Facebook.Then, click on “Share” on the pop up window and you are done.
References
BBC News (July 2010): https://www.bbc.co.uk/news/technology-10713199
Resources
How to Create a Slide Show with Picasa 3: https://www.brighthub.com/internet/google/articles/21398.aspx
Creating Photo Slideshows in DVD Studio Pro: https://www.brighthub.com/multimedia/video/articles/15553.aspx


