If you’ve ever wondered how to create an HTML newsletter in Dreamweaver, this tutorial is for you! This tutorial will walk you through the process of quickly creating your own newsletter using Dreamweaver’s code editor, which can be a powerful marketing and publicity tool for absolutely anyone.
About this Tutorial:
If you’re the owner of a website, a president of a club or organization, or someone who manages sales in a company, an e-mail newsletter could be an absolutely invaluable tool for those looking to reach their subscribers.
Great for announcing sales, giveaways, or just providing useful information to all of the people on your subscription list, an eye-catching newsletter can greatly help with publicity and reach your viewers in a more personal way. This tutorial will teach you how to create an HTML newsletter in Dreamweaver . This tutorial is geared toward beginners and uses Dreamweaver 8, but should work well with all versions of Adobe Dreamweaver.
Forward:
Spend a little time visualizing what you would like your newsletter to look like. Ideally, you should mimic the look of the website you are promoting, or incorporate any special logos, typefaces in graphics, and color schemes to help with brand recognition. This goes for clubs and organizations as well. There are a myriad of great programs to help you pick the perfect colors , or you can eyeball it if you would like. And always remember to KISS - Keep It Simple, Silly! Not all email clients will display newsletters heavily peppered with images. So remember, less is more!
Creating a Newsletter in Dreamweaver
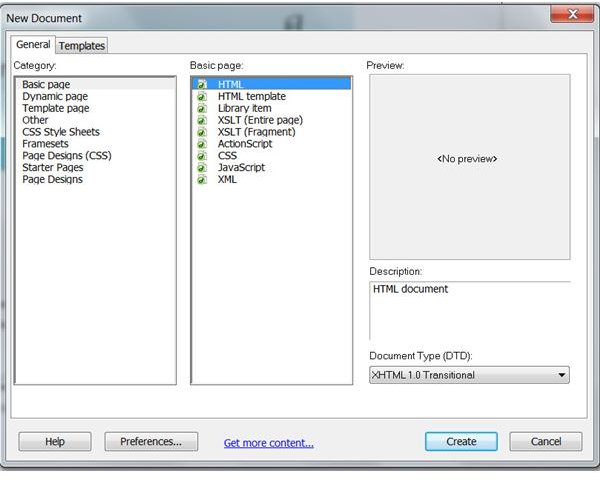
Open Dreamweaver and select a basic HTML page. This is the best option in order to reach most of the people on your subscription list.
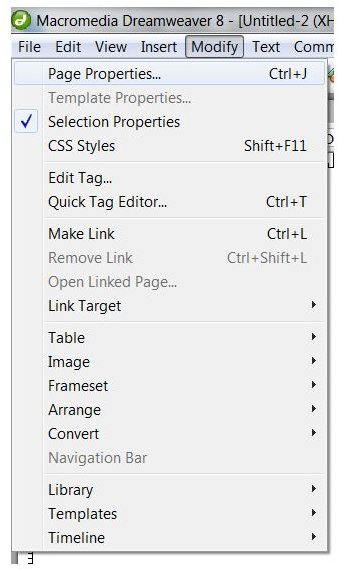
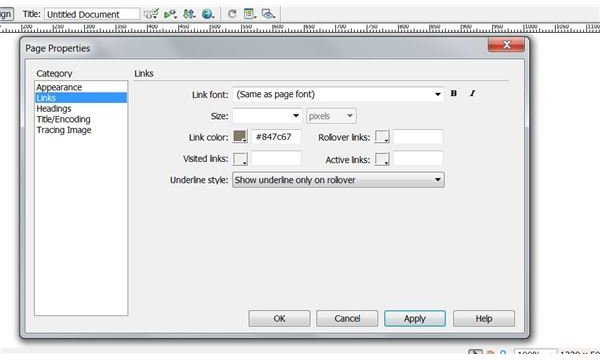
Begin by setting up the CSS for the newsletter. The easiest way to do that is to go into Modify and then Page Properties.
Now we’ll work on editing the basic appearances. When setting up your background color, keep in mind that it’s often best to go with a light background and a dark font. This way, if the email client ignores a part of your formatting, your text will still be readable. Here I’m choosing to keep the default black and white, so I won’t change any values. I am, however, changing the font to Verdana size 12. It’s a good idea to avoid using any background images as well.
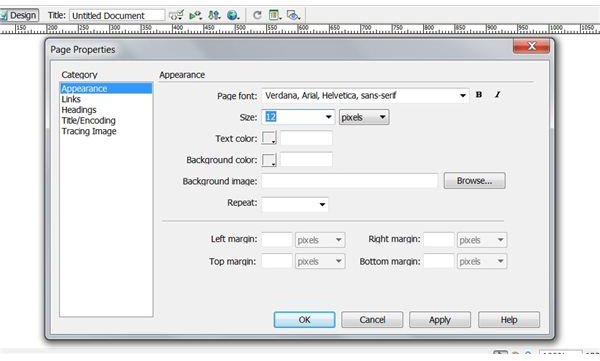
Changing link color and the underline style is completely up to you, but here I’m going to change the color to a muted brown (#847c67) and show the underline only on rollover.
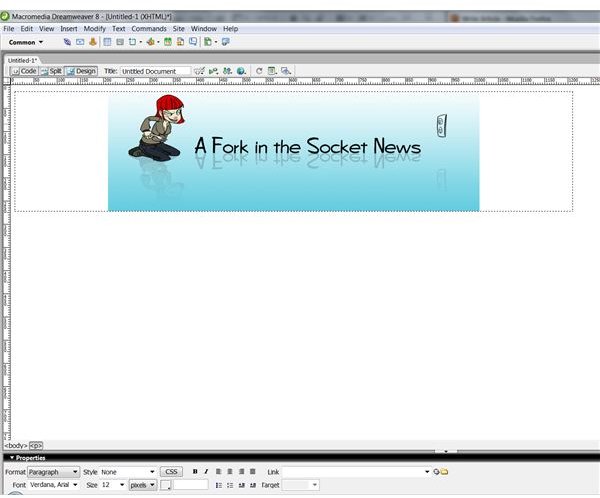
When inserting logos and other graphics, be sure to keep them below 800 pixels wide - anywhere between 600 pixels and 700 pixels would be best! This keeps them large enough to see on high-resolution monitors, without making them so large that lower resolution monitors have to scroll around just to navigate your newsletter. Be sure to upload your image to your web space where you won’t delete them, otherwise they will show up as broken images. When you insert the image into Dreamweaver, use the URL, such as yourwebsite.com/myheader.jpg - or if you’re more comfortable inserting the line of code yourself, it would look like this:

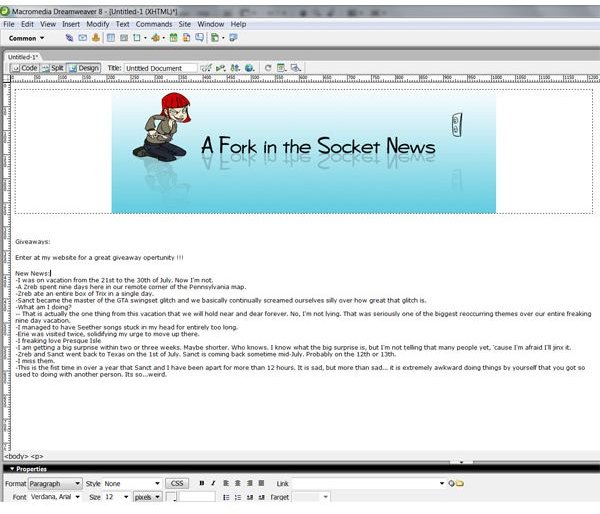
Fill in the body of your newsletter with the information you would like. Its often better to keep it brief, and provide links to more information on your website. Otherwise people may skim your email and miss the very information you are trying to provide them with!
When finished, simply go into the code section of Dreamweaver and copy all of it. When finished, paste into a new email - use plain text if you have the option. Now you are ready to send it to the people on your mailing list. It is also a wise option to upload your newsletter to your website and provide a link in the bottom of the newsletter to it, in case someones email client doesn’t show your images or formatting correctly. Congratulations, you’re finished!

Image Credits
All images (including logo and screenshots) are the property of the author of this article and are intended for educational purposes only.


