If you have ever tried to animate bitmaps using Flash CS4 tools, you have experienced the simplistic of animation techniques. Whether you would like to learn how to transition between a rainy background and a sunny day or simply make a child hop, you can make it happen with Flash.
Animating Lady Reading Book
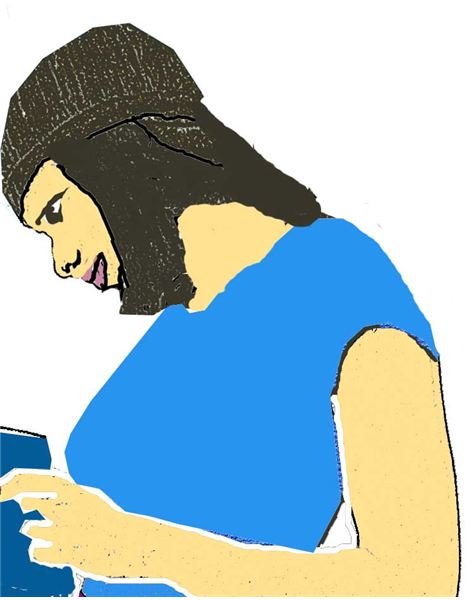
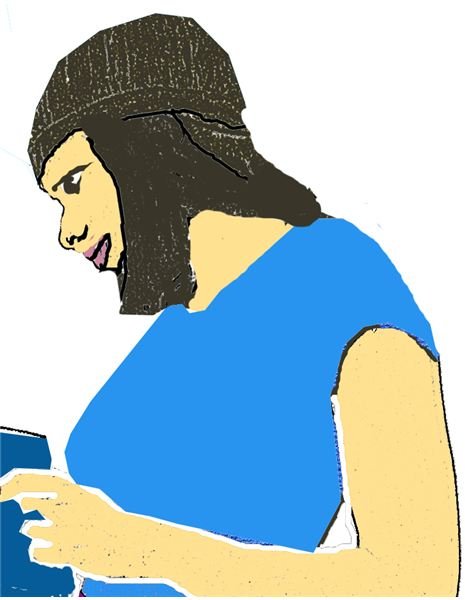
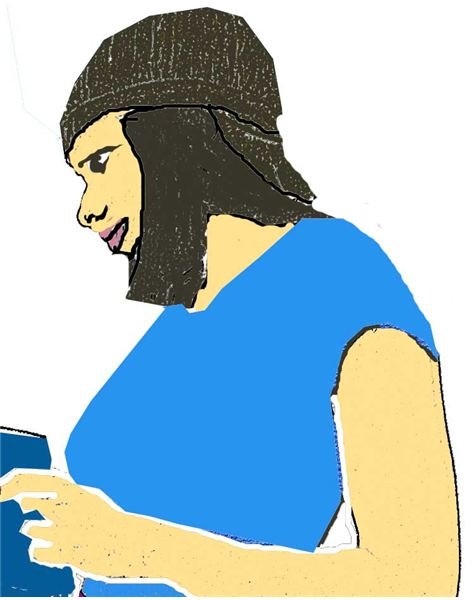
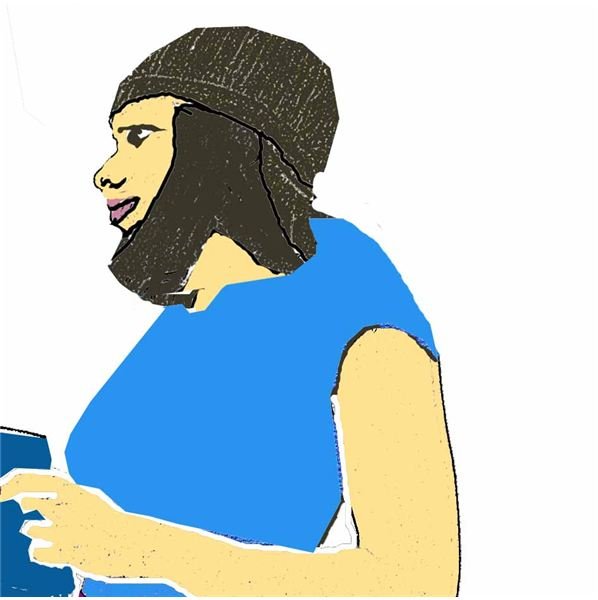
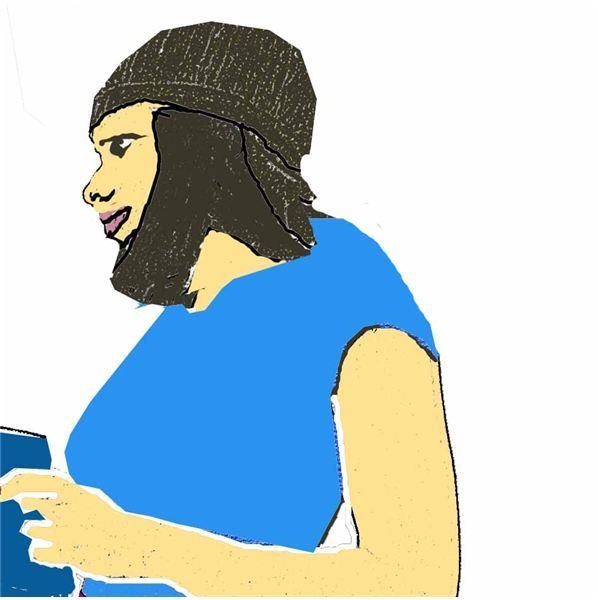
When you are working in Flash, you are usually creating animations for either a multimedia presentation video or even an avatar. This tutorial will attempt to show you how to animate bitmaps in Flash. We are going to create the image from clip art. Our focus is to keep it simple and playful. We will animate a lady reading a book. Let’s start with five pictures like those similar to the following.
Girl Reading Book
You will find that you won’t need many pictures to achieve a smooth animated look. Open Flash CS4 and go to “File Import” to import all 5 images into your time line. If you have the pictures in sequential order like 001.jpeg, 002.jpeg, etc., your bitmaps will automatically be arranged in the time line in order, and Flash will ask you “This image seems to be a part of a sequence, would you like to import the rest?”. Once you see this prompt, click OK to import your bitmaps into the time line.
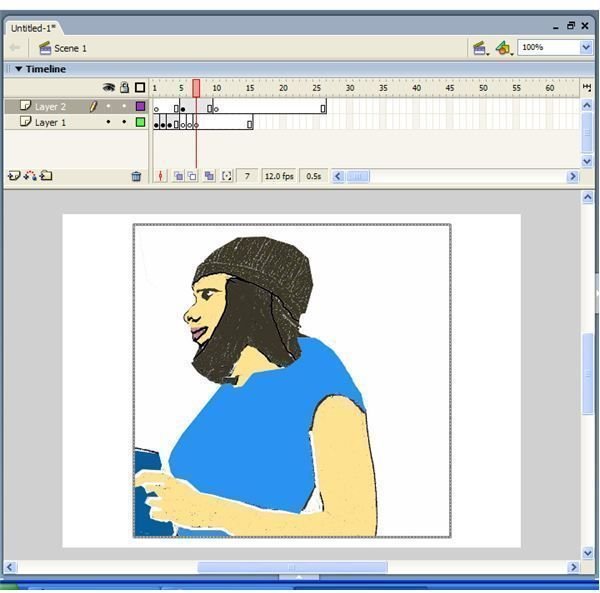
1. We need to lengthen the bitmaps on the time line so that the image duration has a longer screen time. Put each of the images on it’s own time line layer.
2.Go to the left and click on “Add New Layer.” This will add a new layer to the time line. Repeat this four times. Now you should have a layer for each of your bitmap images. (Click any image for a larger view.)
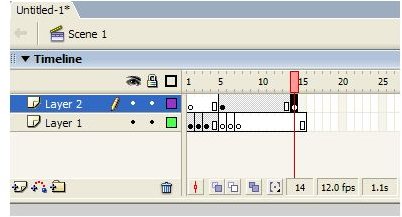
4. Select each image and drag it to its respective layer 5 frames apart from each other. Now click on the last frame of each layer and drag it out 5 frames. The result should look like the following diagram.
5. Now click on “Test Movie” and watch your bitmap lady read a book!
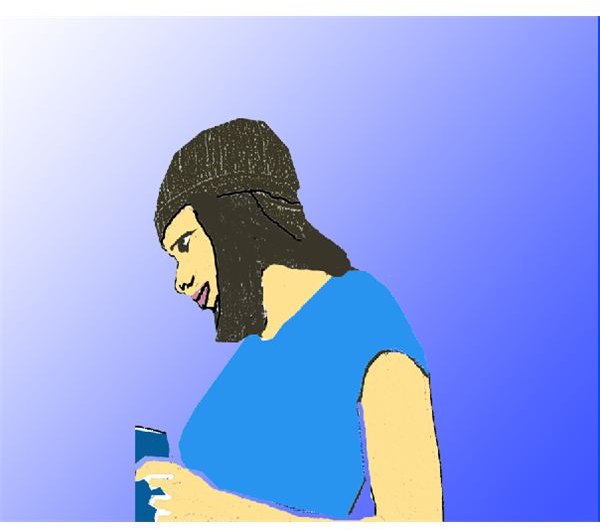
Animating a Bitmap Background
Now let’s try to animate a bitmap background image that we have created from a photograph in Photoshop. We will place the clouds behind the lady and they will change colors as she’s reading.
6. In Photoshop you will want to use two images of a cloudy sky. (You can also create clouds in Photoshop if you want to use your own personalized graphics.) Duplicate the first cloudy image and add a filter to it. Go to Filter > Render clouds and choose an orange color. Now you have two different cloud pictures to save as a jpeg.
We will prepare to import both images into Flash and trace a bitmap.
Add two new layers behind the reading girl animation. This would be the first layer and second layer from the bottom up. Import cloud image one on layer one and cloud image two on the second layer. Remember to overlap the frames by five frames.
Click on the first image and go to “File Trace Bitmap”, then do the same for the second image.
7. Click on the last frame of this first image and go to the “Properties” panel. Click on the “Alpha” selection and slide the “Transparency” down to 0.

8. Insert a key frame by right clicking. Now we want to create a motion tween between this frame and the last by right clicking and selecting “Motion Tween.” This will create a dissolve effect.
9. Repeat this step by clicking on the first frame on the second cloud image, selecting Alpha, and sliding to 0 transparency. Click on the fifth frame and insert a key frame. Right click on “Frames” 1 through 4 and select “Motion Tween.” Now when you test the animation the cloud will change behind the reading lady. Pretty cool huh?
The final step is to create a file that will allow you to embed this bitmap animation into all of your website. Go to “File” and Save As an SWF file. Enjoy!


