
Are you a digital artist or graphic designer who would like to try your hand at designing and animating your characters in Flash? If you want to go digital with your hand-drawn character, it’s best to learn how to prepare your character to be animated in the digital world.
Macromedia Flash is a program that is used to create and animate characters. It is primarily built for web animation, but we will show you how you can take your hand-drawn character and prepare it for animation.
Preparing the Hand-Drawn Character
The first thing you want to make a checklist of, is the materials that you have to work with. If you have a Wacom Tablet, Photoshop, Macromedia Flash and a scanner, you are good to go. Oh, of course you have to have your illustrated character ready. It’s a lot easier to redraw by hand with your Wacom Tablet than to try to create the character from scratch in Flash. The only exception is, of course, if it is an extremely simplistic character, like a yellow ball.
Scan the Line Art
We will stick to using your illustrated character, which we will scan into Flash. Before you scan the image, make sure that your character lines are as solid and crisp as they can be. Our objective is to scan them into Flash, delete the white space around the character, and to finally color the character. This is easier when the initial image’s lines are not broken. You can use a black ink pen and outline the hand-drawn character to further ensure that its lines are solid, then proceed to scan it into Flash. (Click any image for a larger view.)
Delete White Space
Once you have scanned the image, you’ll need Photoshop or Flash to delete the white space. If you are using Photoshop, take the magic wand tool and click on all of the white areas outside the character. Hit Delete to get rid of the white space. Another way to get rid of white space is in Flash. You can use the Trace bitmap tool and import your image into Flash. Go to Modify >Trace Bitmap, this will smooth the lines instantly for you, and give you a lot better line quality.
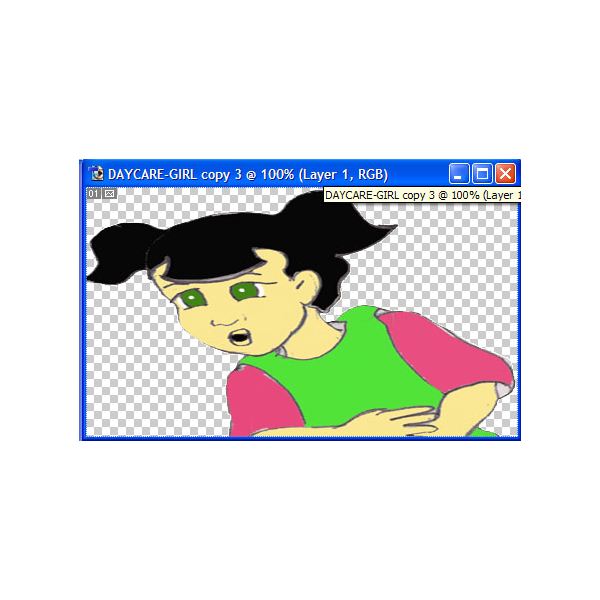
Now you can begin coloring your character. Click on the paint bucket tool in Flash and color your character, according to plan. This character is now ready to be animated in Flash.
Animating the Character Saying “Hello”
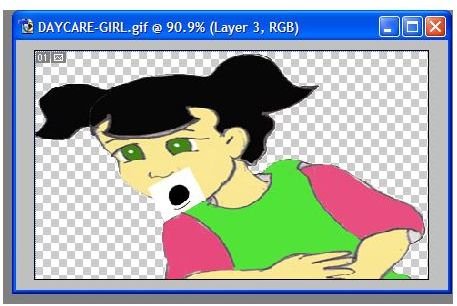
We want to now animate this character and let her say hello. We will start by creating two mouth positions. The easiest way is to create the mouth in Photoshop. We will use the chart below to take the vowel sound from that will represent the “O” sound. The mouth should look like the diagram below.

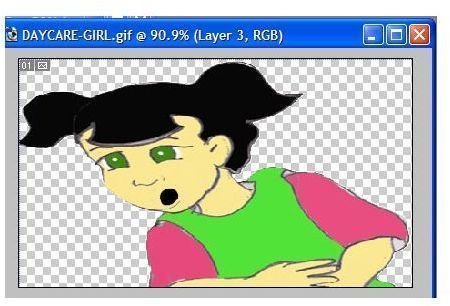
Now, go to File >New Document to make the “A” sound mouth movement. Let’s repeat the same process of copying the vowel sound from this chart in Photoshop and positioning it on your character’s mouth. This chart is meant for to be used only for the tutorial. You’ll want to create a chart similar to this when you create your own flash animation.
You can import a pre-recorded audio sound that has the “hello” dialog, in the same way you imported the images into Flash. Drag the audio layer sound to match your illustrations, by placing the mouse on the end of the audio layer and sliding it across the timeline. Import the mouth positions into Flash. Now place them on their own layer, over the character’s layer. Go to Test Movie and watch your character mouth the word, “Hello.”
Hello!


