Besides speeding up server requests and responses on Web pages, the AJAX framework in ASP.NET 3.5 adds a useful control to keep the user advised of progress when downloading large files or running intensive database operations. This control is the Update Progress Control.
Create a Web Page to Use an Update Progress Control
Start with a new ASP.NET page using either Microsoft’s free Visual Web Developer 2008 Express Edition (VWD) or Visual Studio 2008. When using the latter, be sure to run it as an Administrator. Name the new page “UpdateProgressDemo.aspx.”
In the Design view, use the AJAX section of the Toolbox to add a ScriptManager to the page by double clicking on this control. Next, add an UpdatePanel from the same AJAX section, again by double clicking on the tool. Within the UpdatePanel, add a label and a button control from the “Standard” section of the Toolbox.
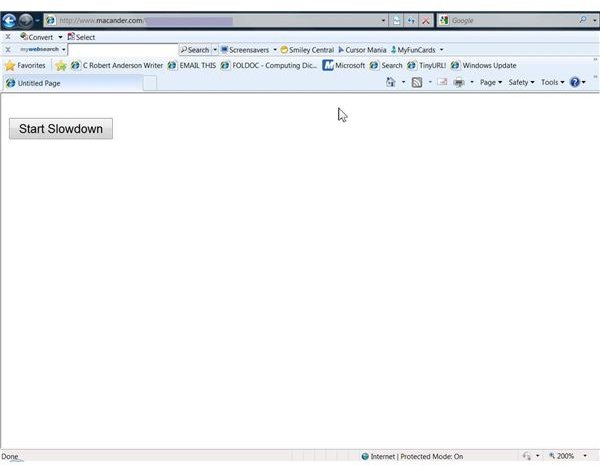
Select the label and clear the Text property in the Properties panel on the right. Change the label ID to “ProgressMsg.” Select the button and change the Text property to “Start Slowdown.” Make the button ID “SlowDown.” Finish this section by double clicking on the “Start Slowdown” button, which will open the associated “UpdateProgressDemo.axpx.vb” file that was created automatically.
Add A Little Code to Make This Control Work
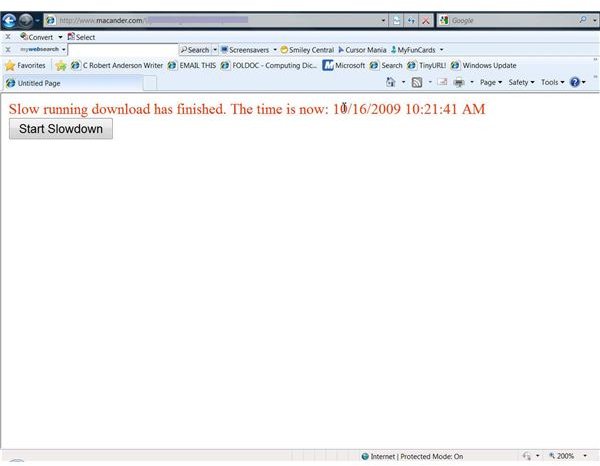
You will see a click event subroutine already created. All that is needed is to add two lines of code which will slow down the operation/ Without this, the demo would complete too rapidly to see how the Update Progress Control works. Insert this code after the line that begins “Protected Sub SlowDown . . . Handles SlowDown.Click.” The first new code line sets an interval to pause the page processing for a specified number of milliseconds. The second line displays a message when the process completes. For this example, use 10000, which equals 10 seconds, and a message as below:
Protected Sub SlowDown_Click(ByVal sender As Object, ByVal e As System.EventArgs) Handles SlowDown.Click
System.Threading.Thread.Sleep(10000)
ProgressMsg.Text = “Slow running download has finished. The time is now: " & DateAndTime.Now
End Sub
Add the Update Progress Control
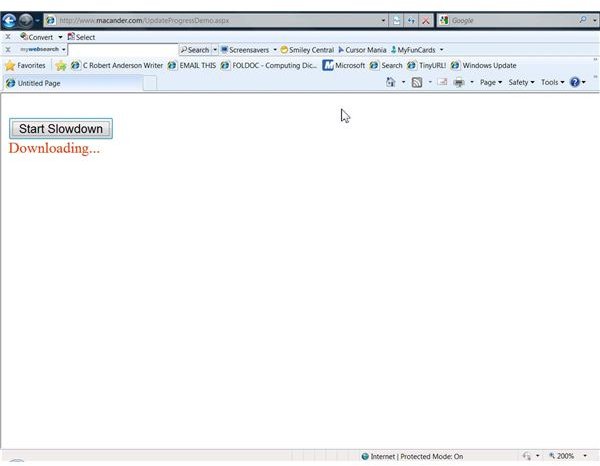
Below the UpdatePanel you just completed, add an UpdateProgress Control from the AJAX section of the Toolbox. TTo complete this section, add one label and change several properties of the control. The text property of the label can display whatever you like, but for this example, type in “Downloading…” (without the quotation marks). The label property can stay as it is by default, “Label1” or read what you wish. Instead of a label, an animated image like a rotating circle can be used. The label property has the usual formatting options. For this demo, it is set to Red.
The UpdateProgress control has only a few properties and of these, only two need attention. First, click on the AssociatedUpdatePanelID and then the down arrow in the blank spot. Since there is only one UpdatePanel on this form, select it. The second important property is the “DisplayAfter” one. This sets an interval before progress message displays. The default is 500 milliseconds (0.5 seconds). The reason for this is to prevent a progress message from showing if the delay is very short. You can change the value as you wish, but for this demo leave it at 500.
Generally, AJAX controls are easy to use and can add significant functionality to your pages. It will be well worth your time to experiment with this ASP.NET 3.5 enhancement.
AJAX Controls
This post is part of the series: Using AJAX Controls in ASP.NET
AJAX is an enhancement to ASP.NET that was included in the ASP.NET 3.5. It includes a number of controls, of which two can speed up communication between teh client and server by eliminating some unnecessary posting back of HTML code as well as providing the user with progress information.


